
We’ve all been there. We just finished _____________ (blowing our life savings, wrapping up an epic build, or spent hundreds of hours detailing in our garage) and now we want some amazing photos! What does that look like, and how do I get the best results? Heck, WHAT ARE the best results? Well…photography styles are just that, styles, and everyone is going to appreciate a different style, which is why i’m making this blog post. Every photographer has a different style, and it’s important for you to find one that you enjoy. Some prefer a more natural look while others love the use of filters; there is no right or wrong, simply what do you prefer. “My friend has a fancy camera” is the same as saying “my friend has a fancy stove”, it does not mean they are a chef. While every chef may start with the same ingredients and tools, we know the outcome is typically never replicated, and it is the same for photographers. Find a photographer you enjoy, ask to see a ‘full set’, ask about timelines, print releases, and set expectations before you both agree to work together.
The point of this post is to educate customers who want their car photographed, but for the customer to gain a better understanding of all the different styles of car pictures. This guide can be used for any photographer out there, not just myself (though I’d love to help you capture your images). Photography is an amazing passion of mine, but I have to admit, 10+ years ago I may not have known what I was doing. Like any passion, I’ve tried, failed, learned, and grown. Still to this day, I’m always finding something new to learn, which I believe is how we improve as artists. One thing i’ve learned is a well balanced photo-shoot may have multiple styles of photographs. Static natural light shots, flash/strobe shots, light painting shots, rig shots, interior shots, detail shots, and rolling shots are just a handful of styles that I have in my toolbox. Not every shoot will have all of these styles, depending on the clients needs, and not every client will enjoy each of these styles. I think in order for me to serve my customers best, it’s important for me to know which style they prefer or maybe can live without. What in the world are these styles? KEEP READING! I am going to try and order these from least amount of time, to most amount of time necessary to create these images, as some require more editing or setup time.
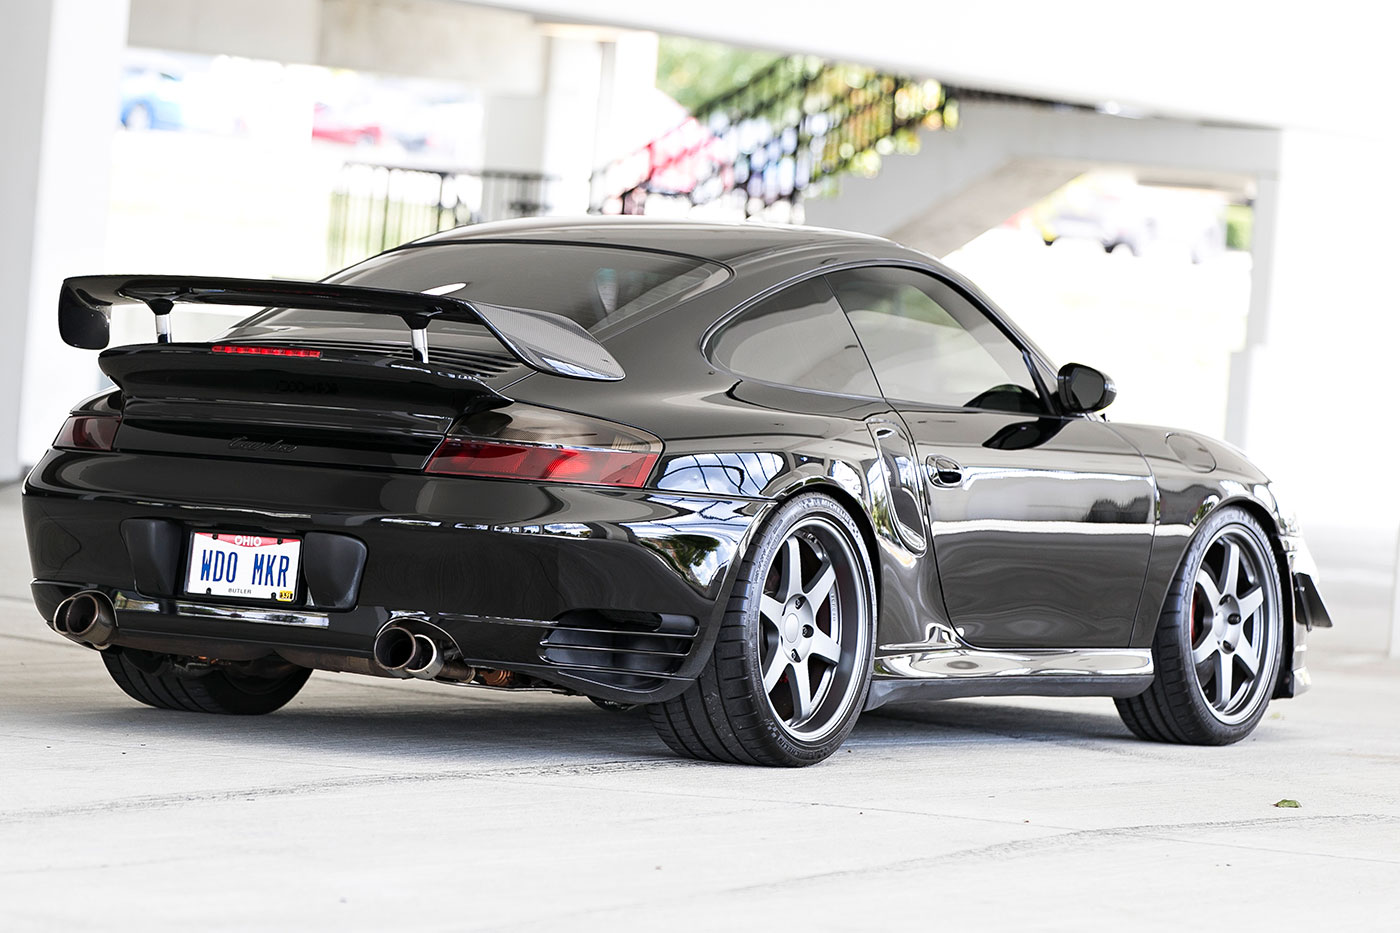
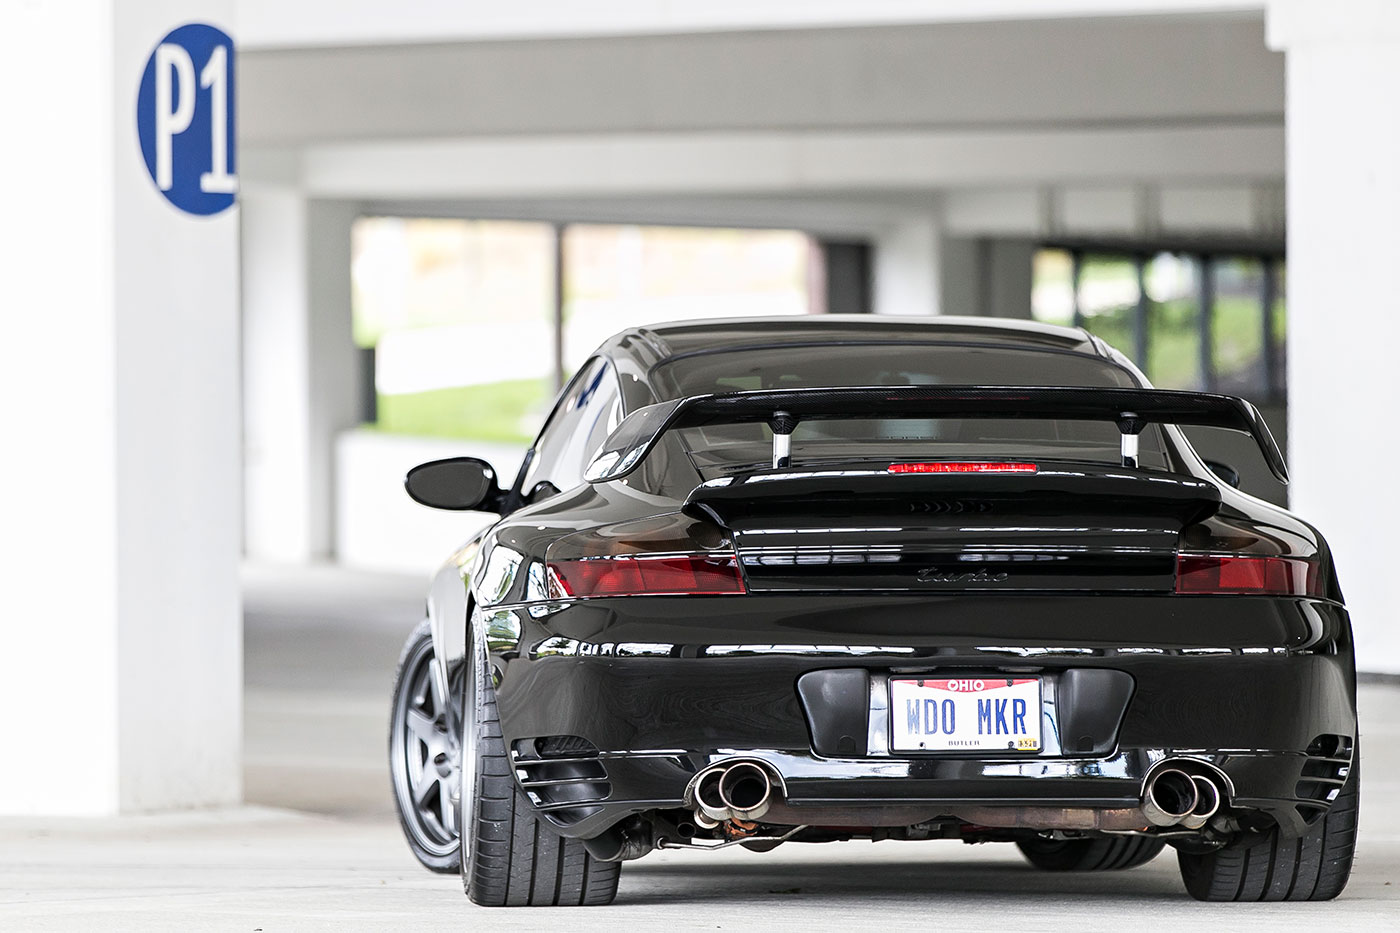
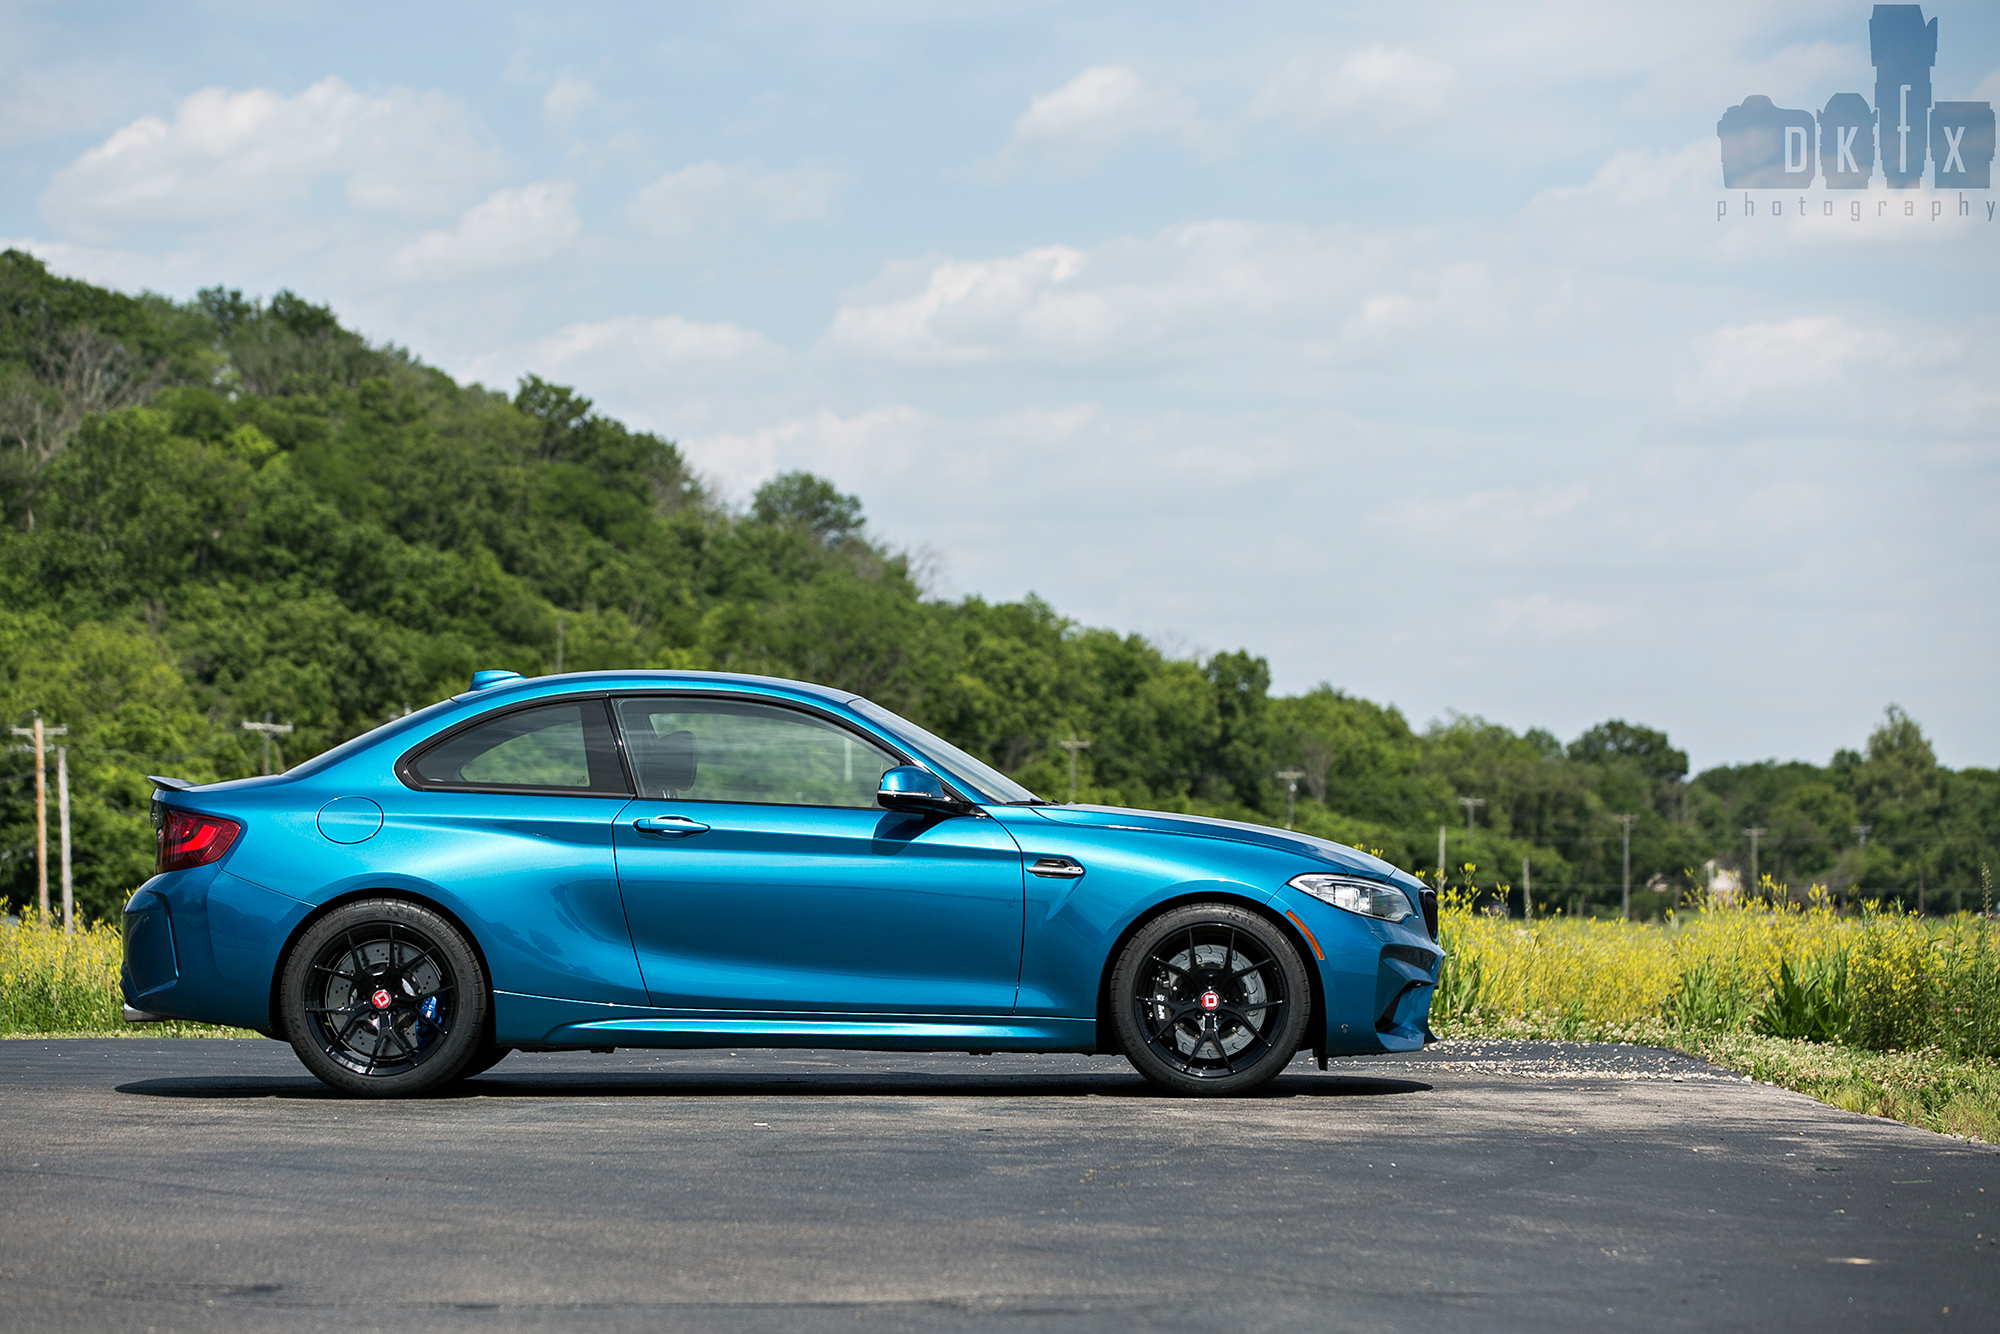
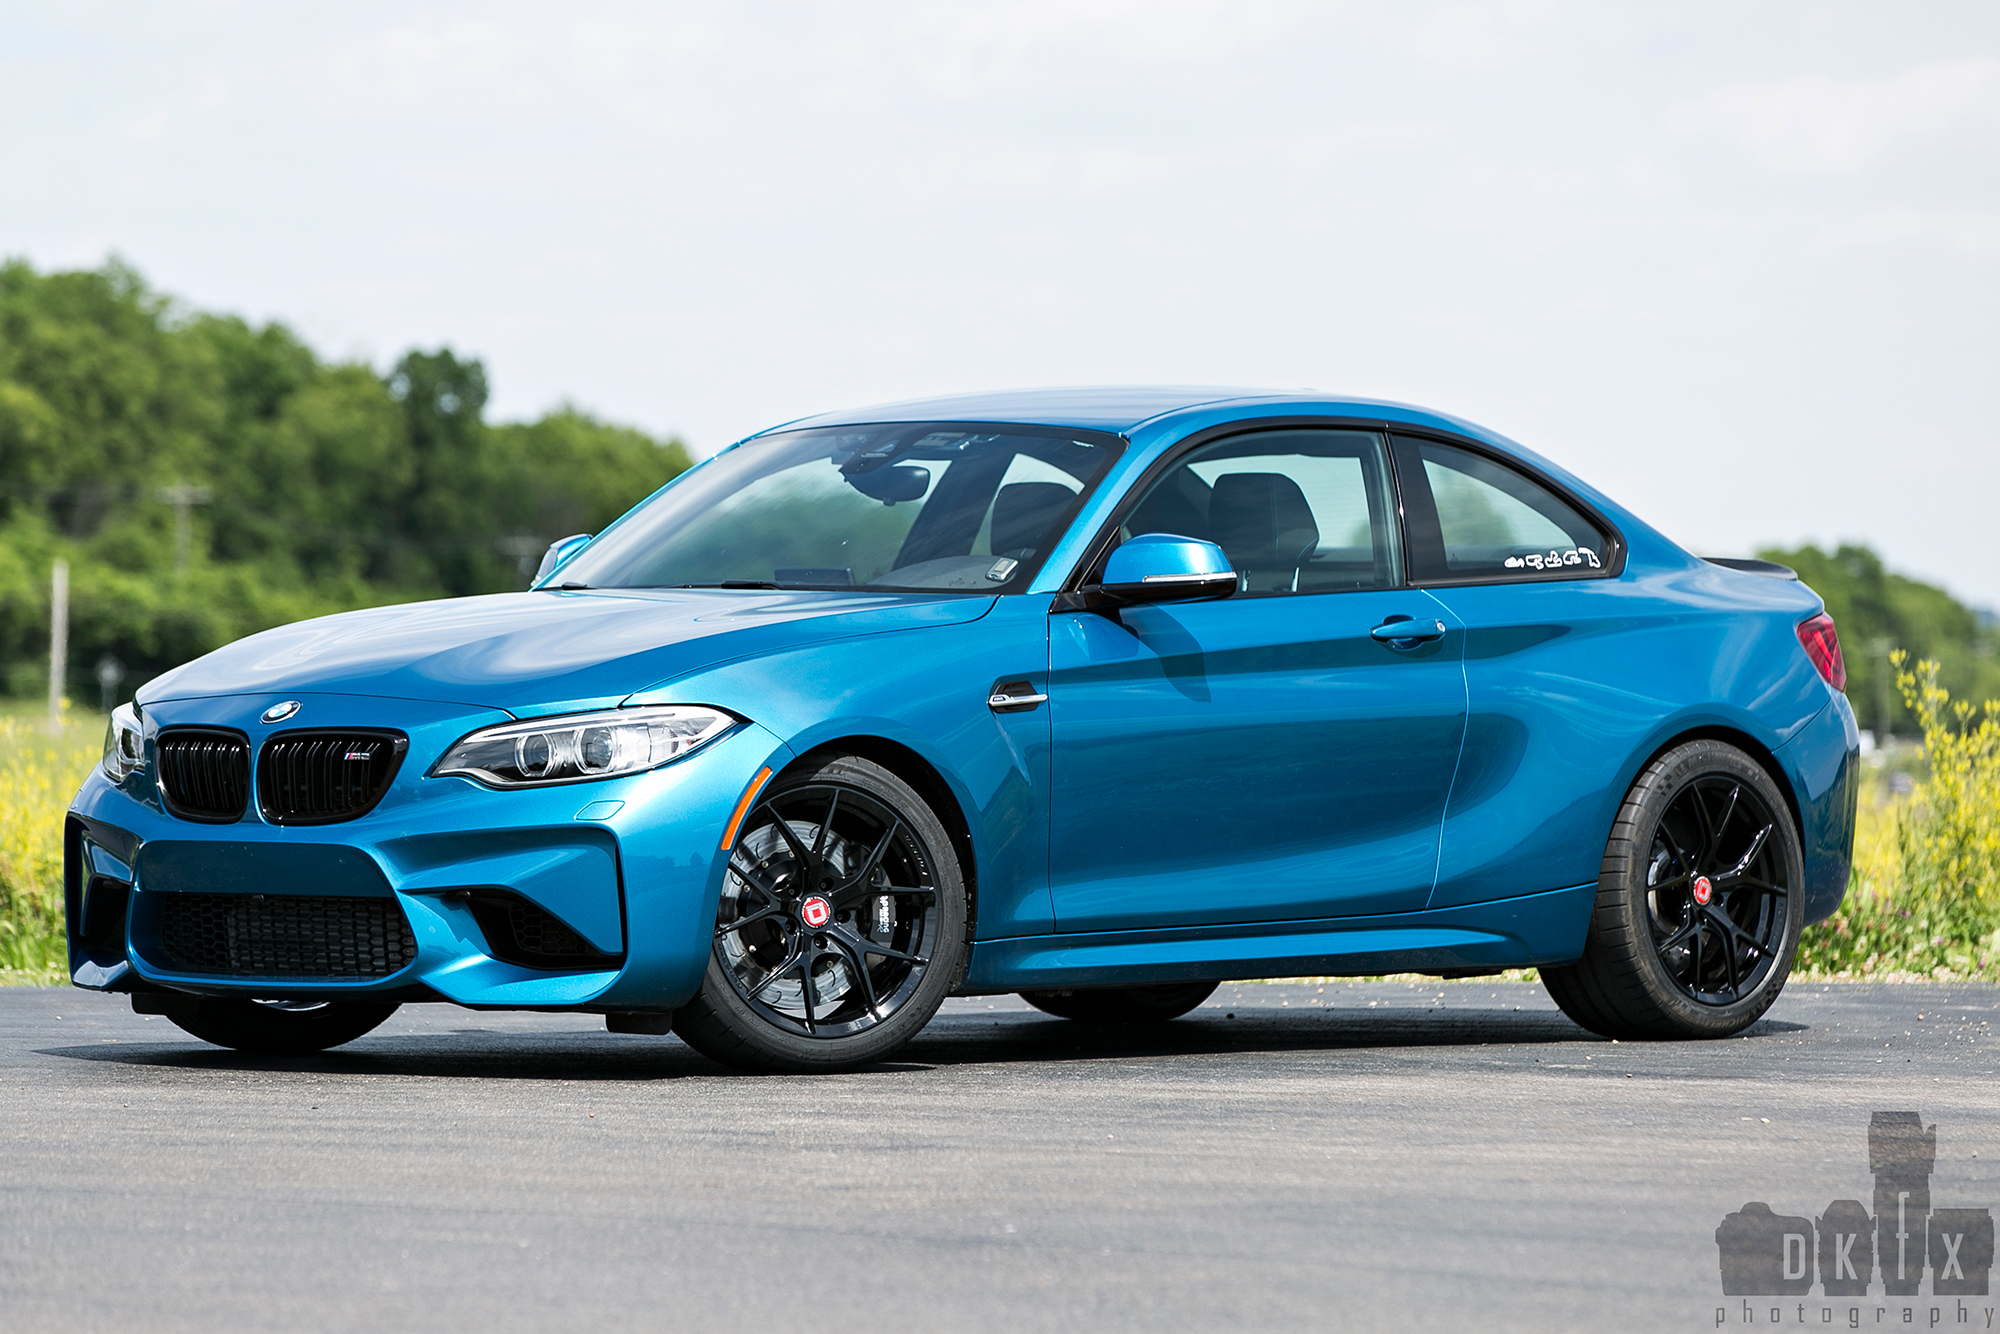
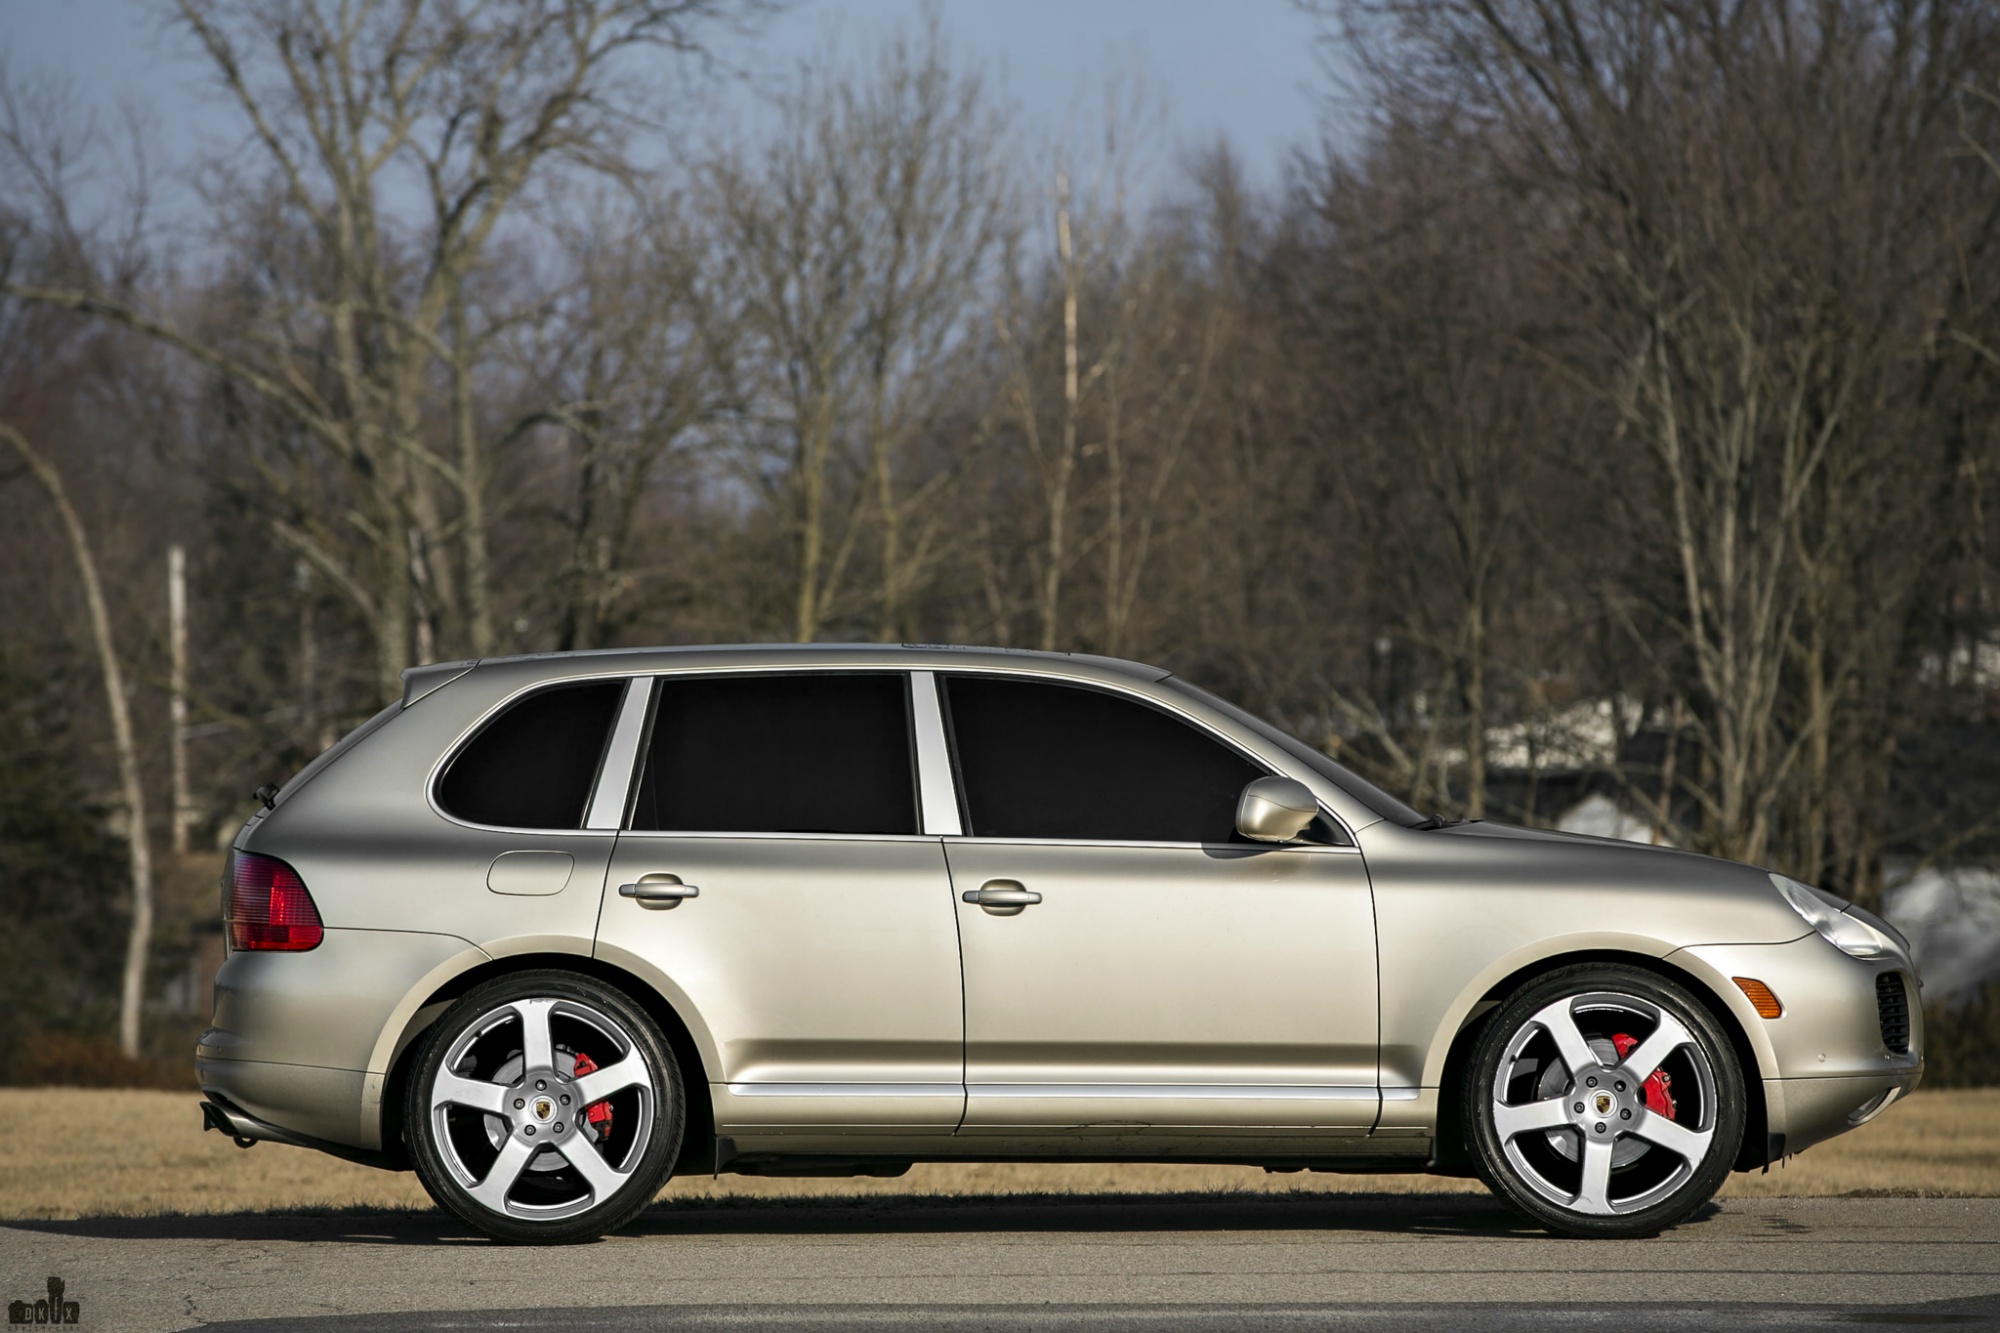
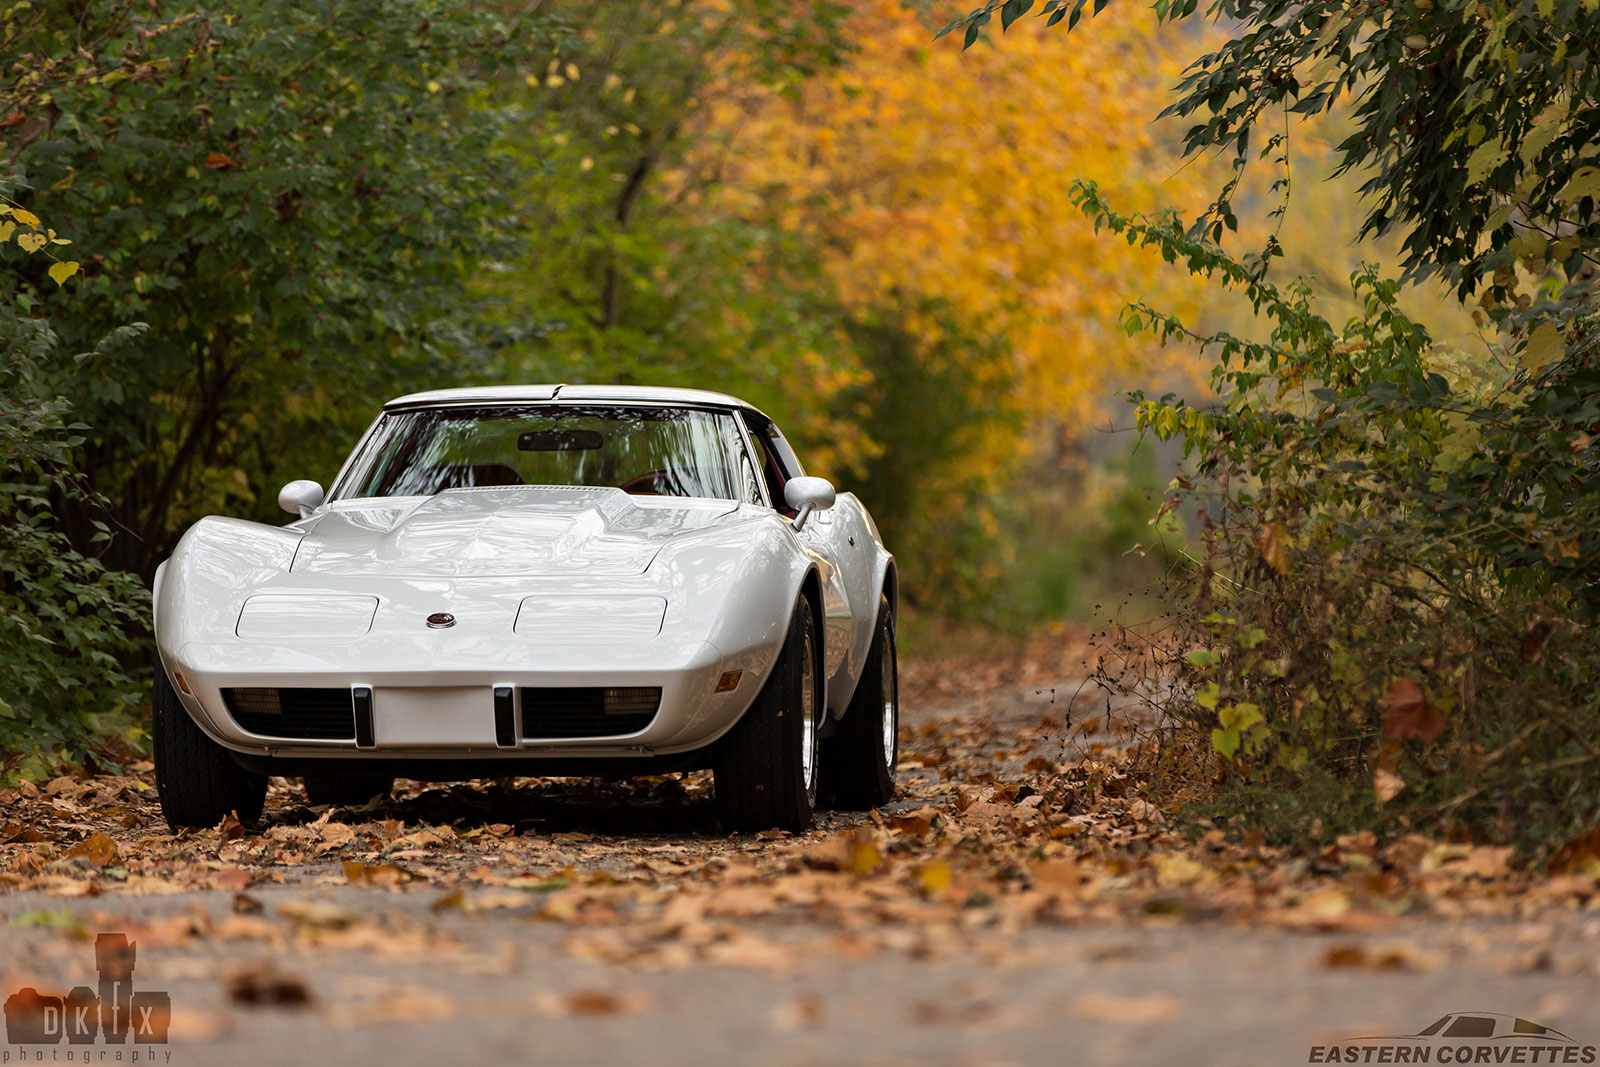
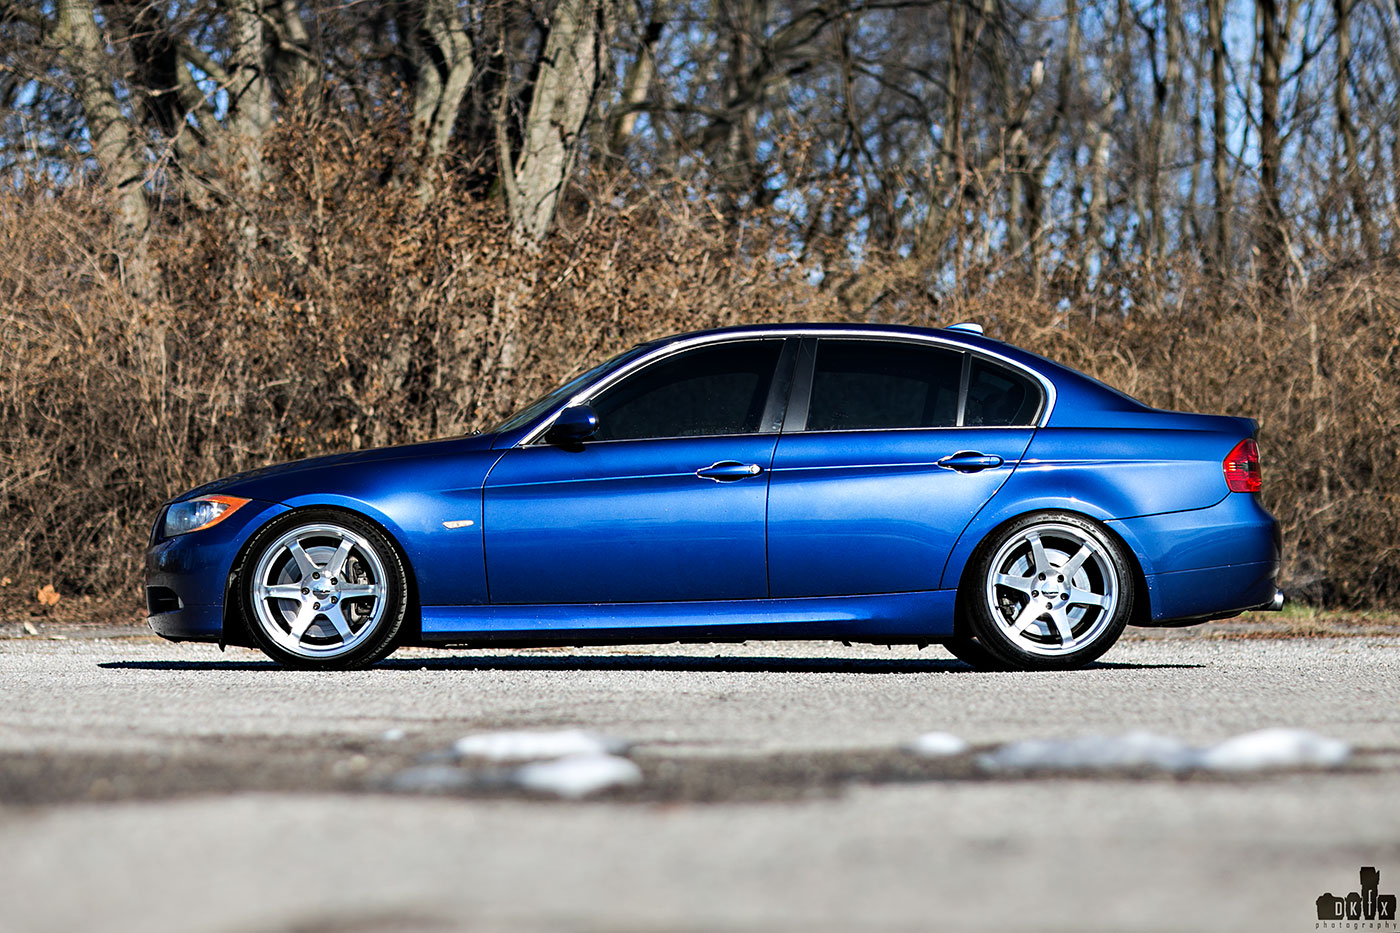
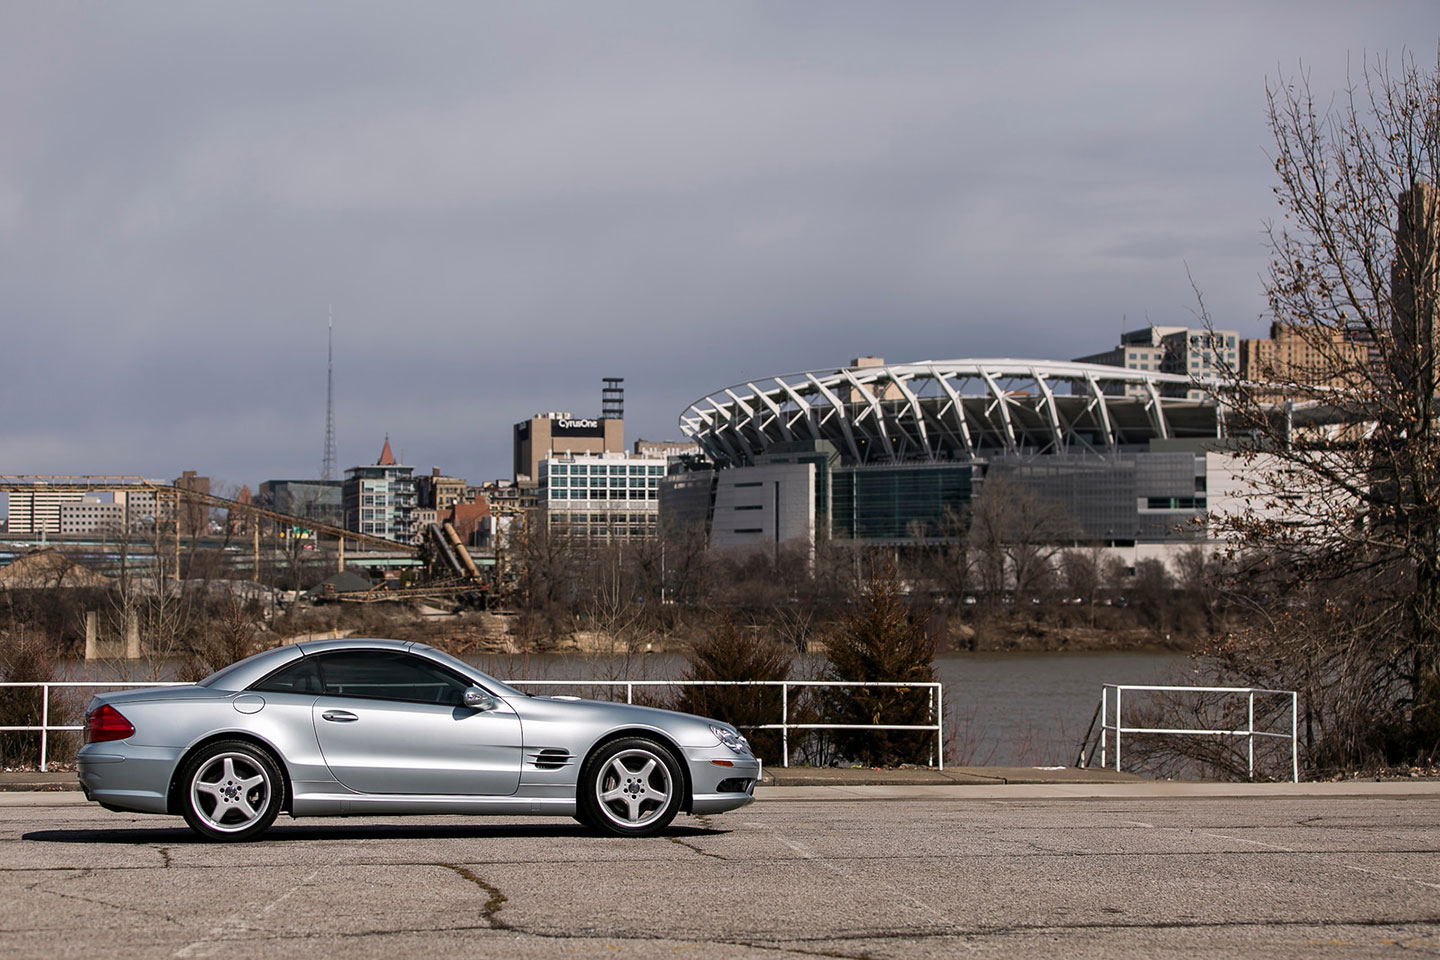
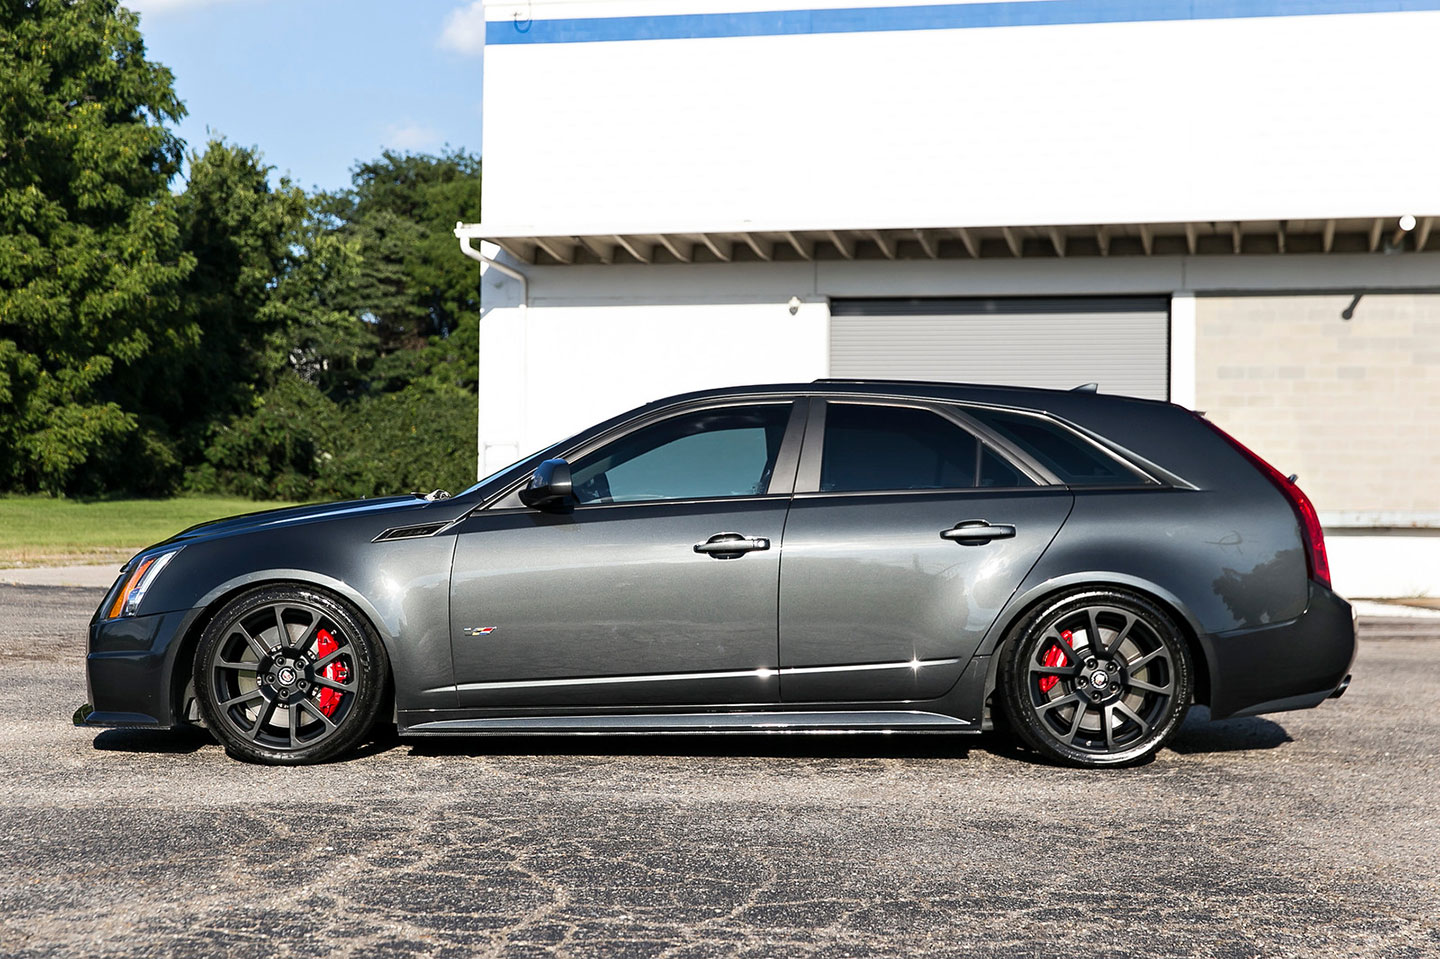
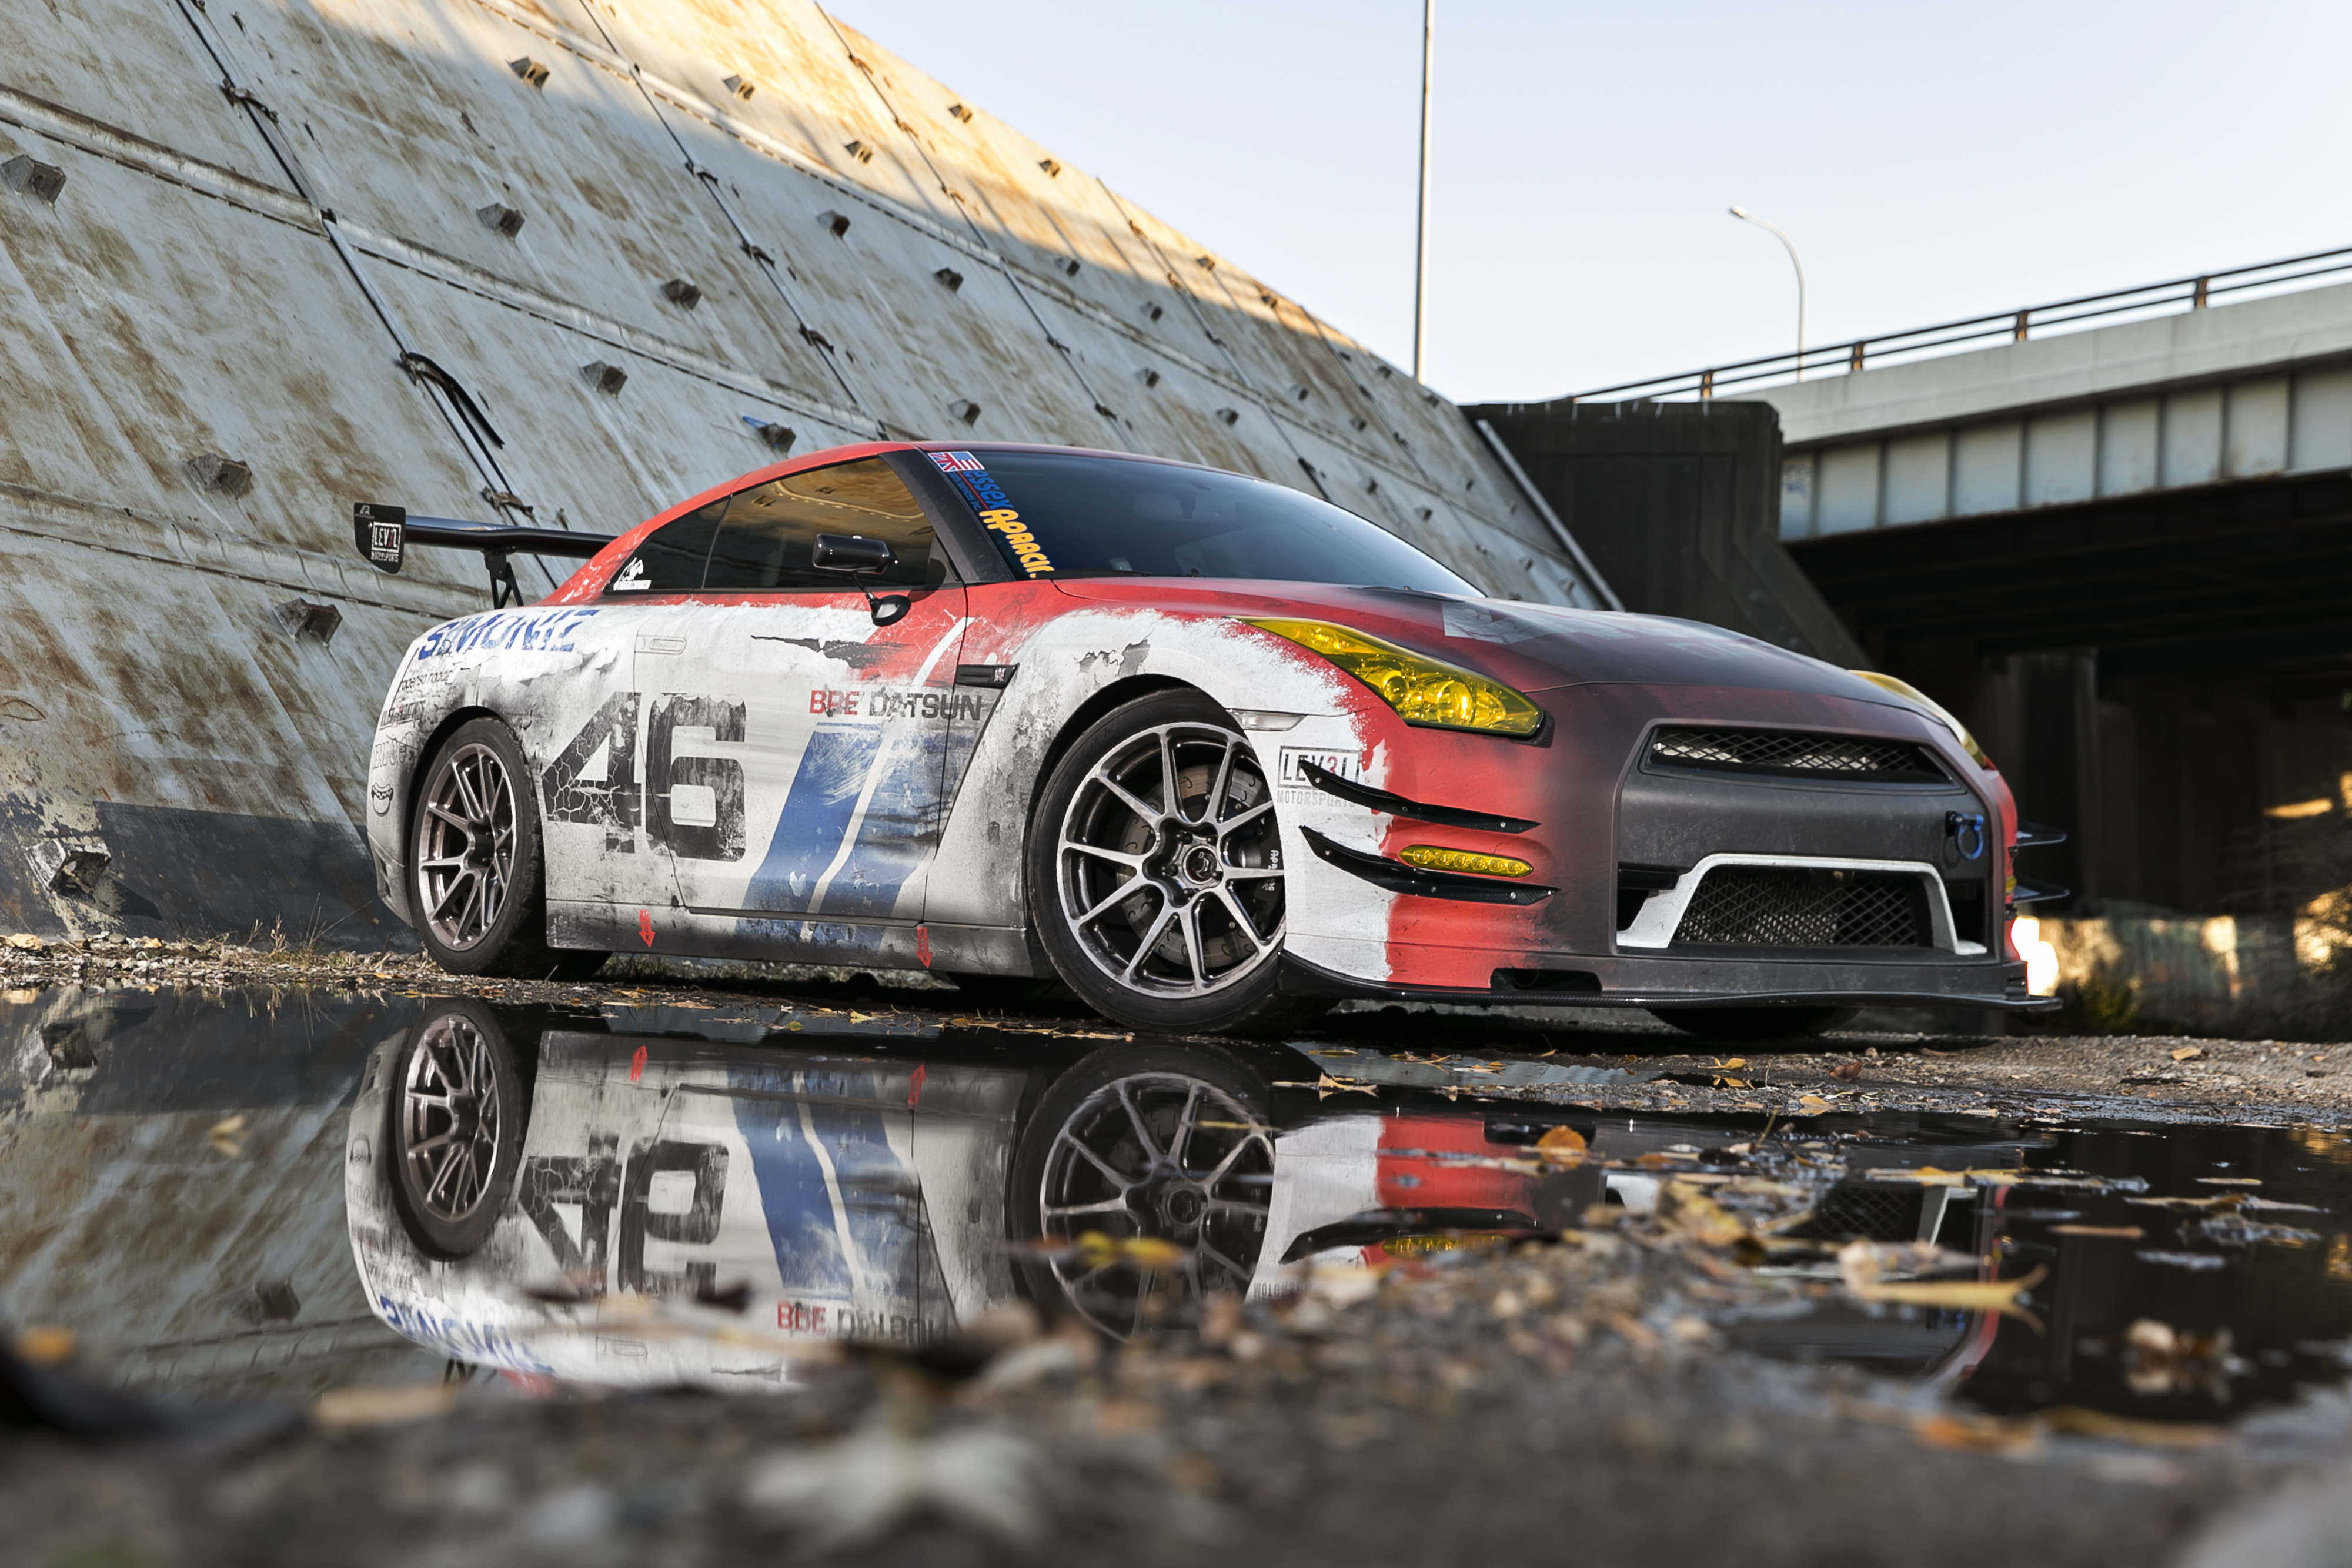
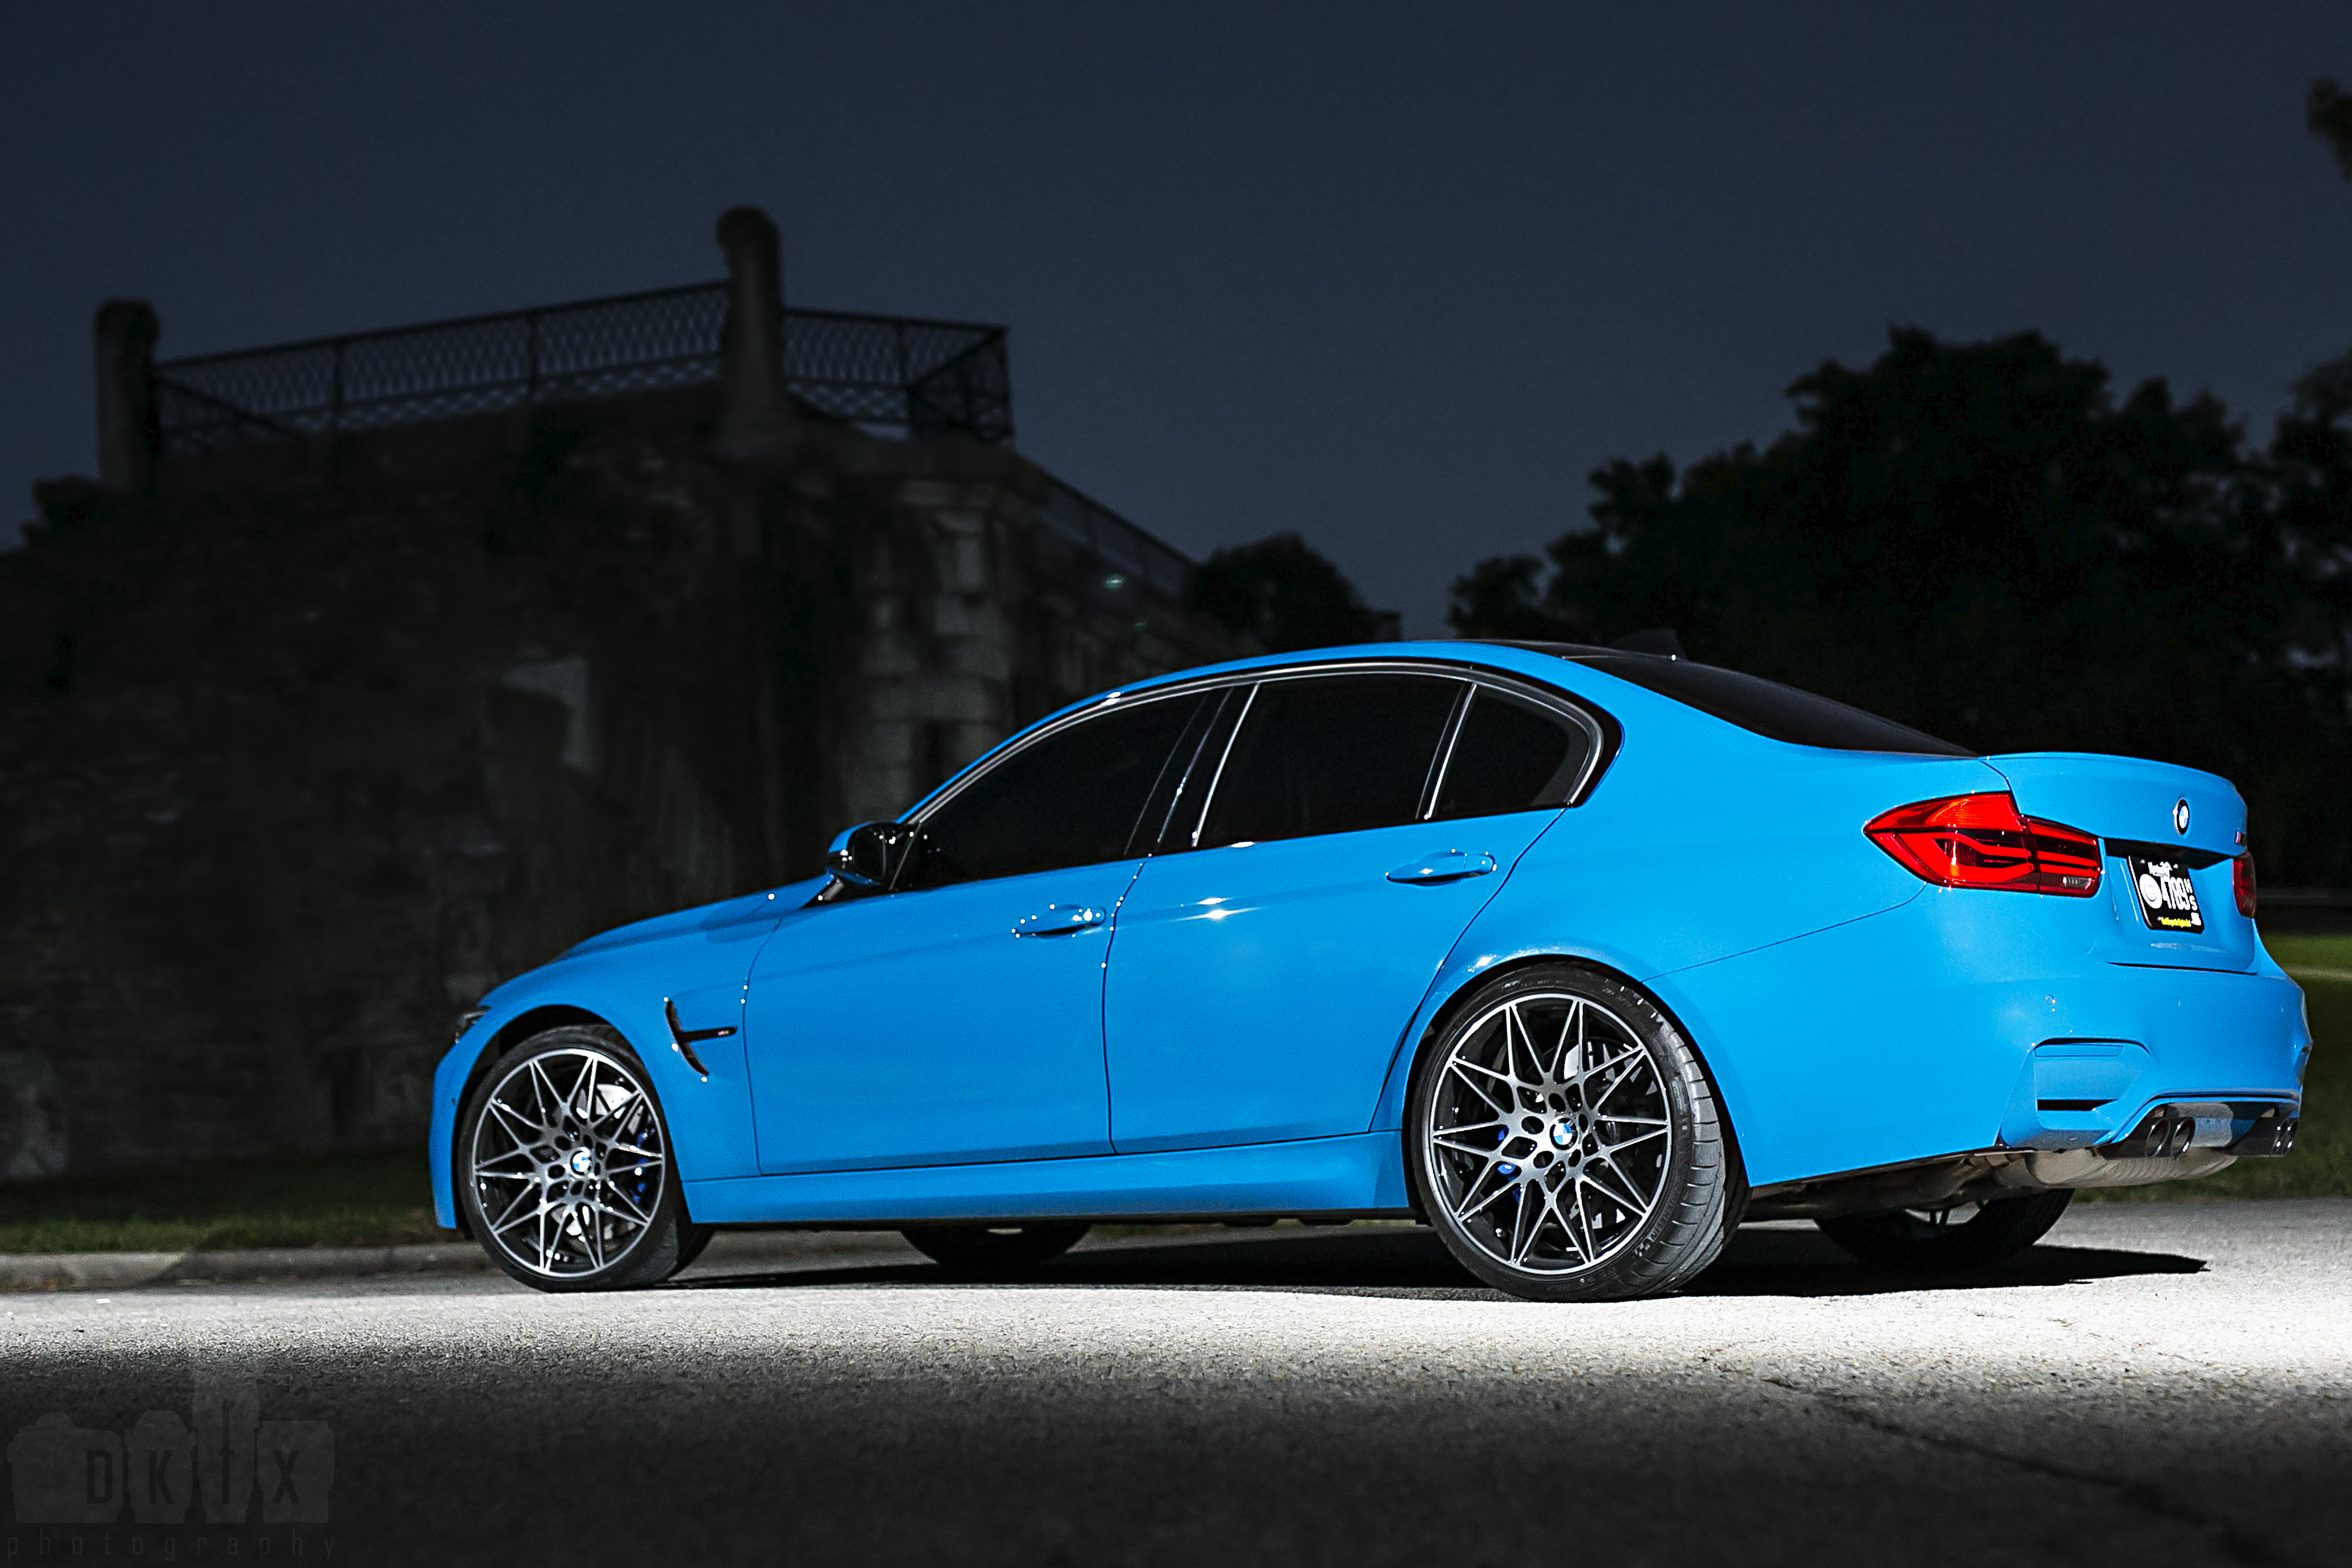
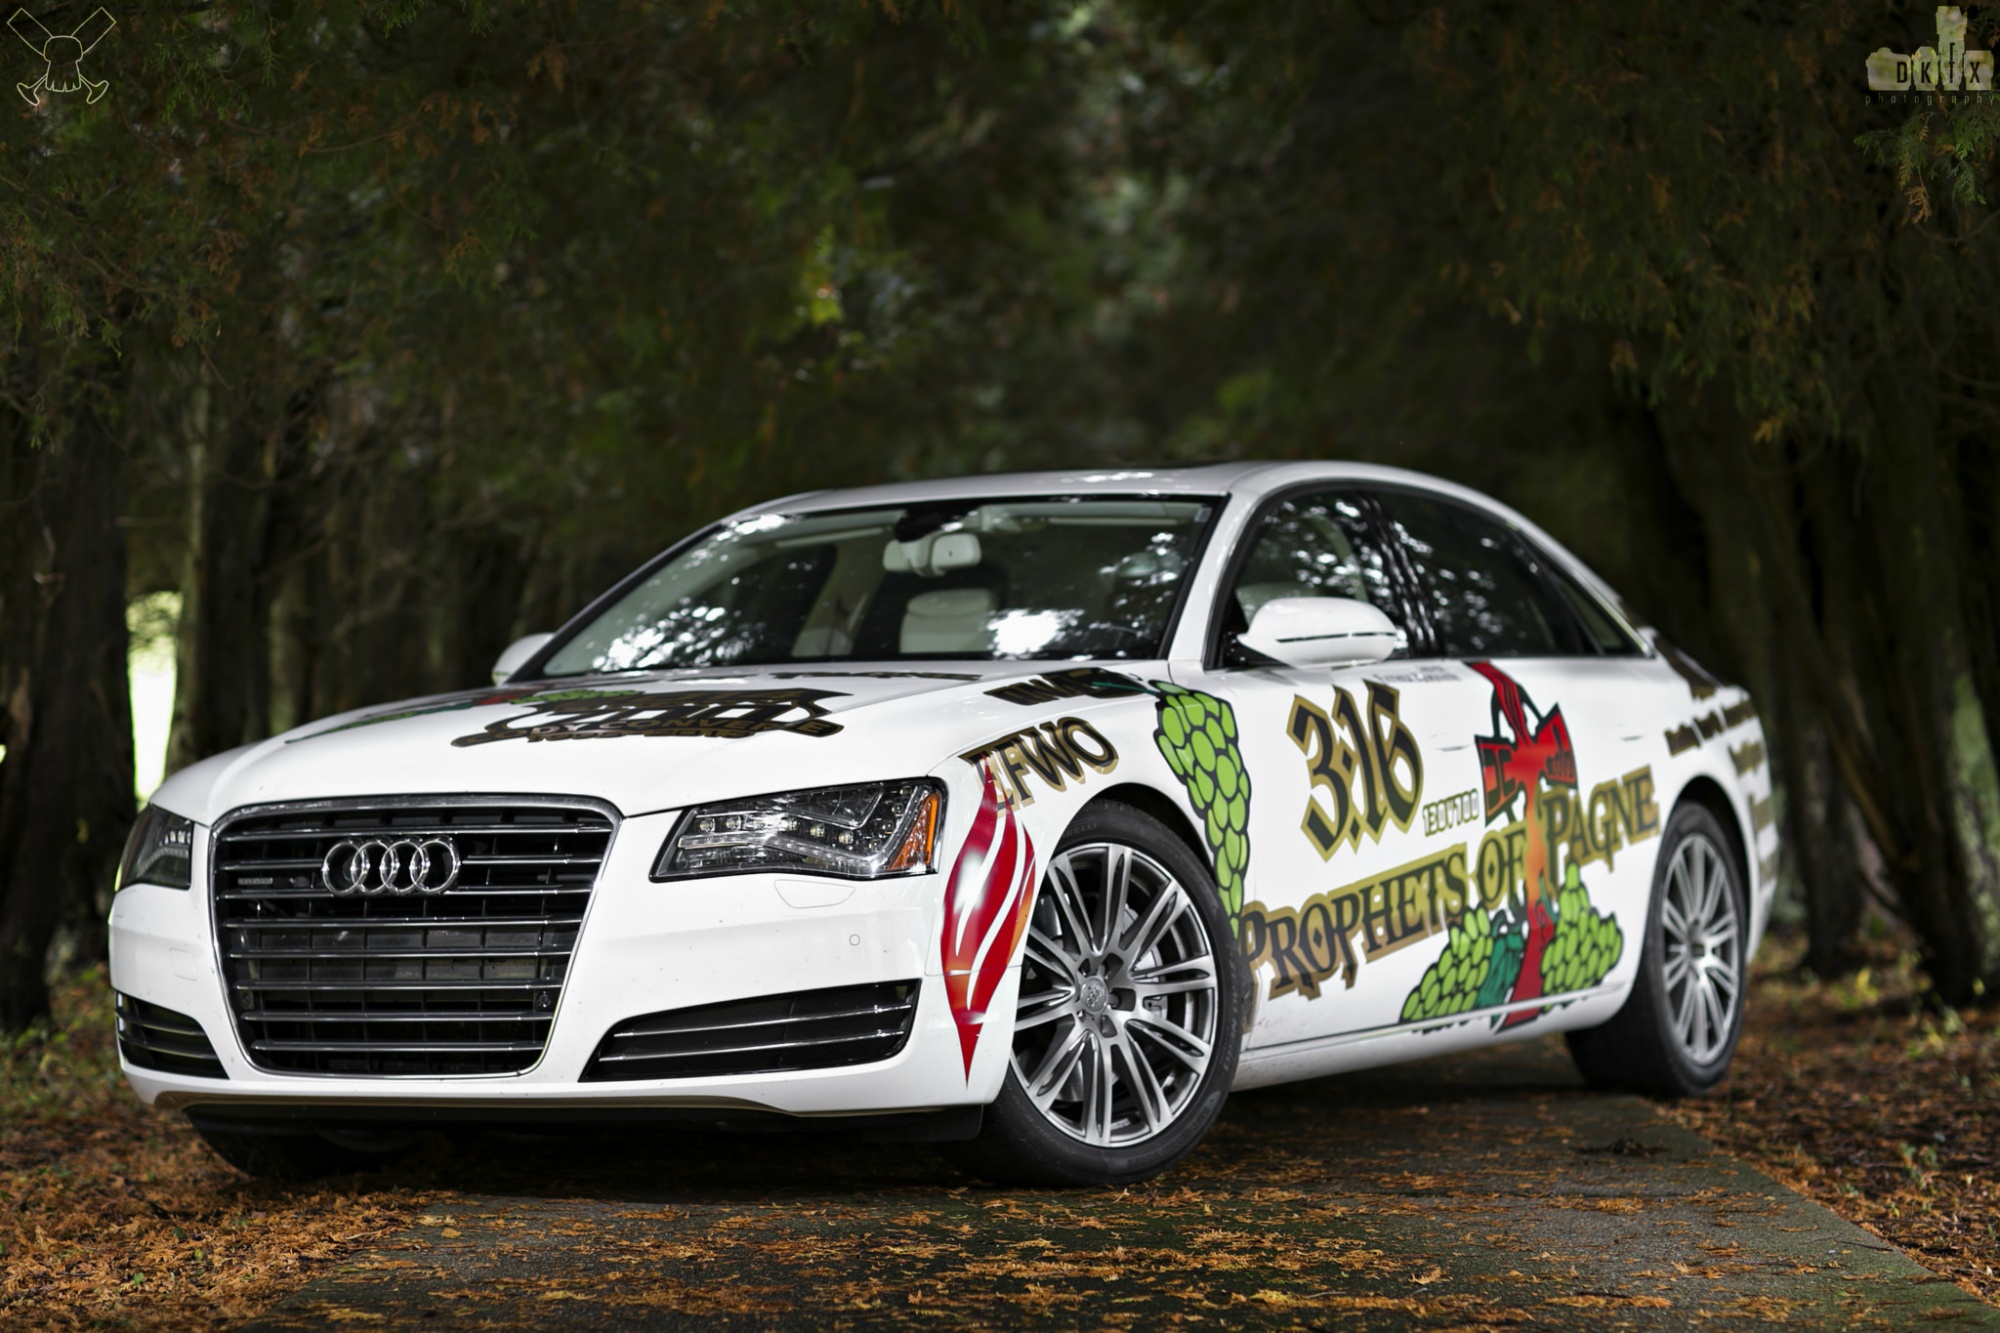
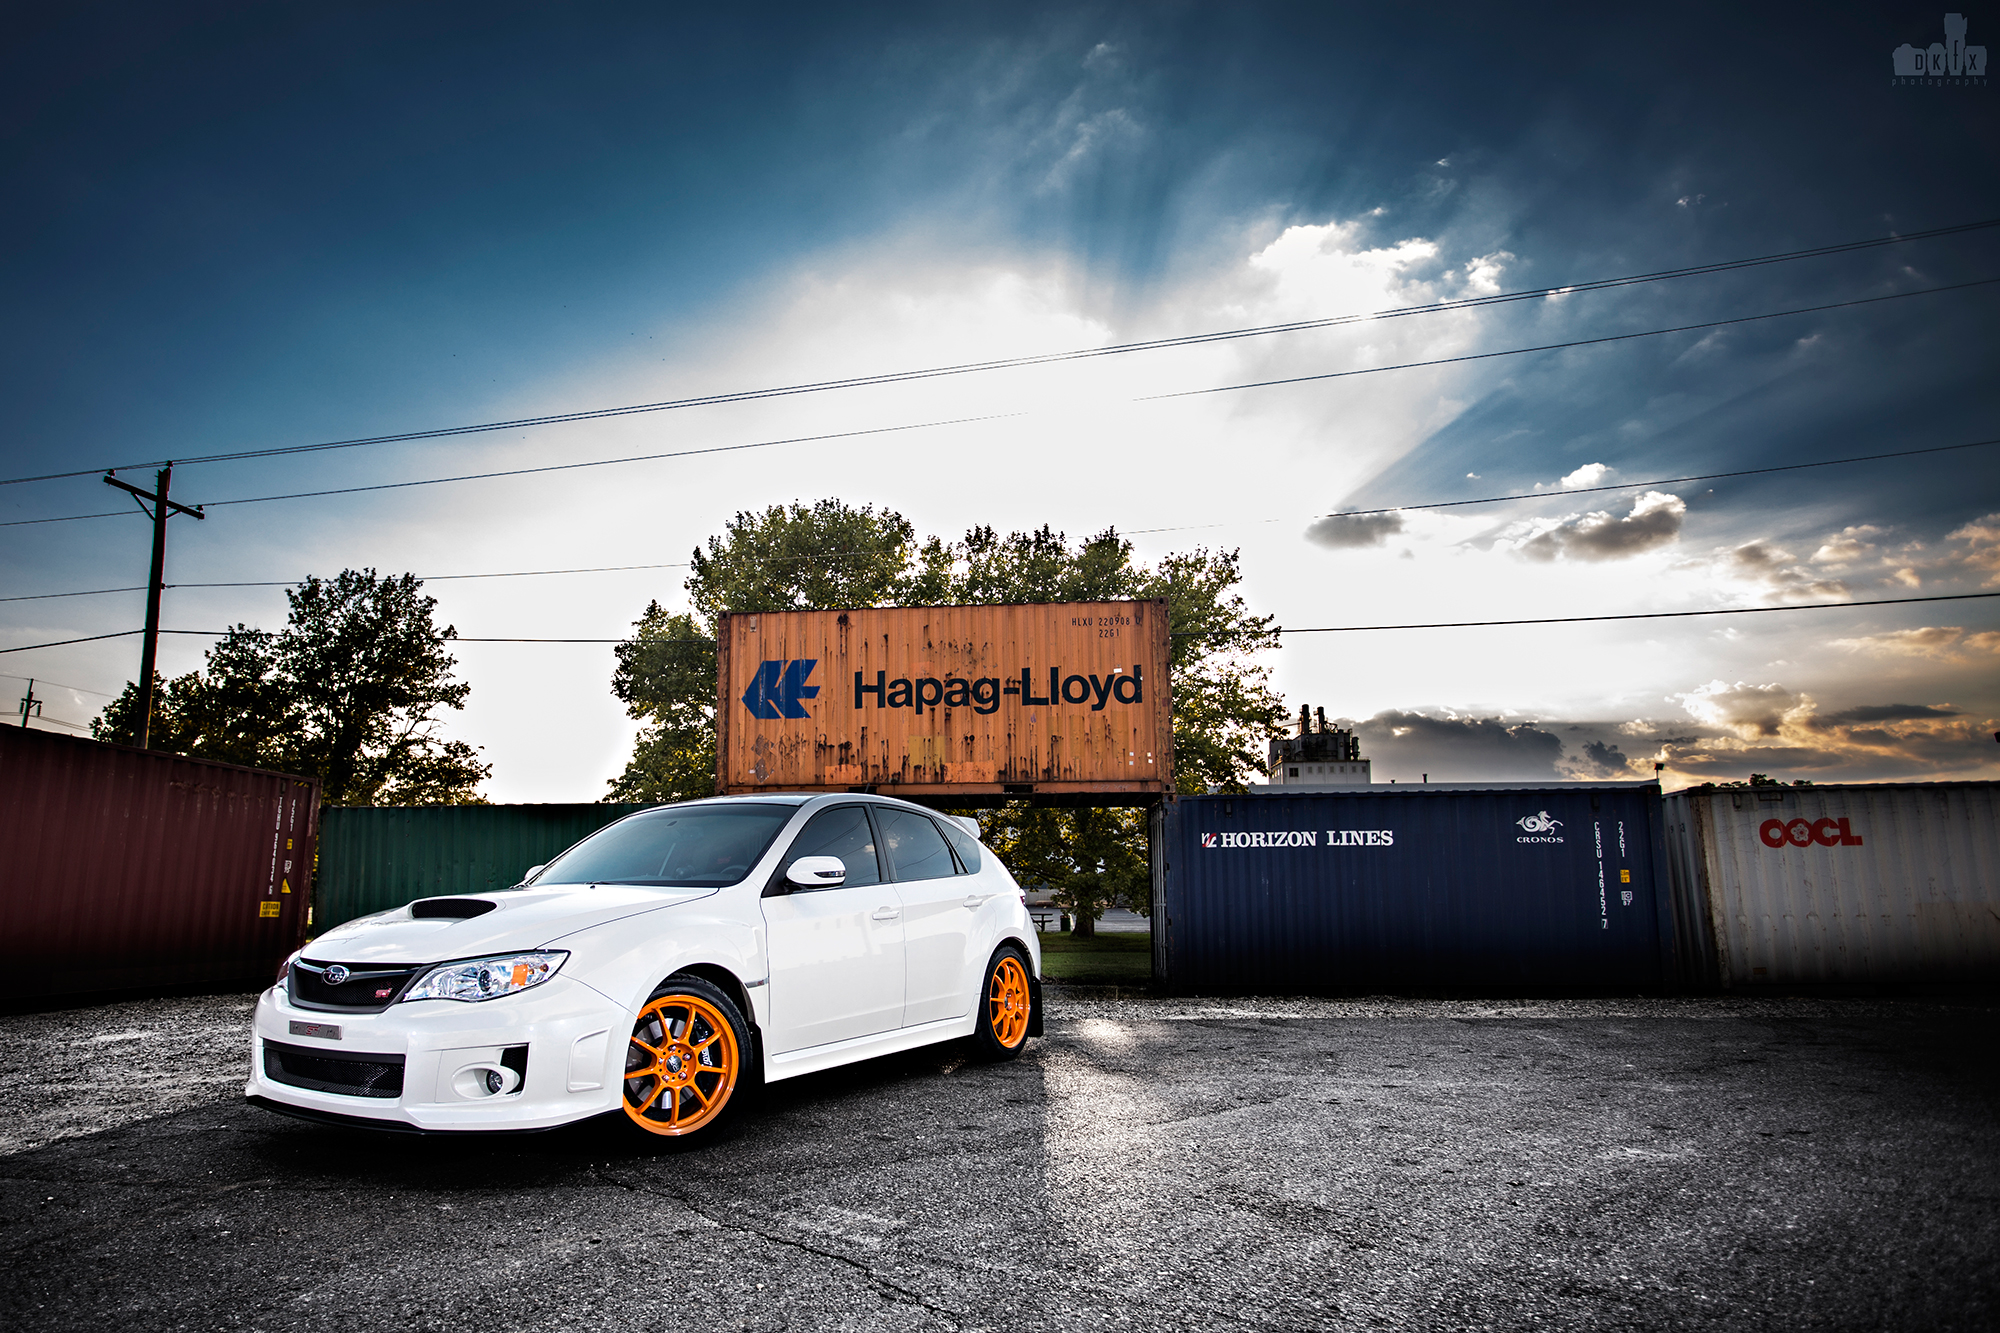
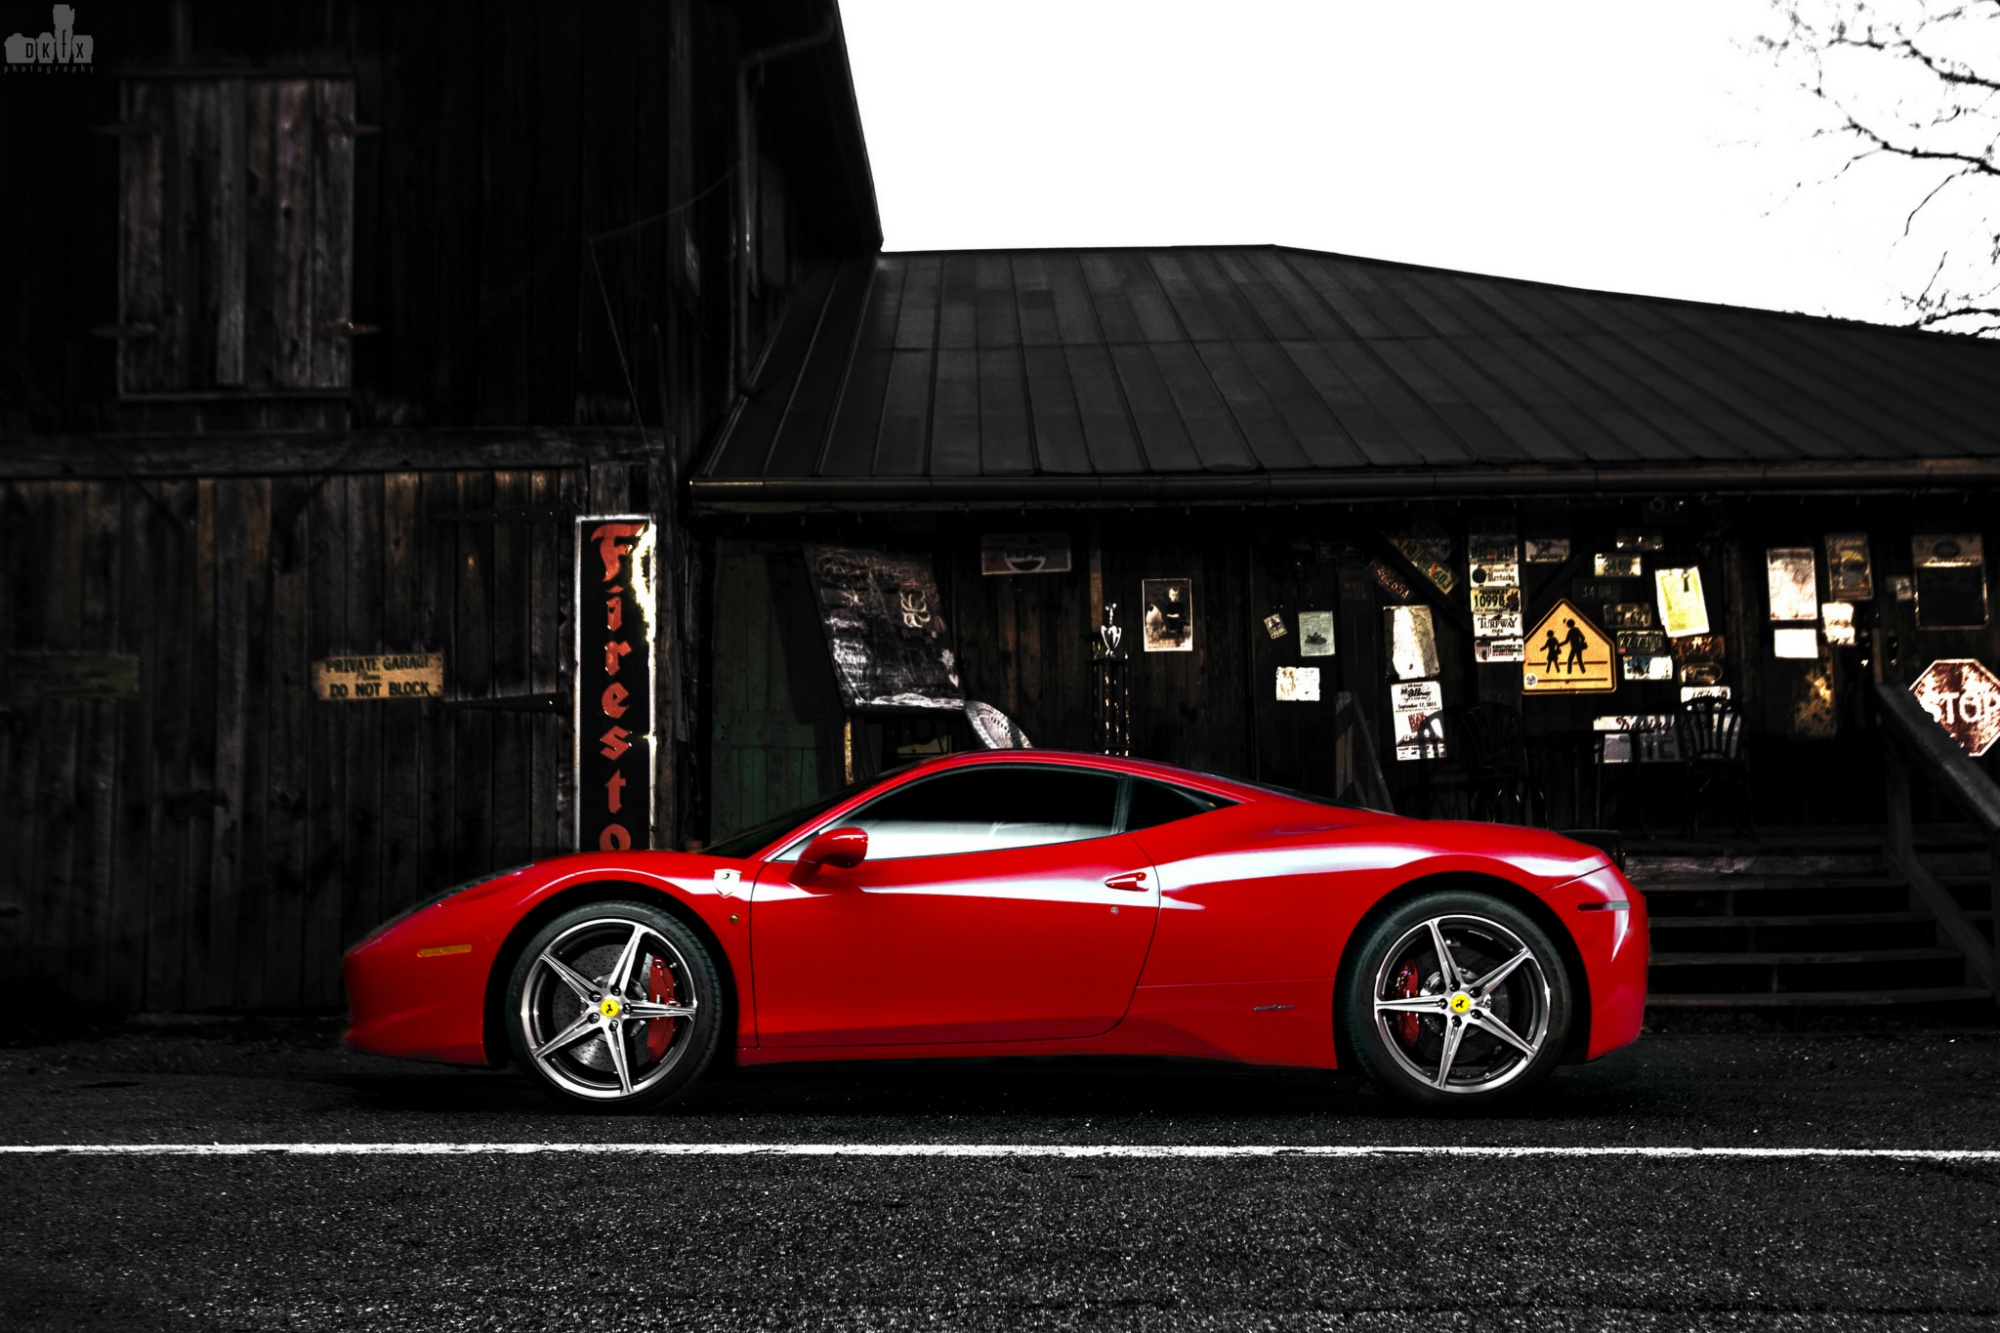
Static / Natural Light Shots:
Let’s start with the basics. These shots are typically the most basic in the arsenal, and are perfect for “for sale” photos. These paint an accurate representation of the car, aren’t overly dramatic, and have a more timeless feel. No additional lights are used, just the sun and hopefully some clouds. The time of day is important to limit or showcase shadows, though I’ve always preferred shooting at the ‘golden hour’ which is an hour before sunset. This time is ALWAYS changing (…thanks orbit…) so make sure you check your requested date to find this time. Here are some examples.
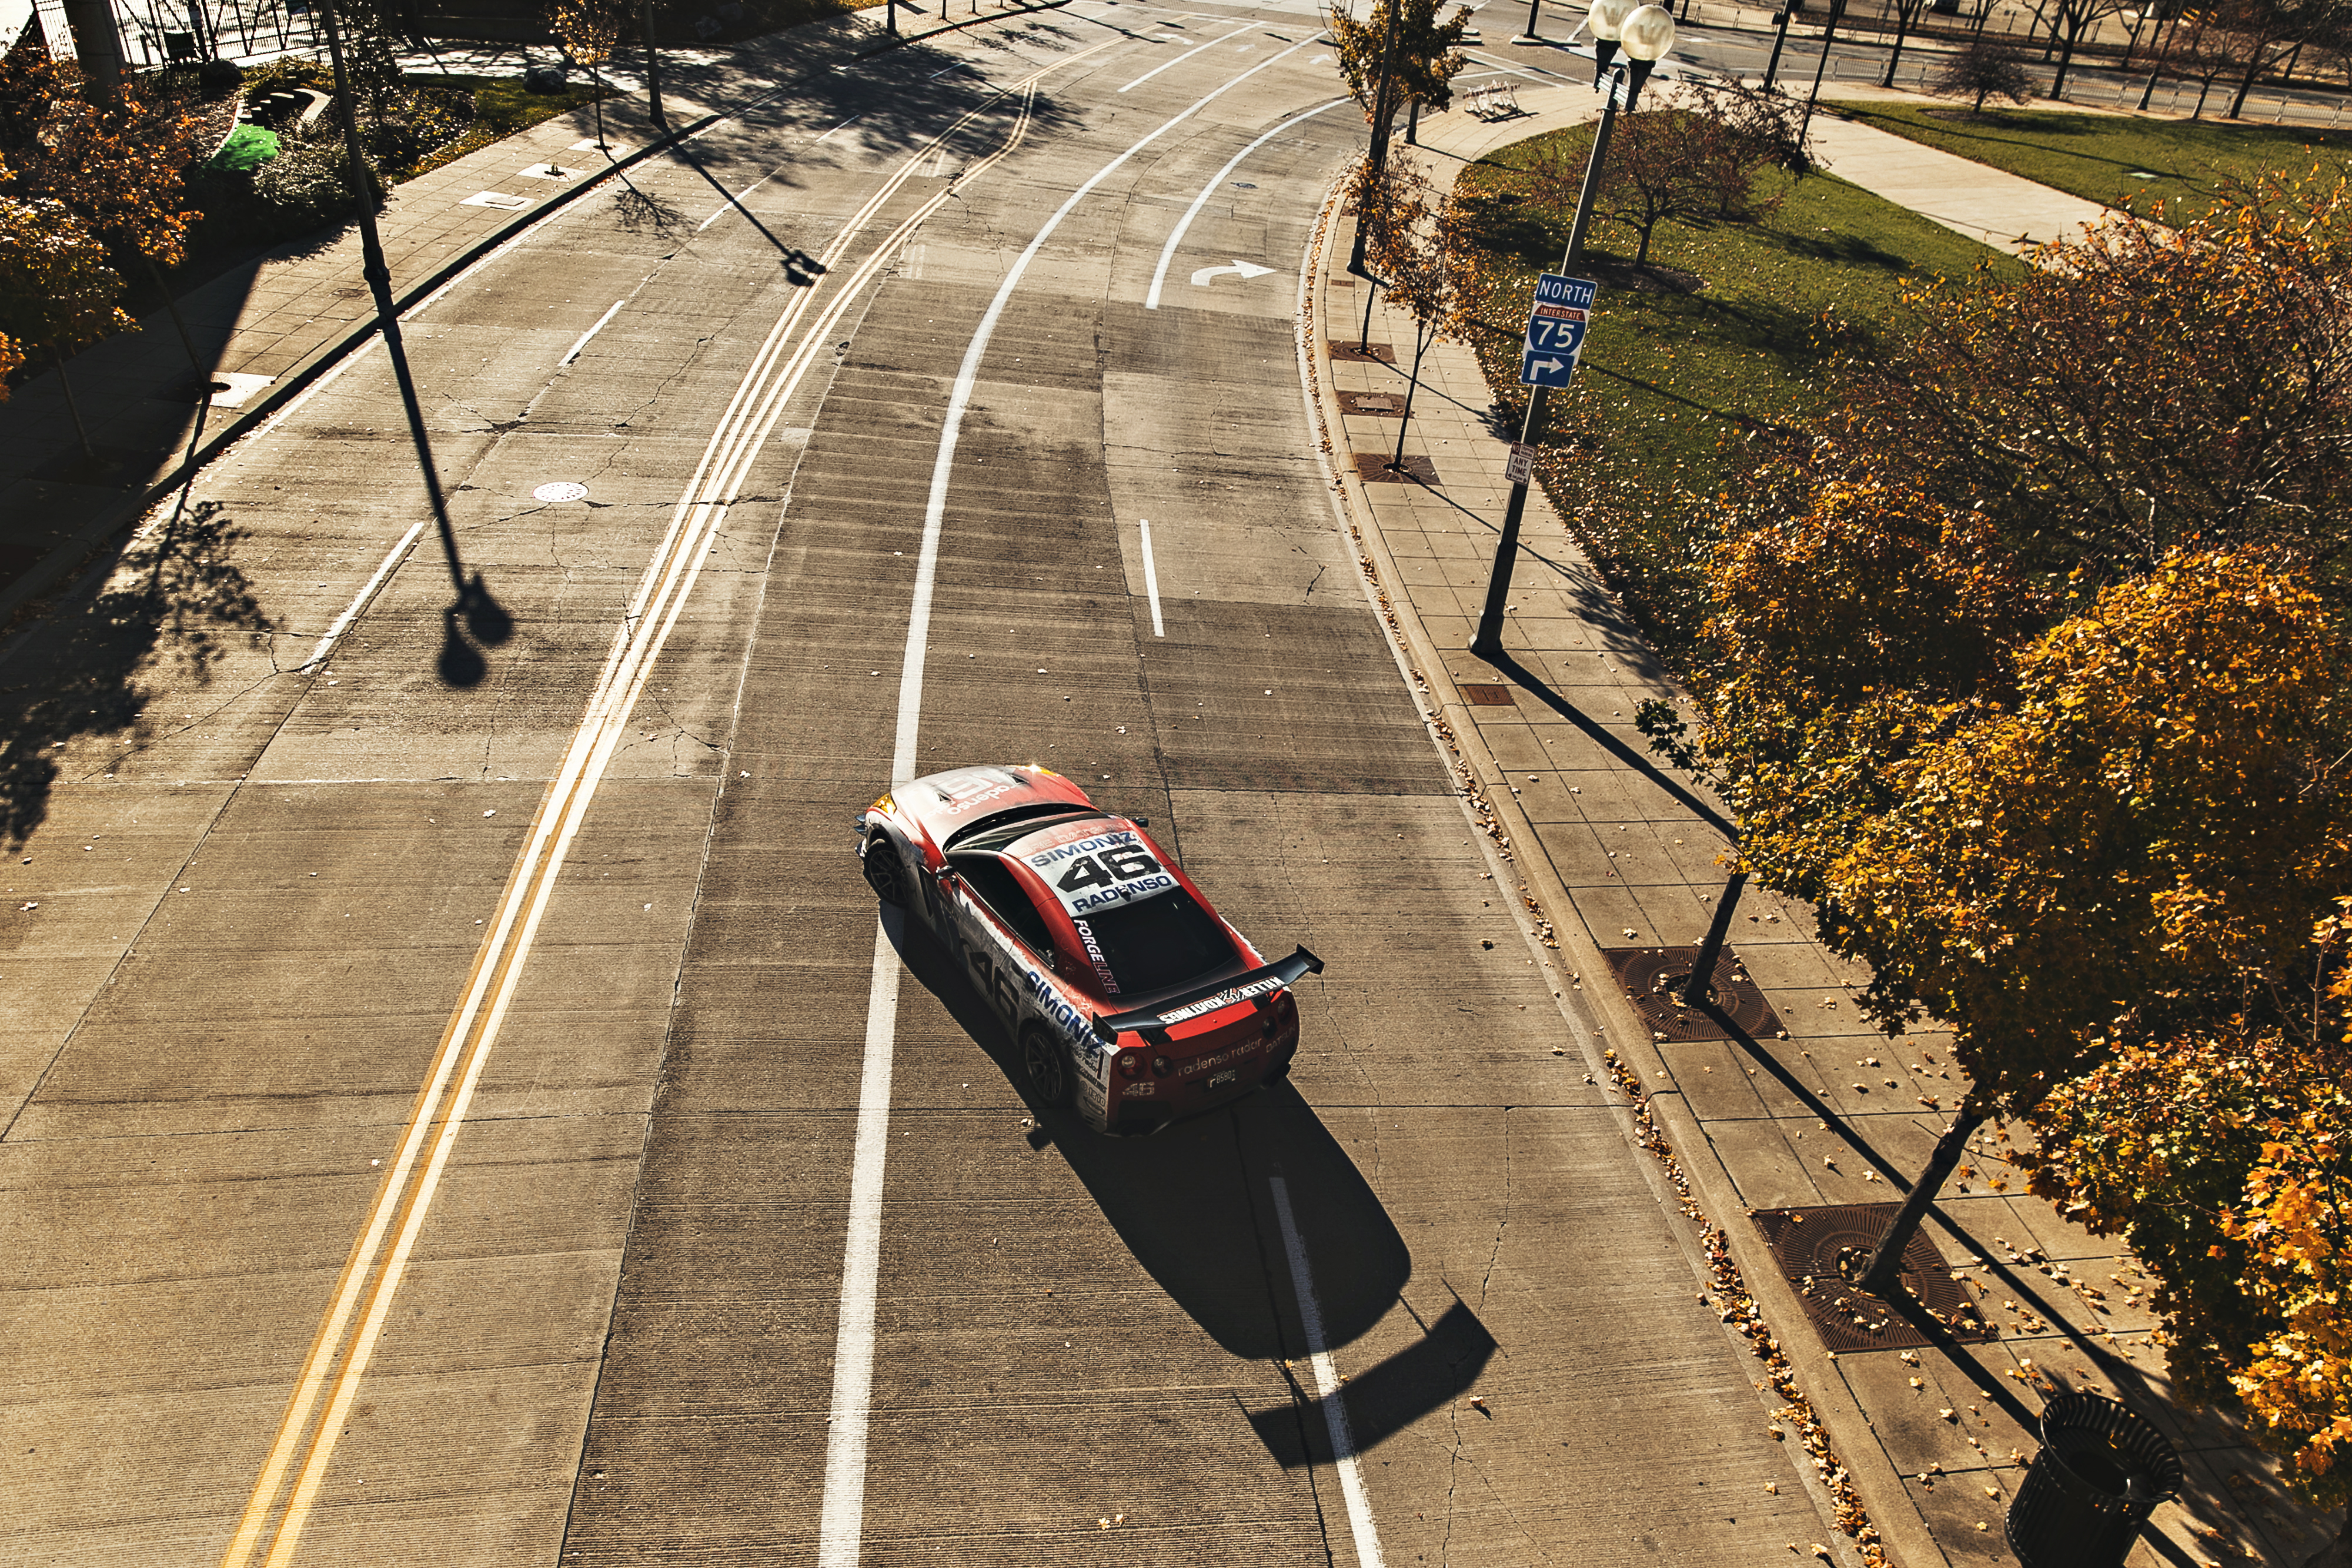
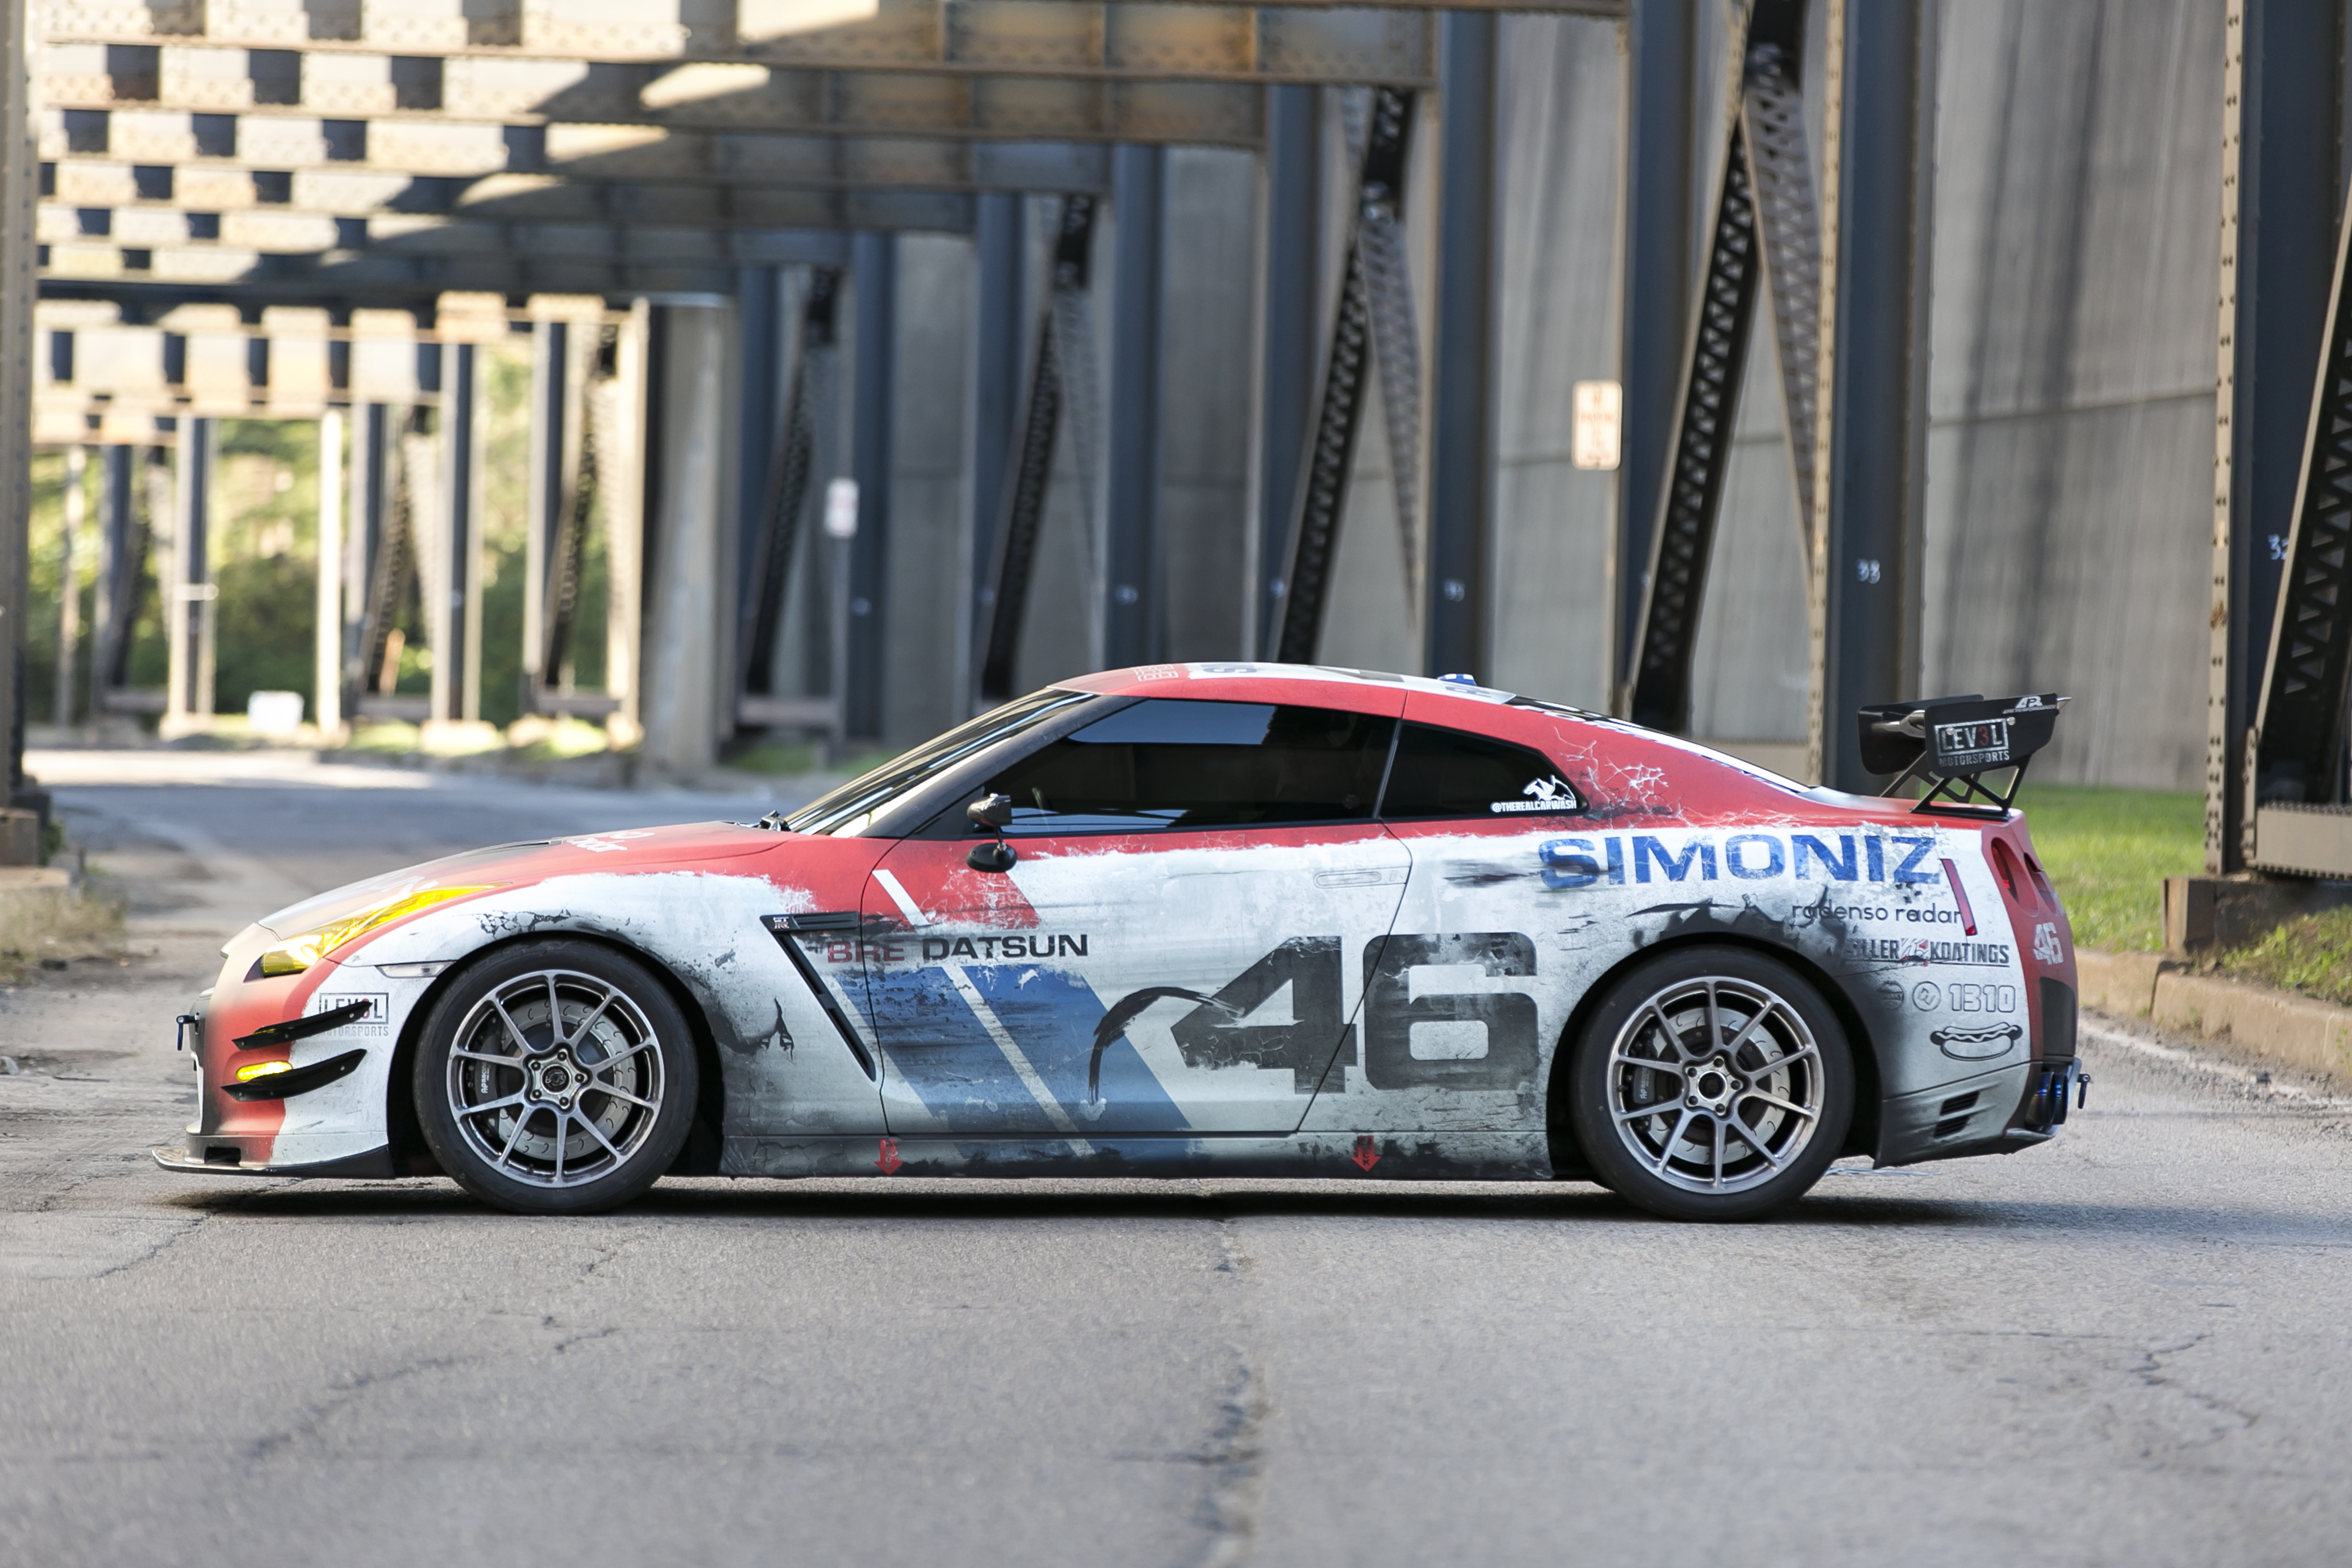

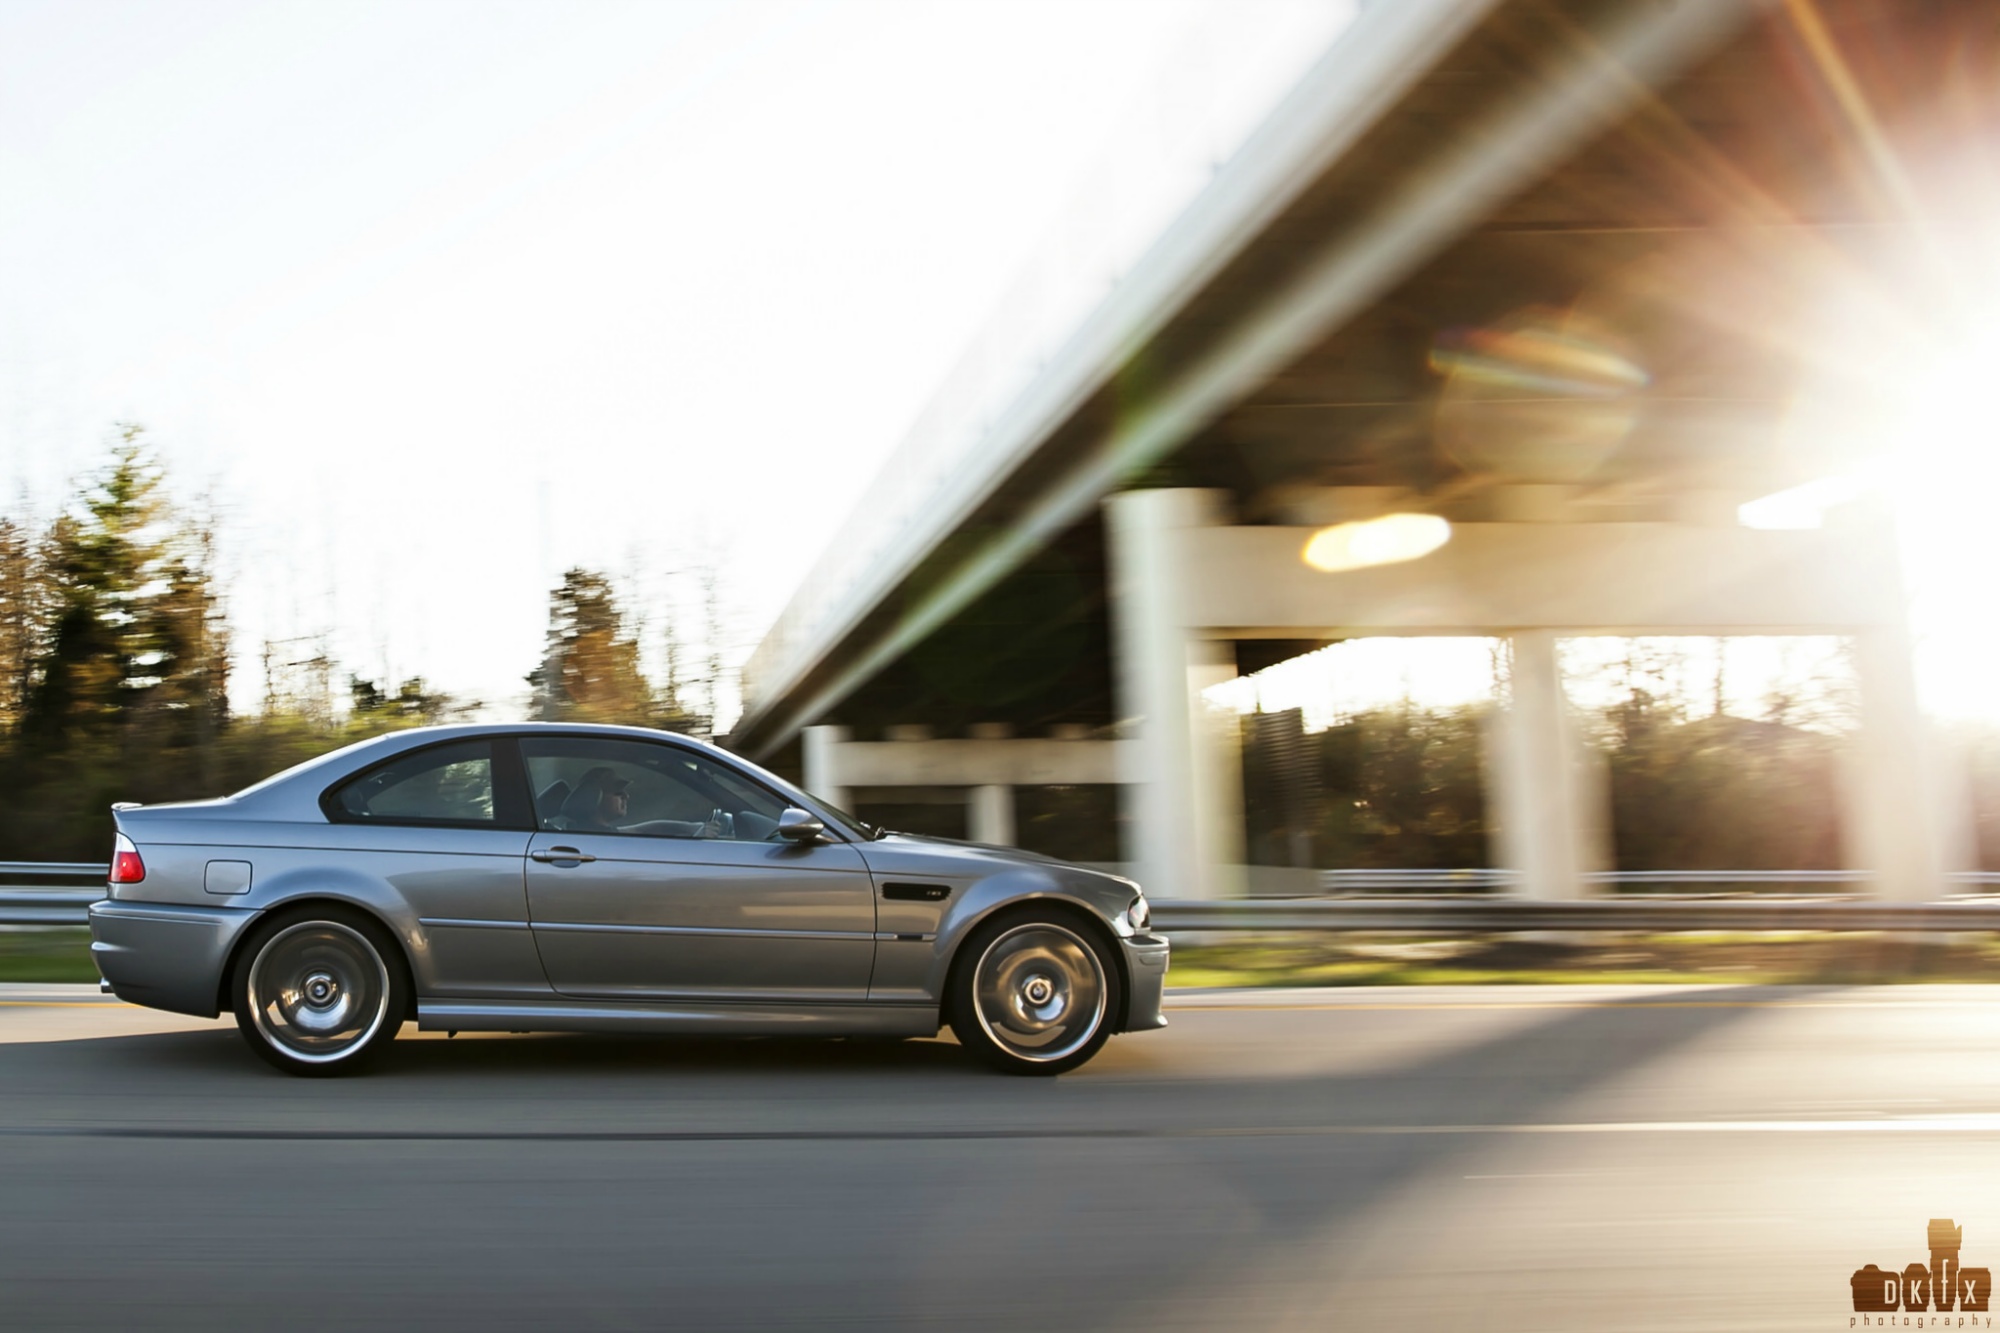
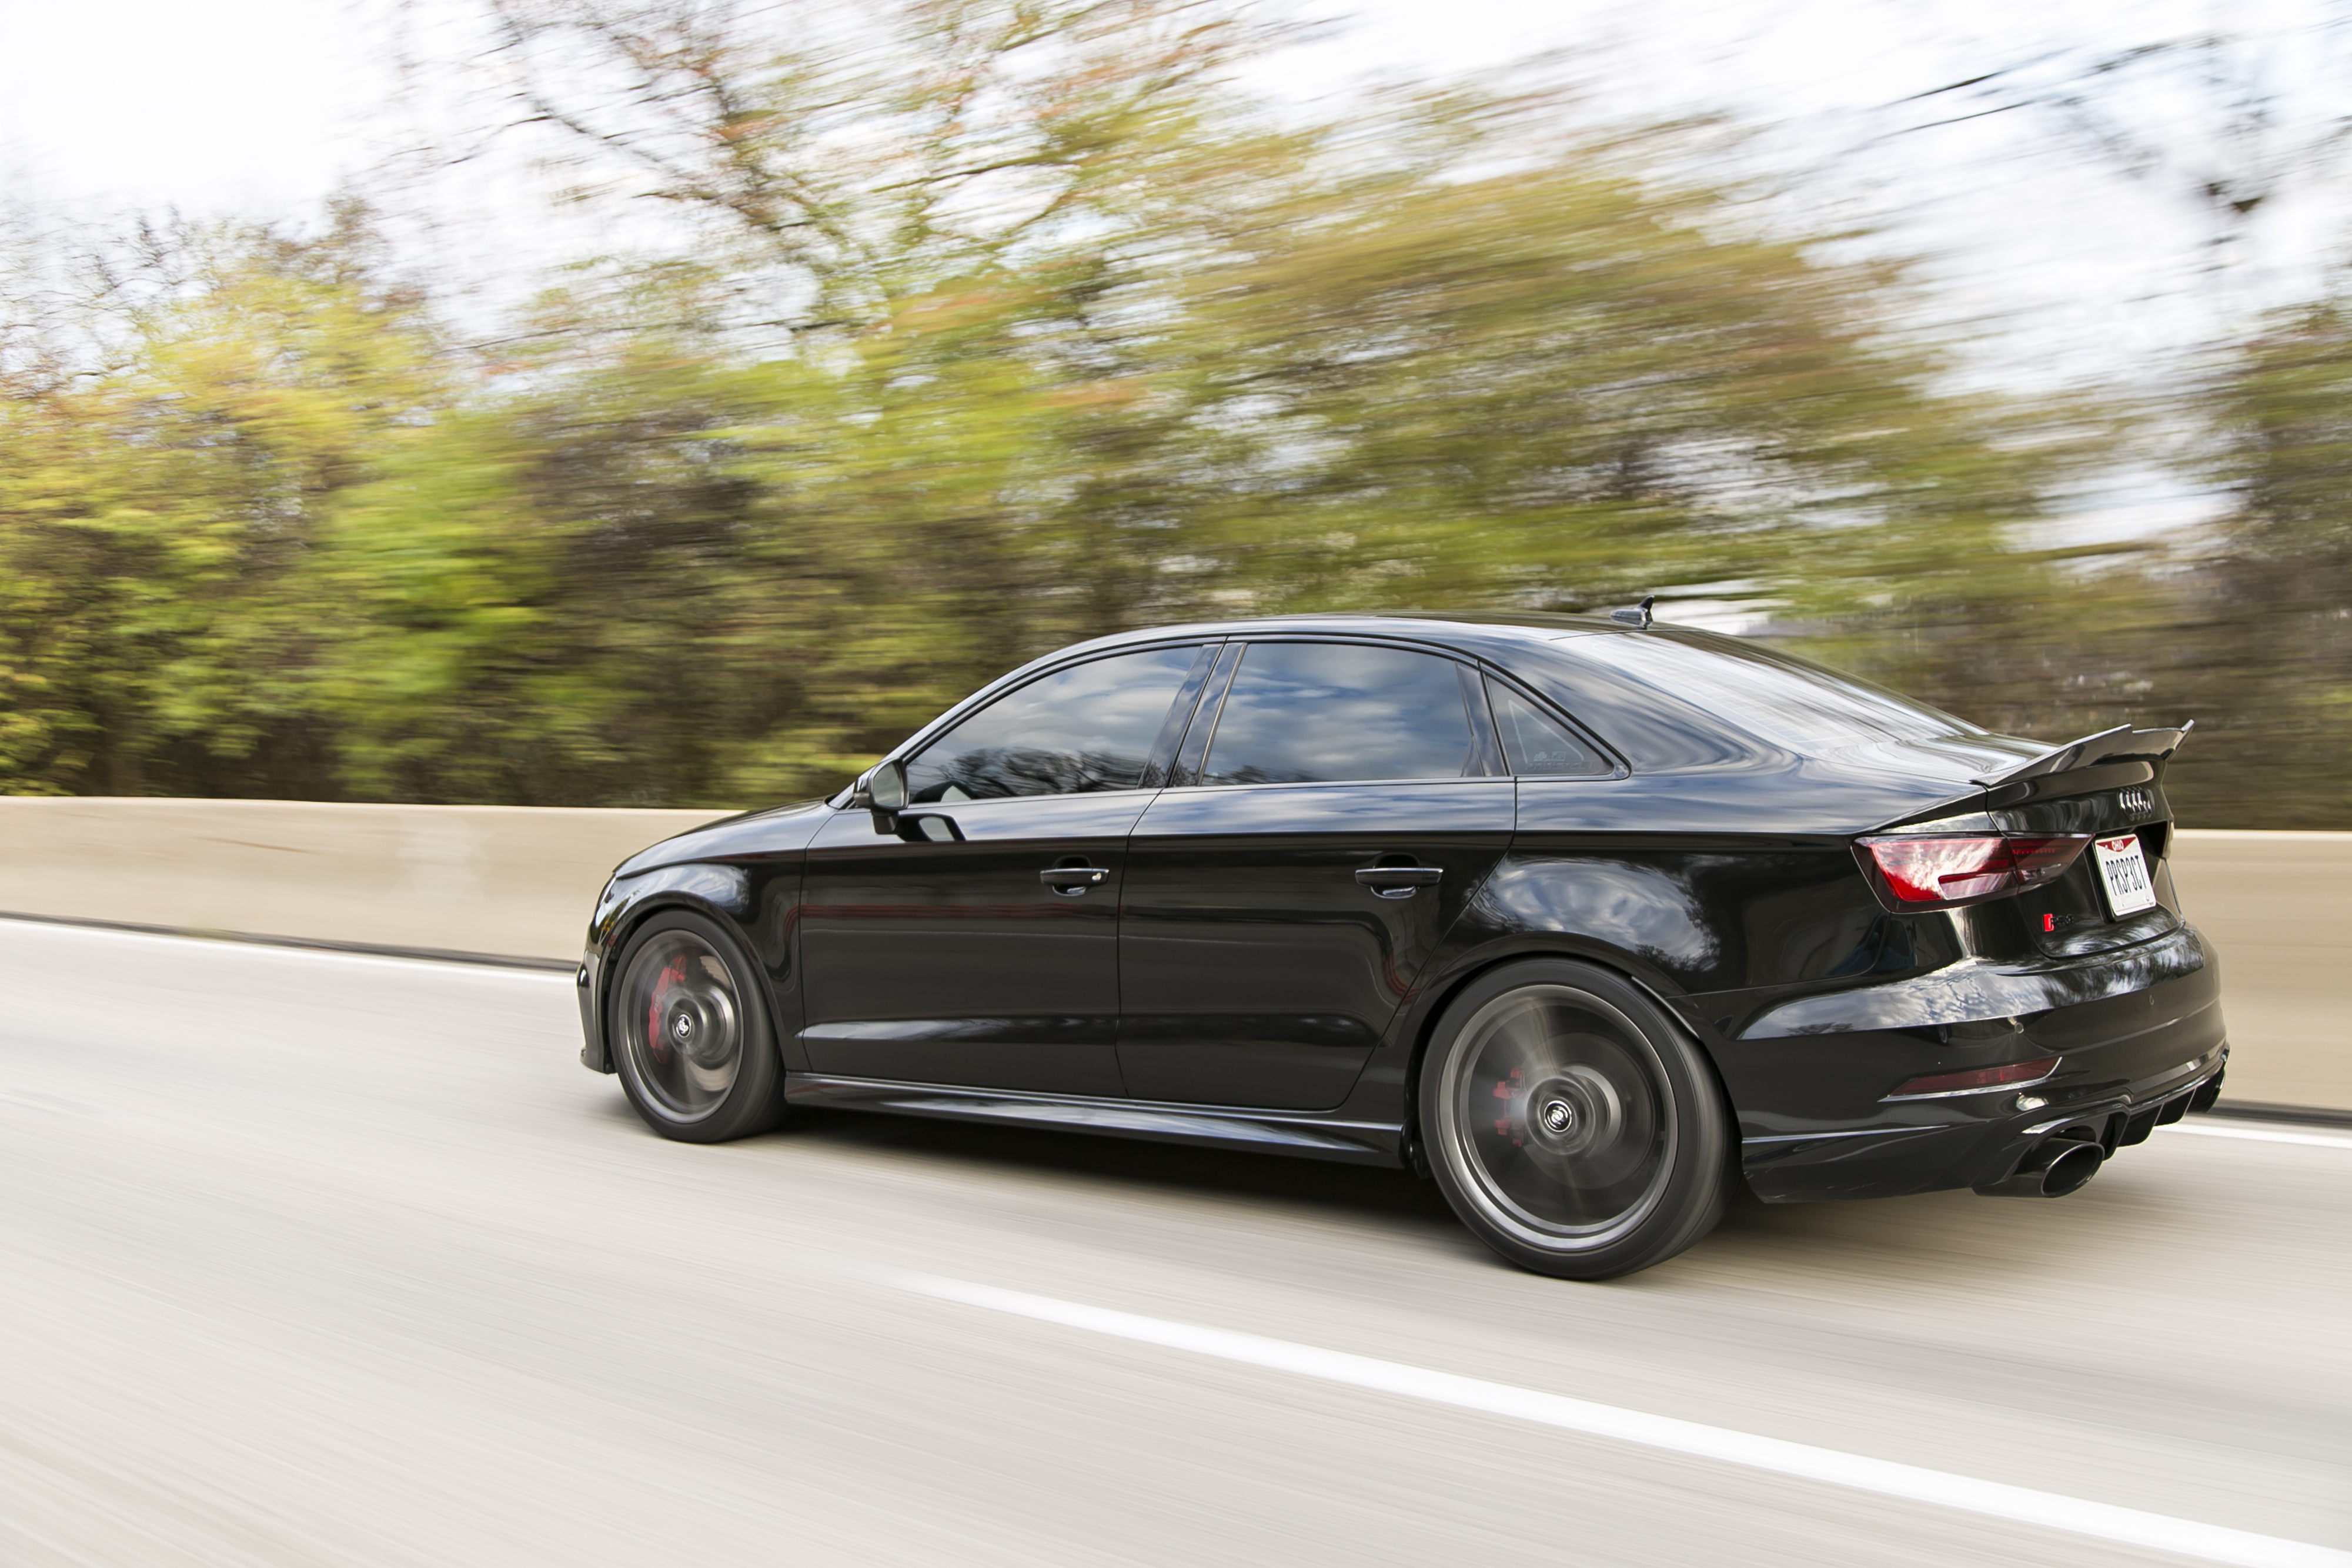
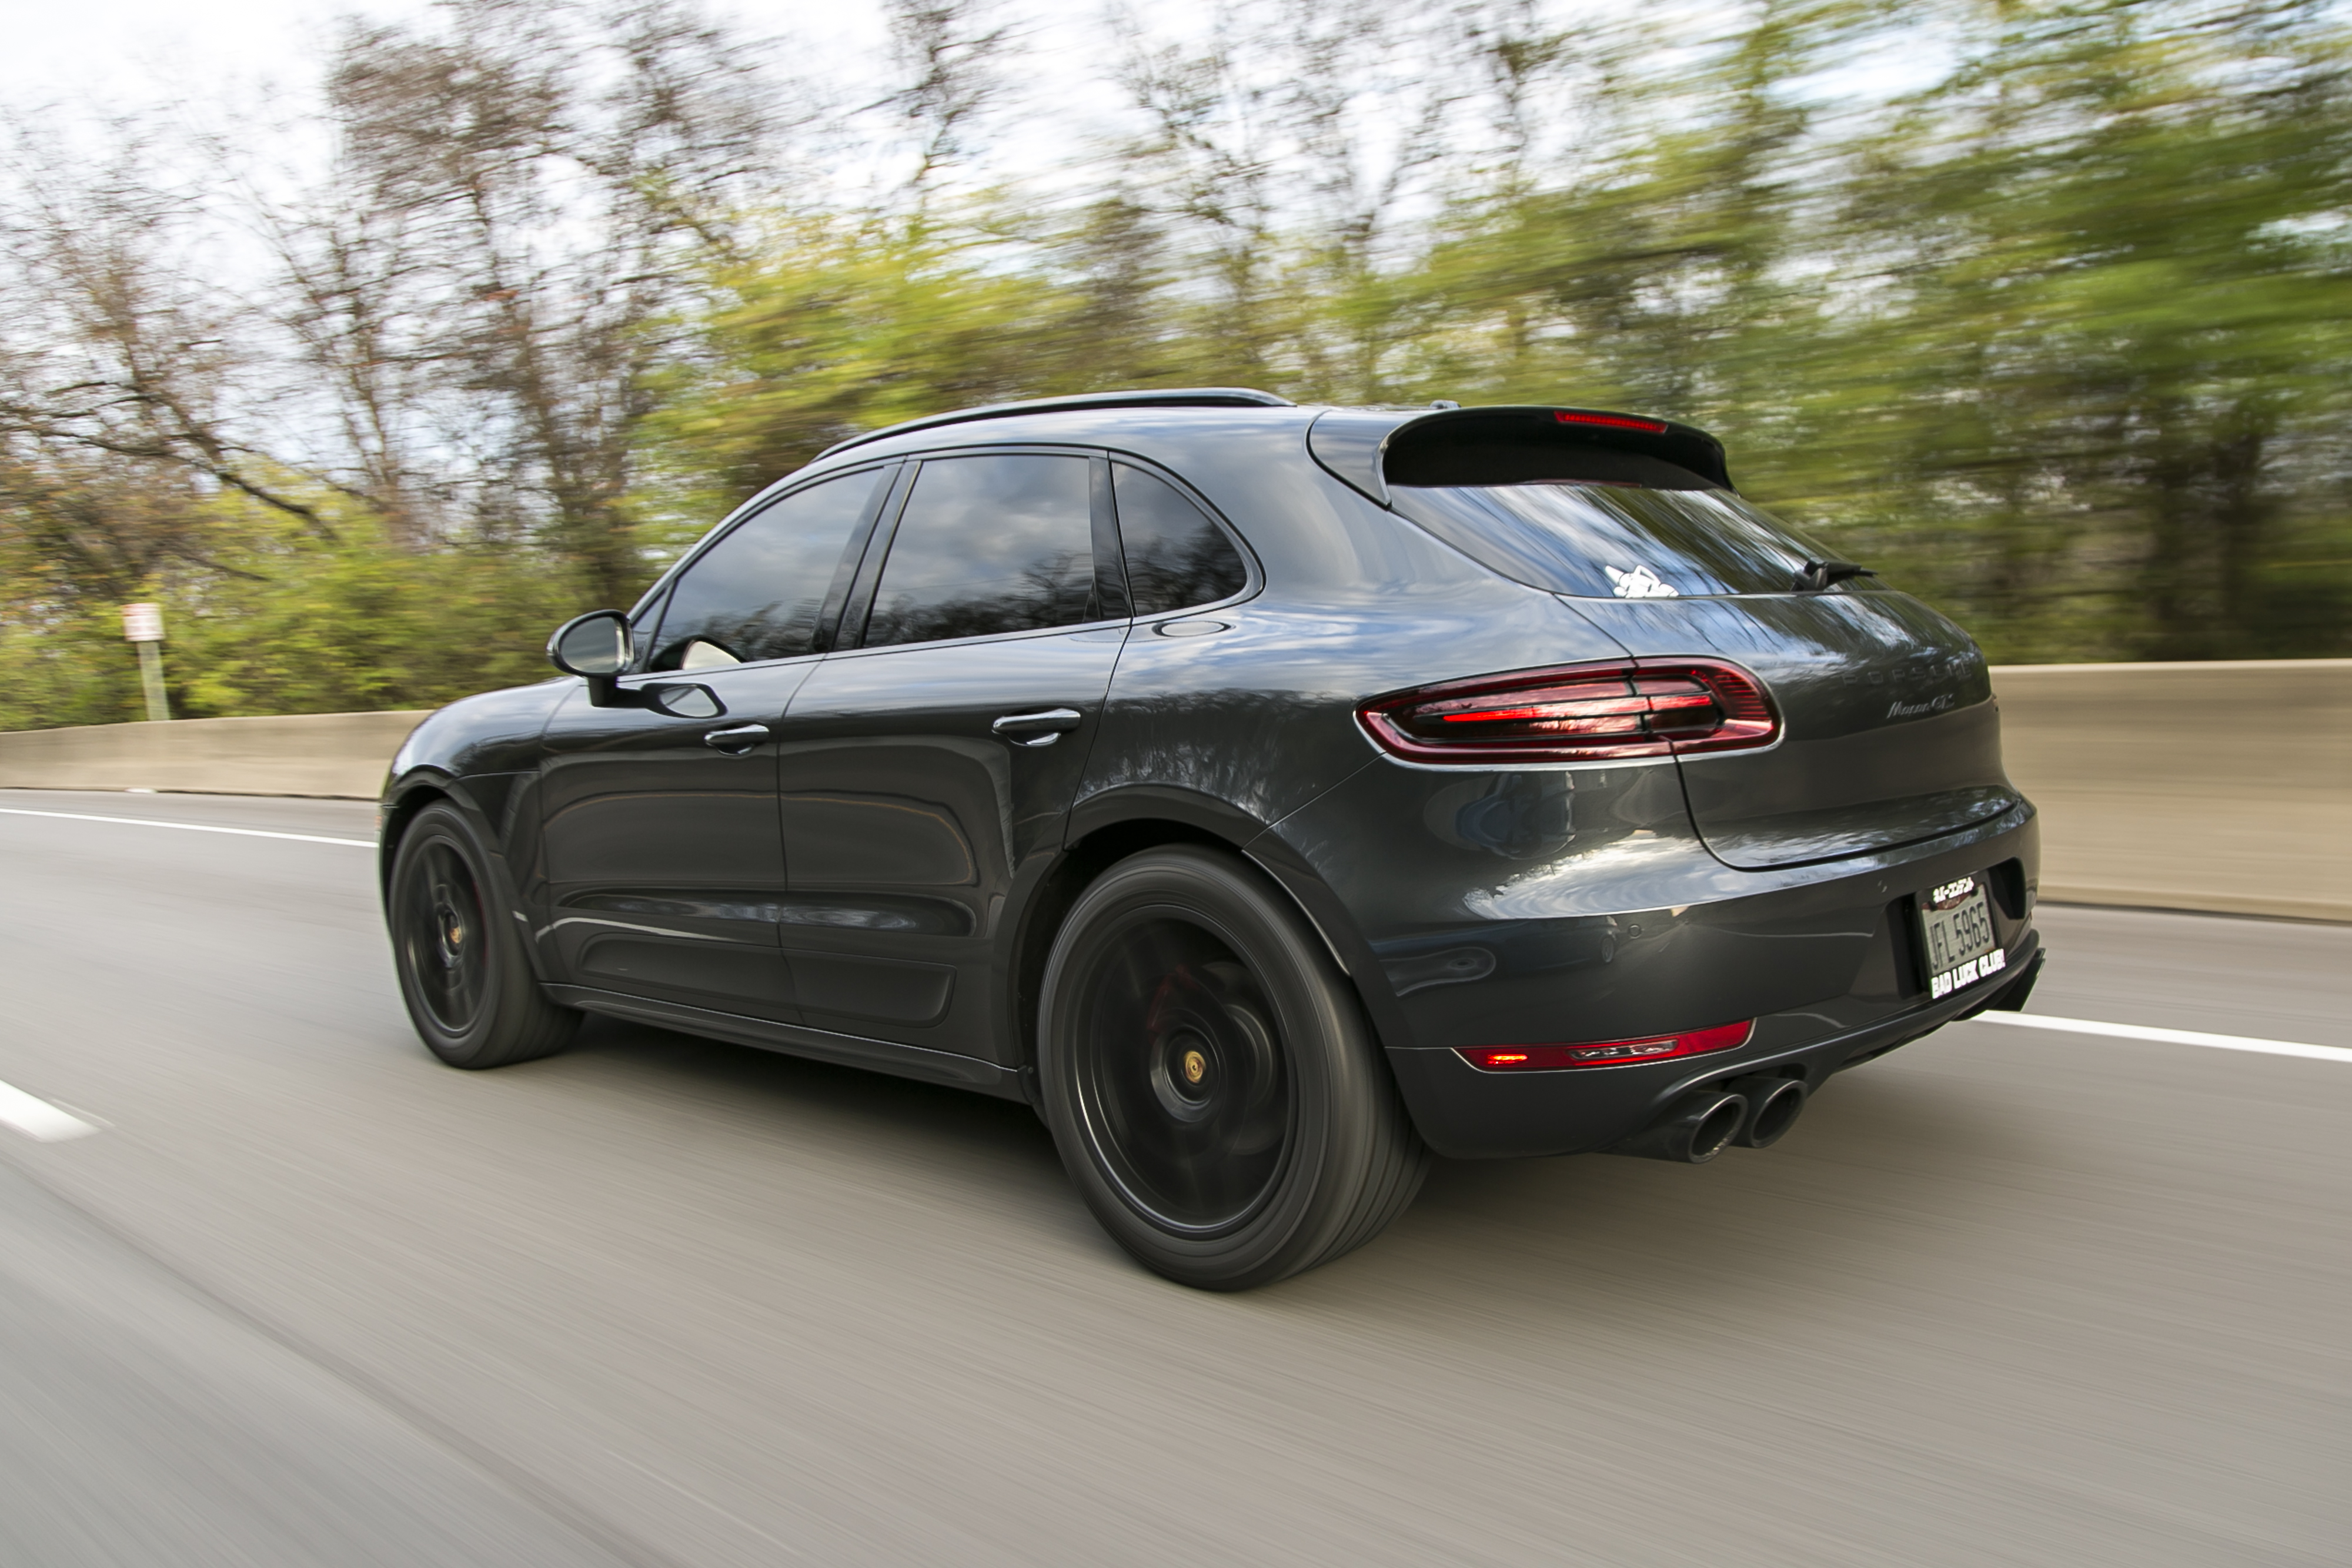
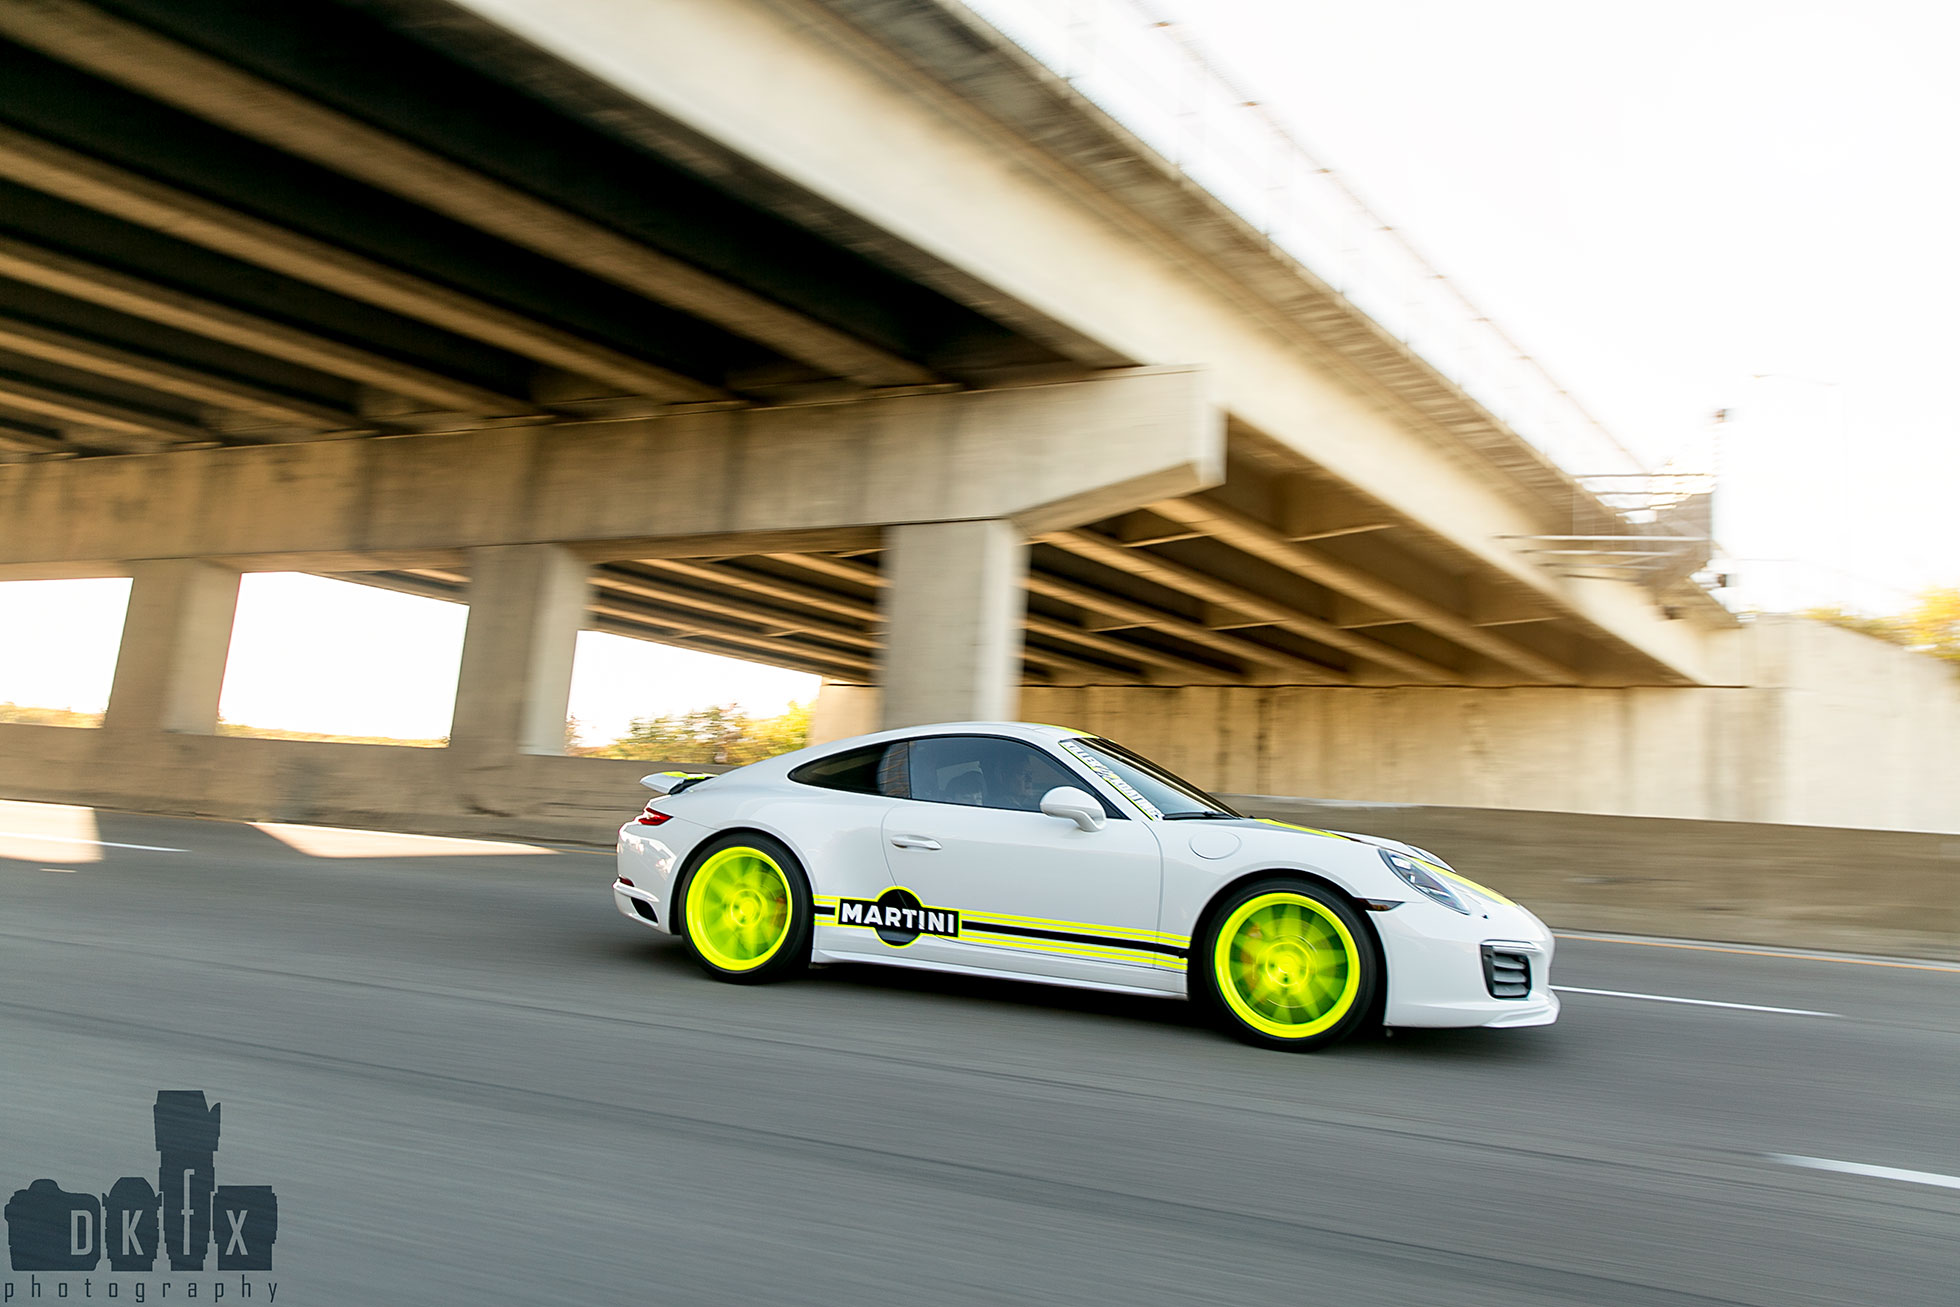
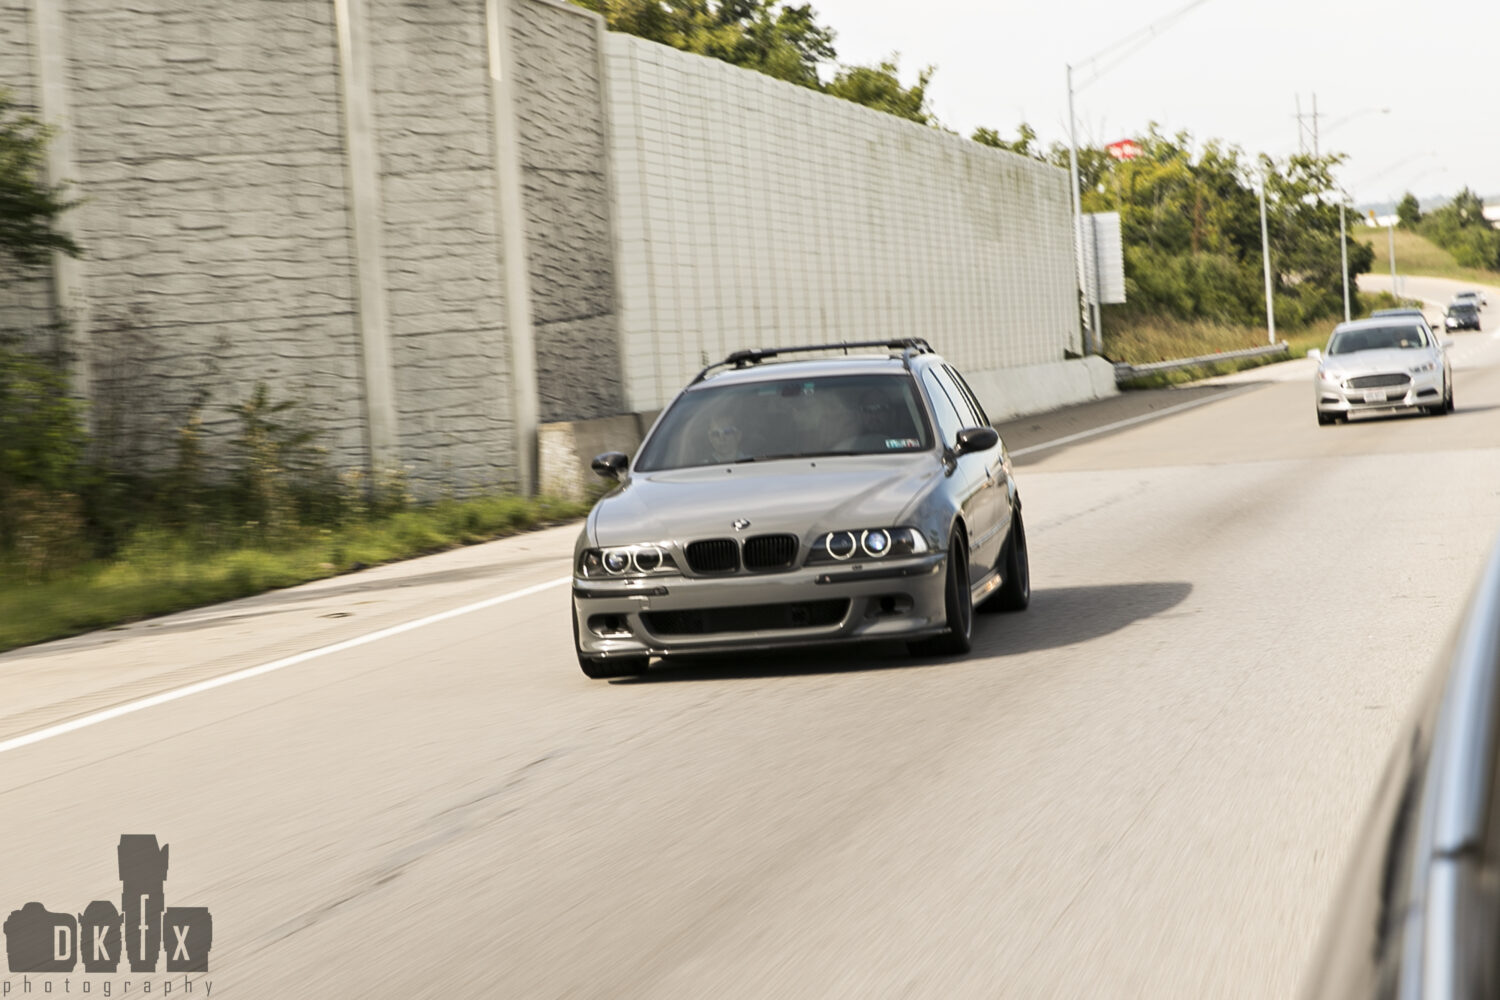
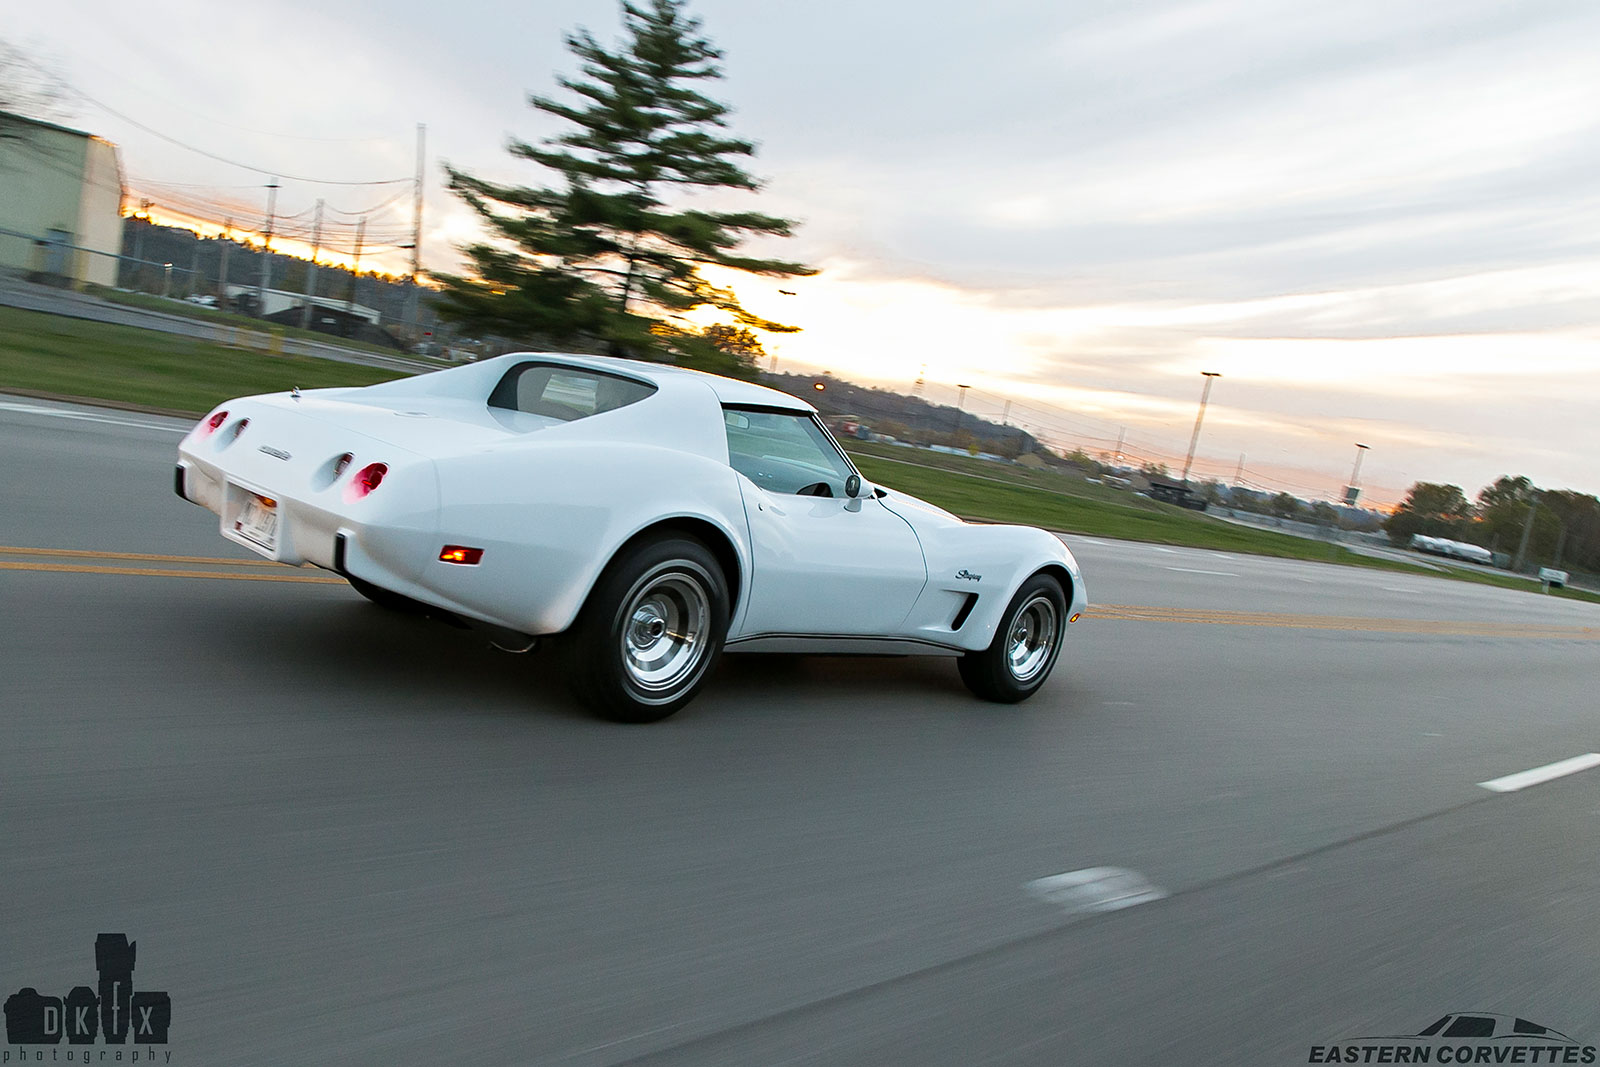
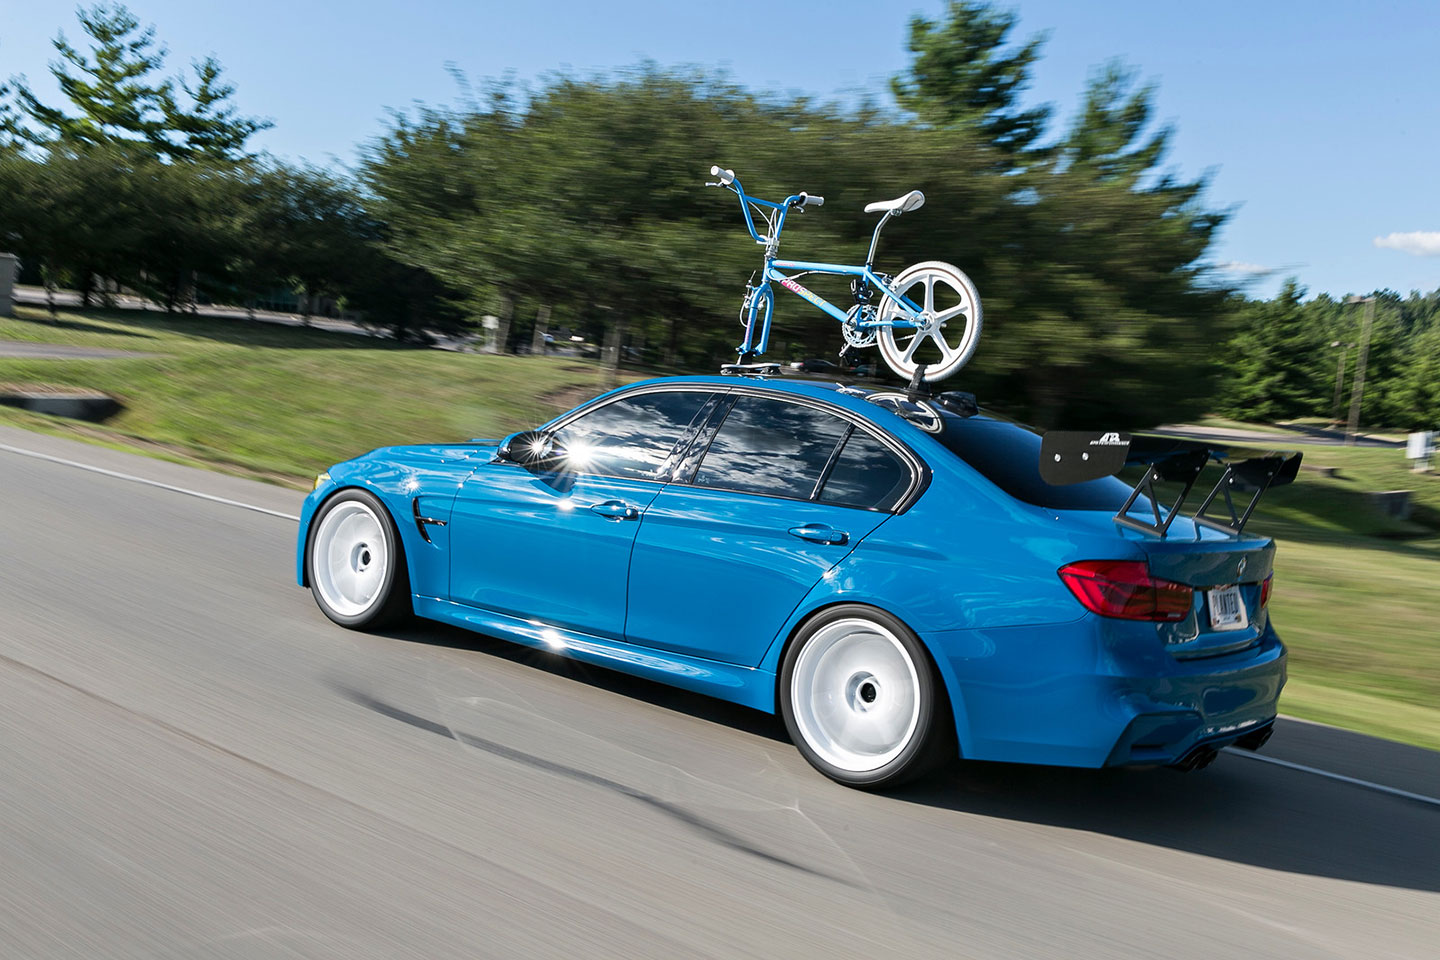
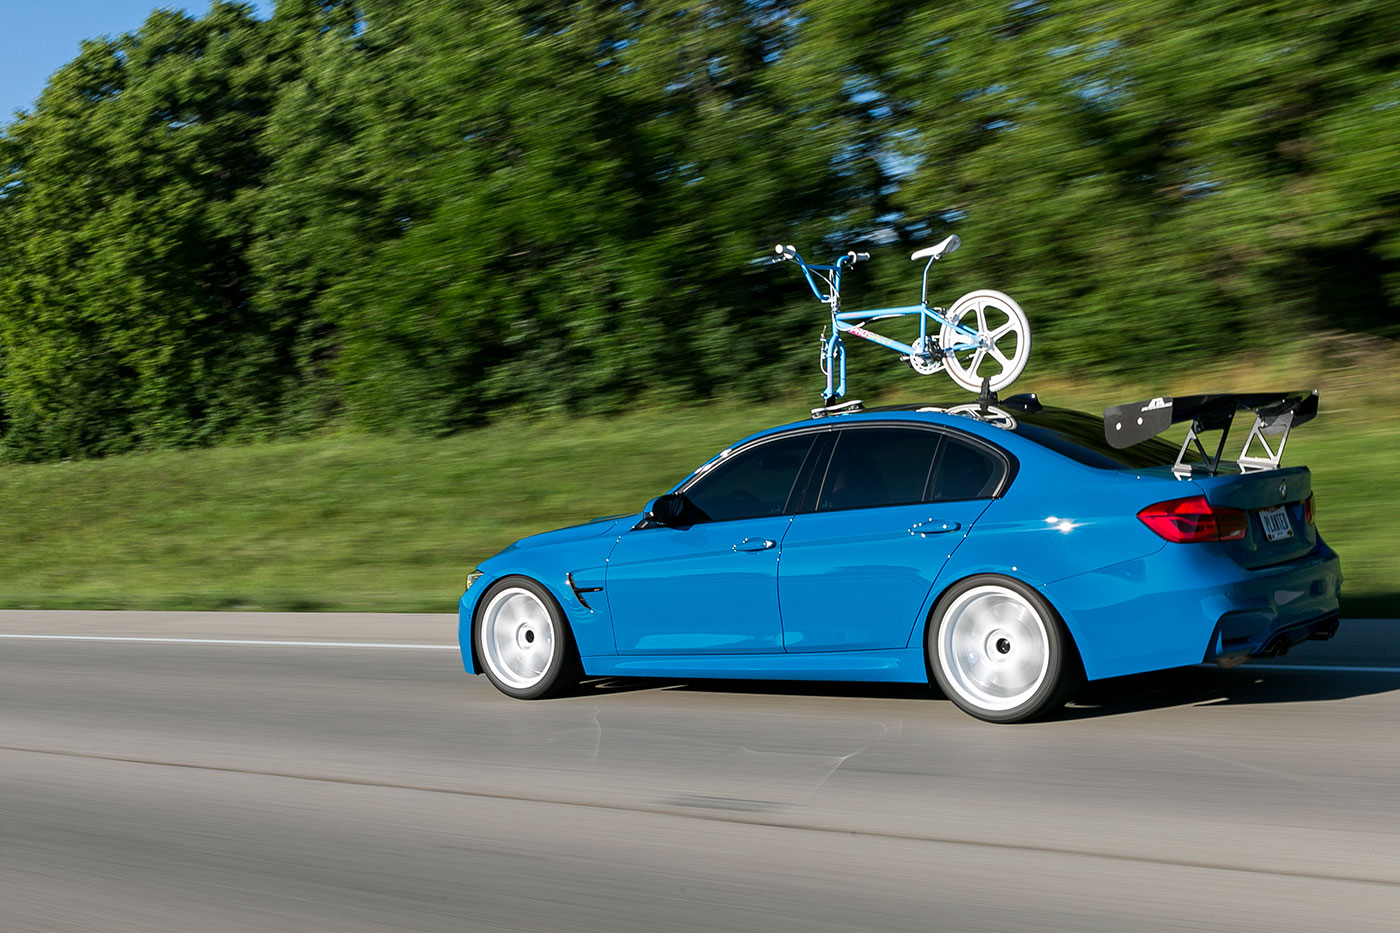
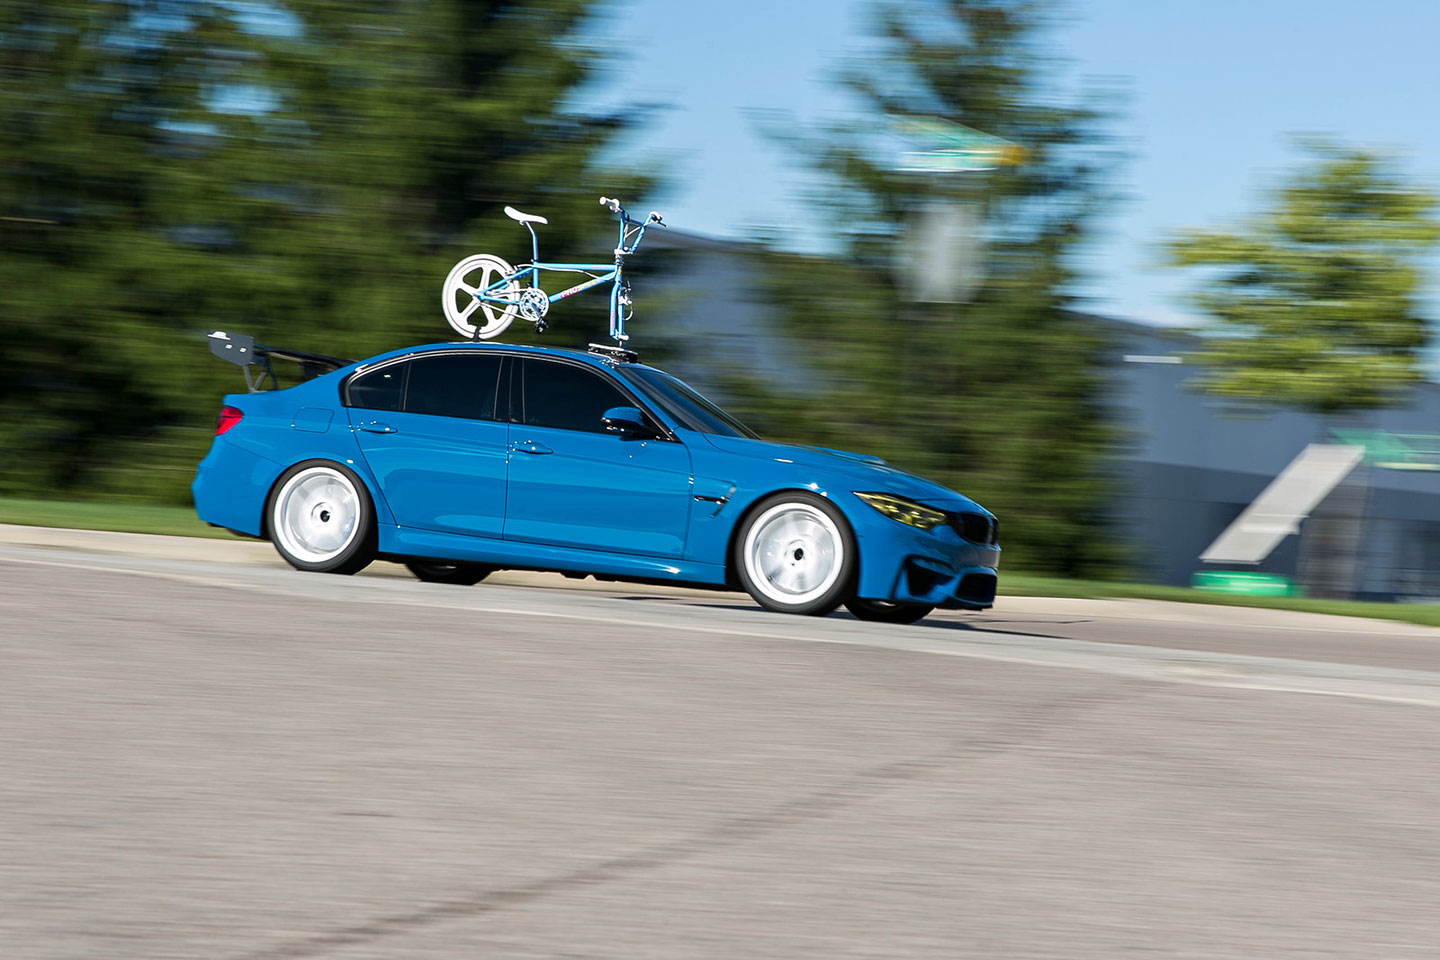
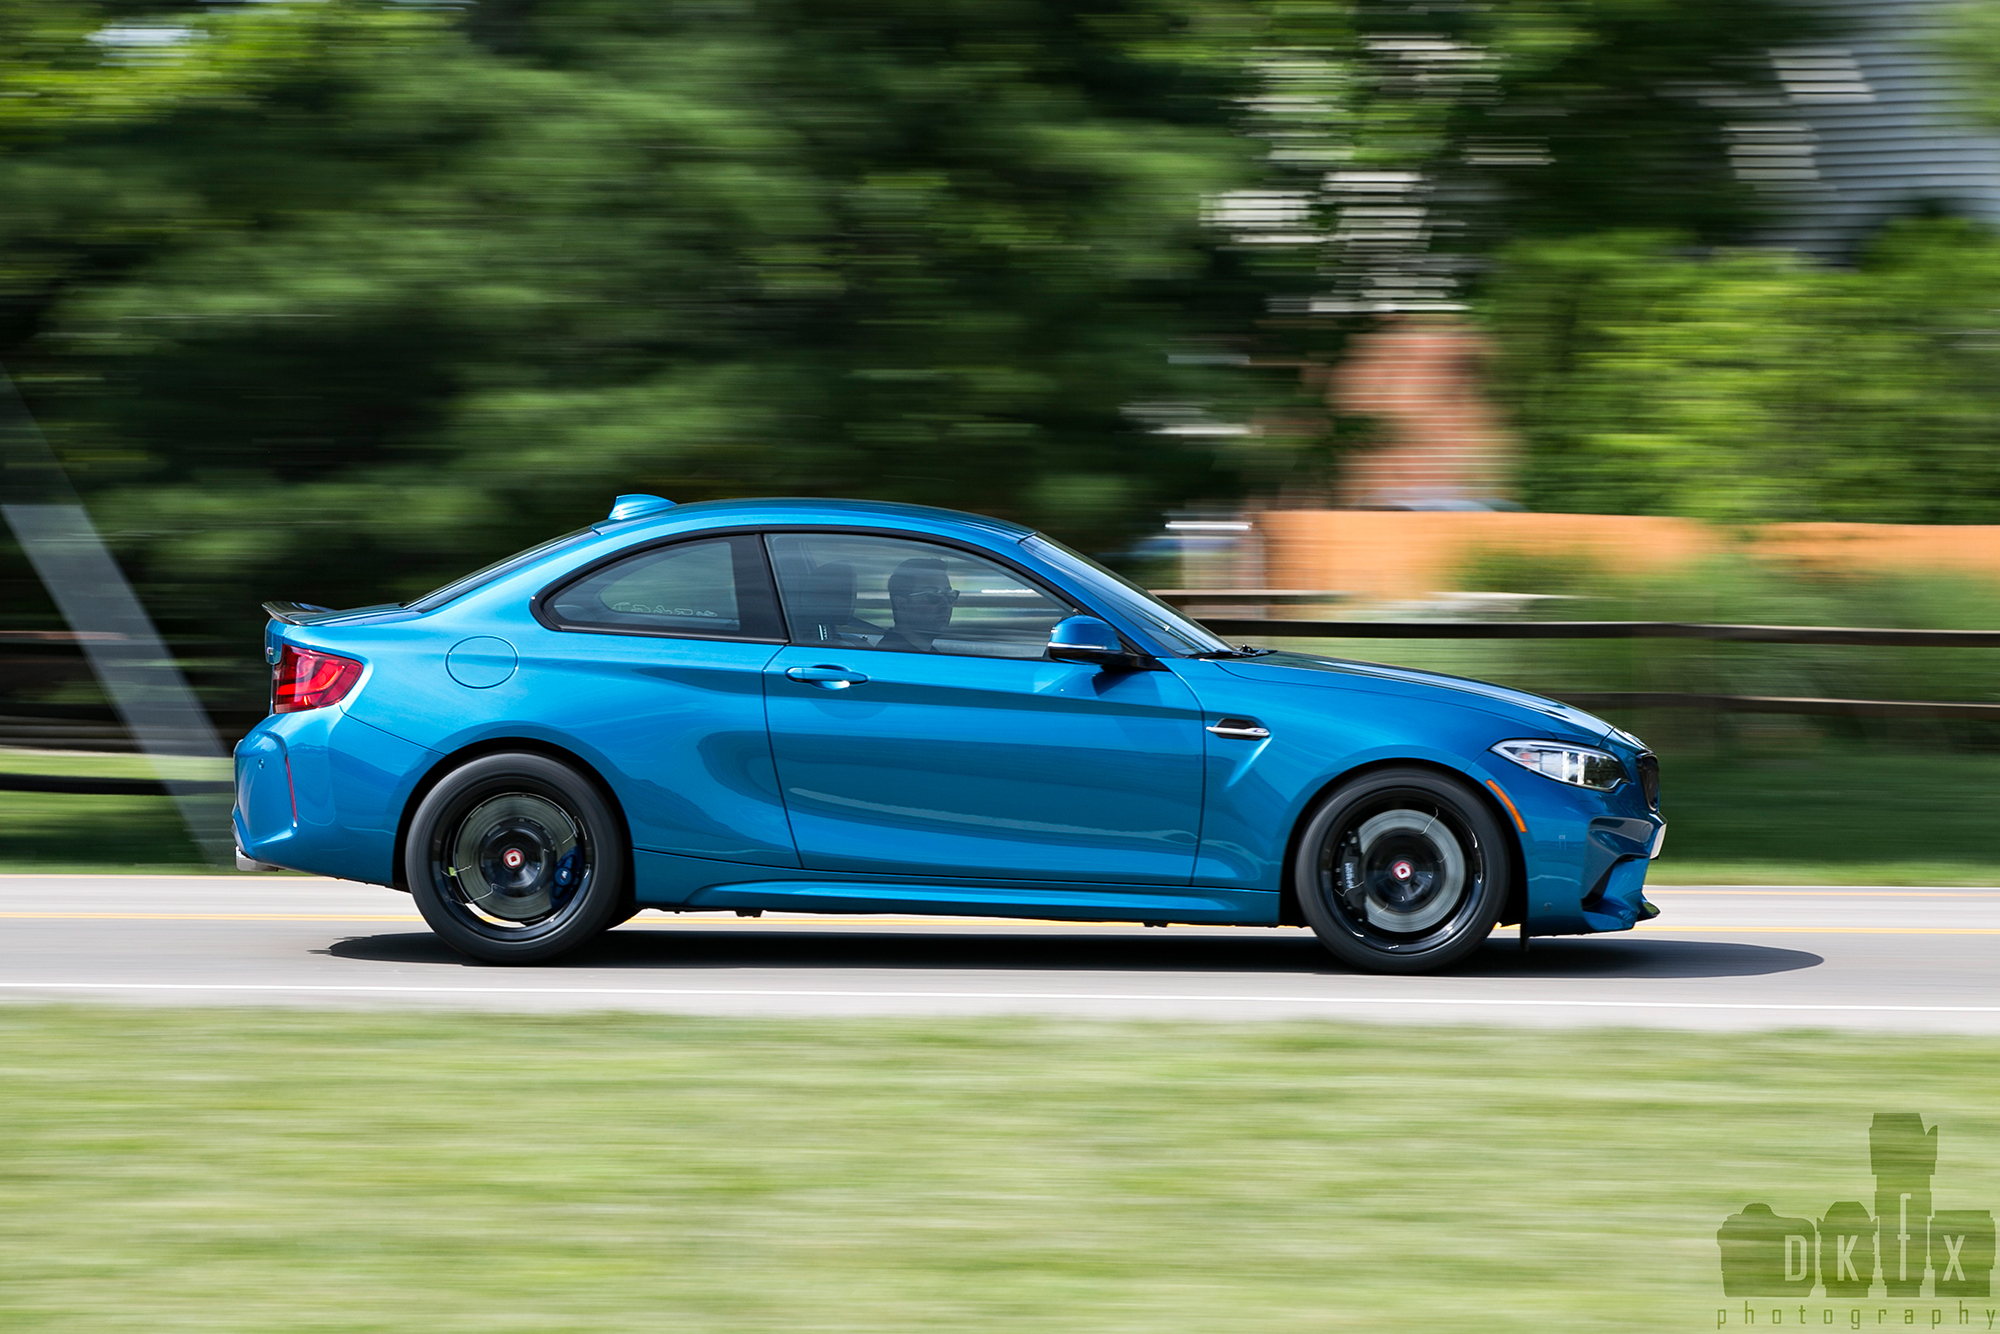
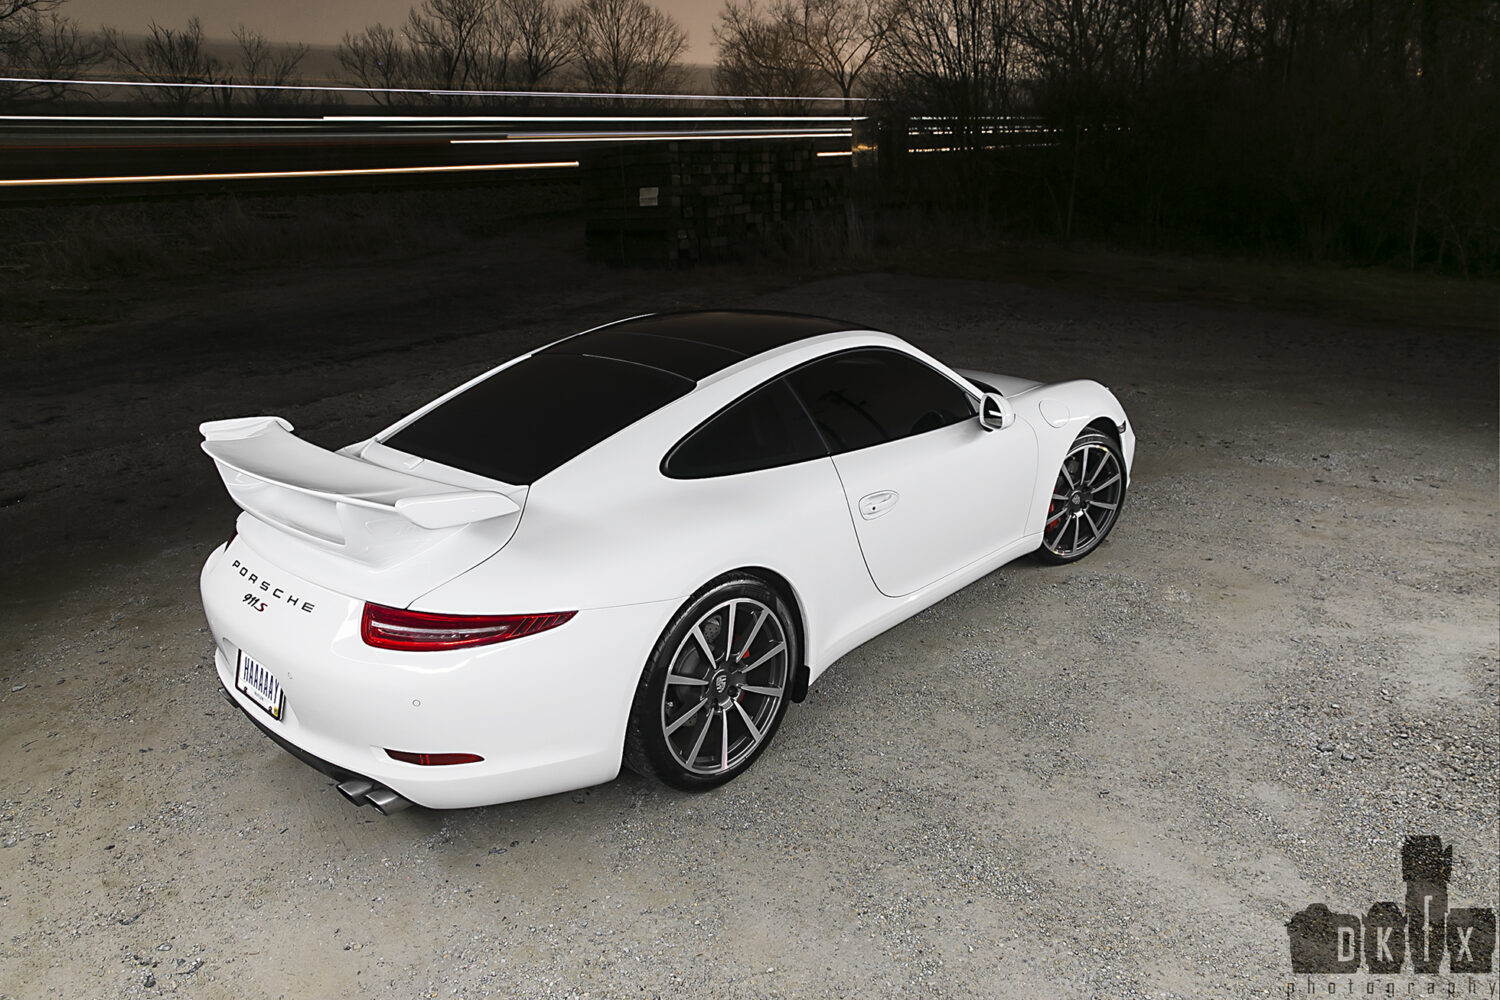
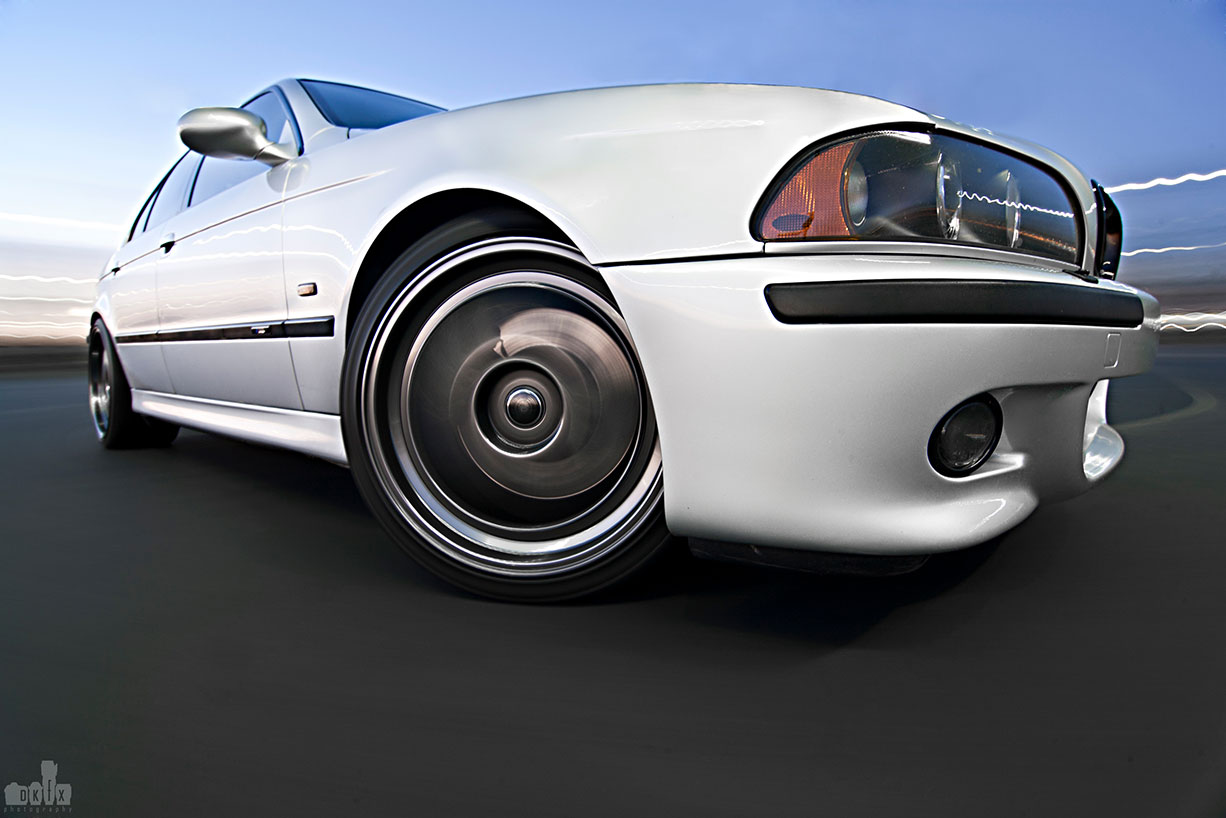
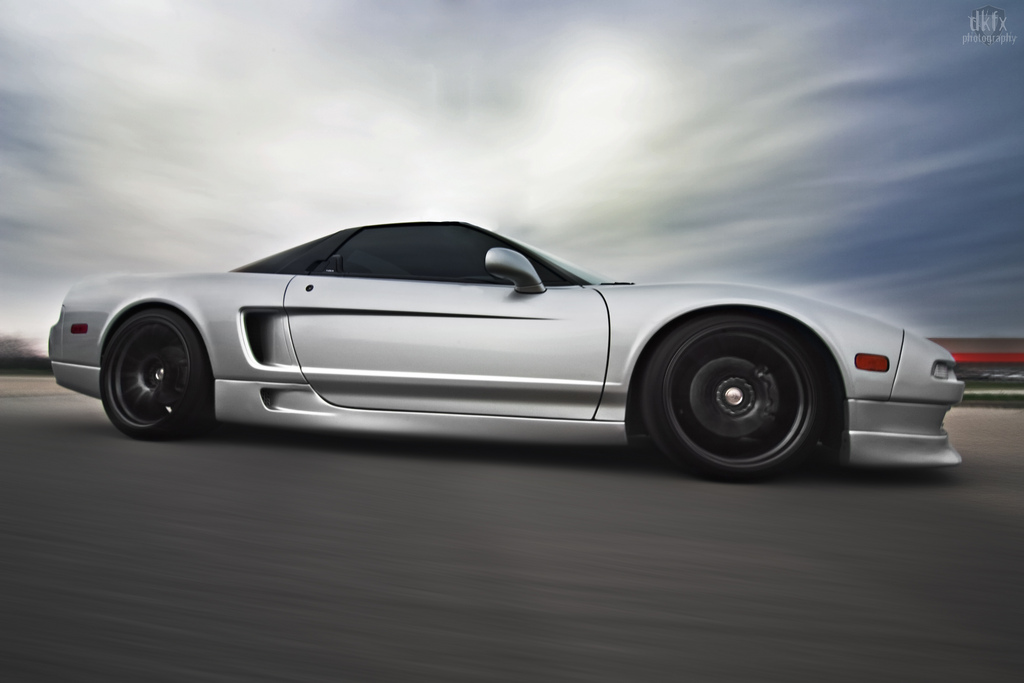
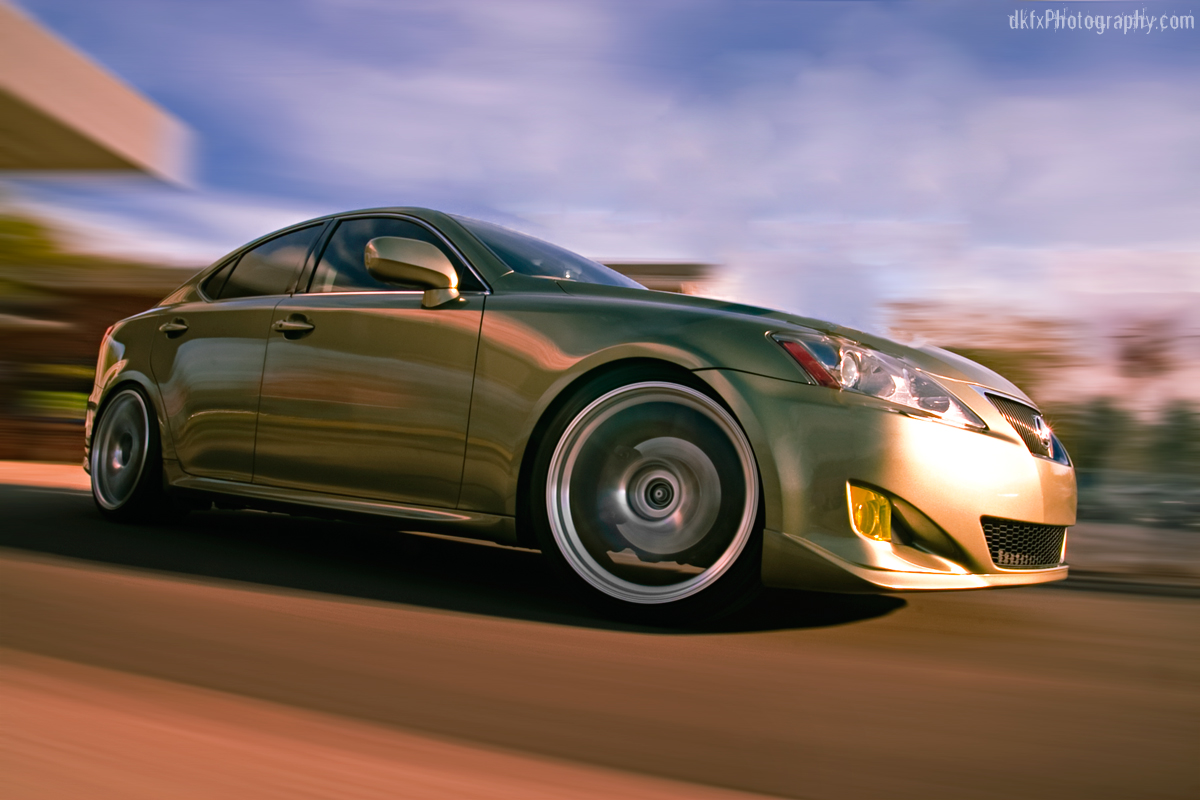
Rolling Shots / Panning Shots:
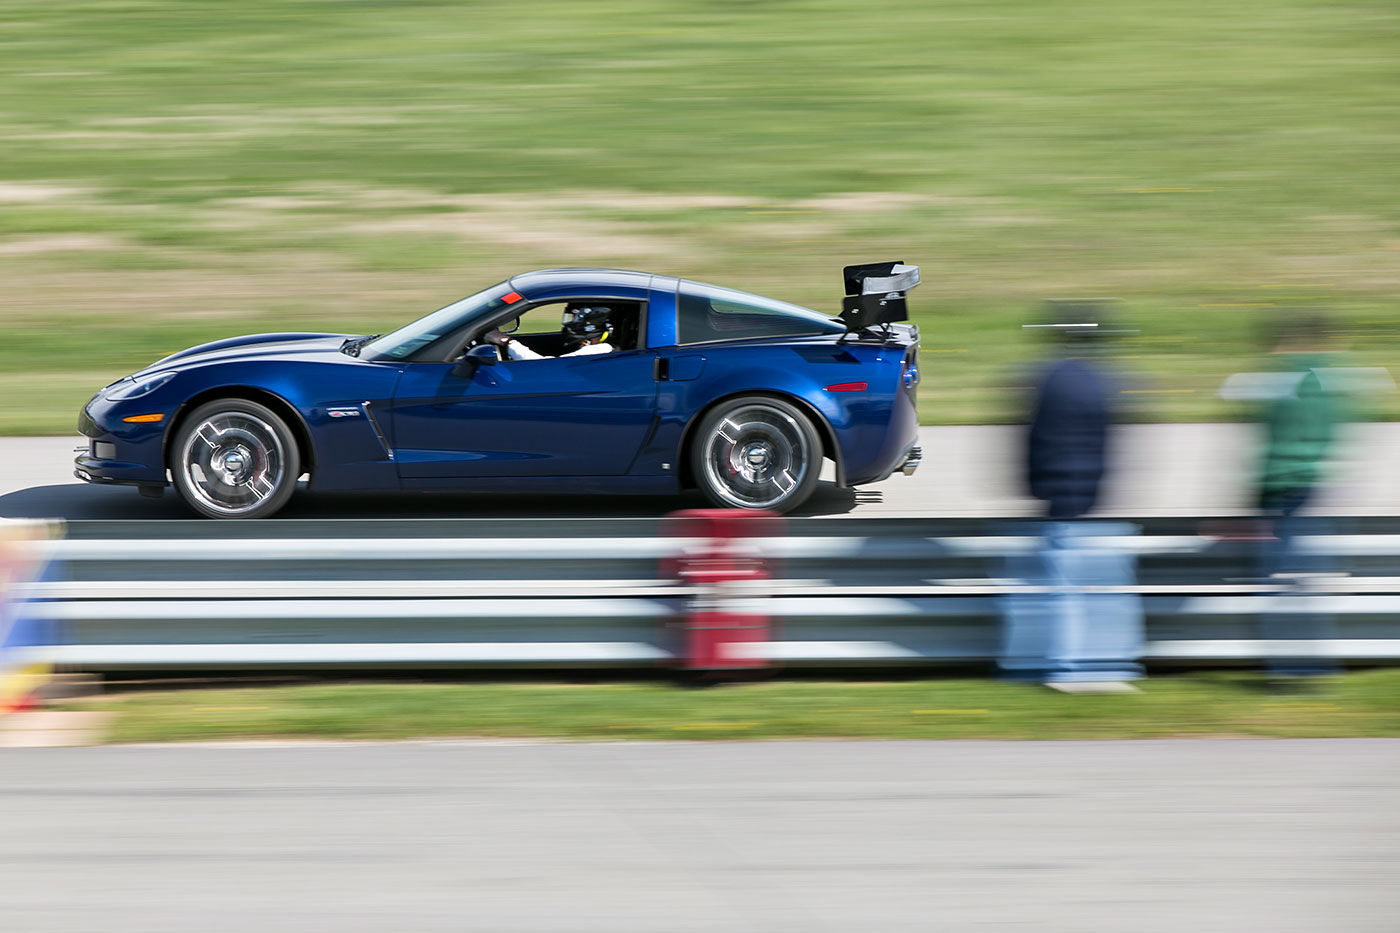
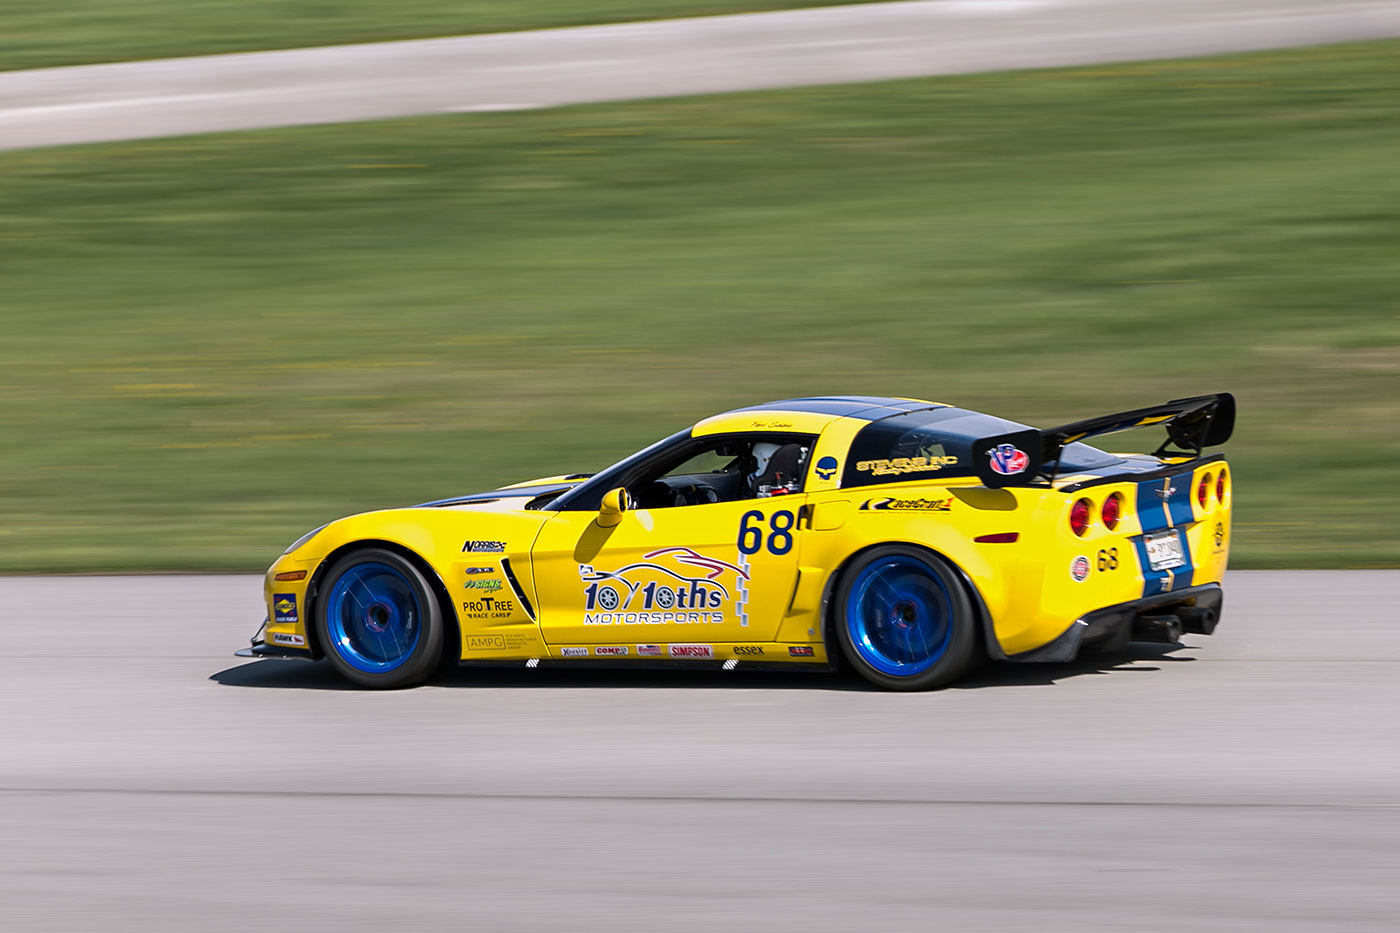
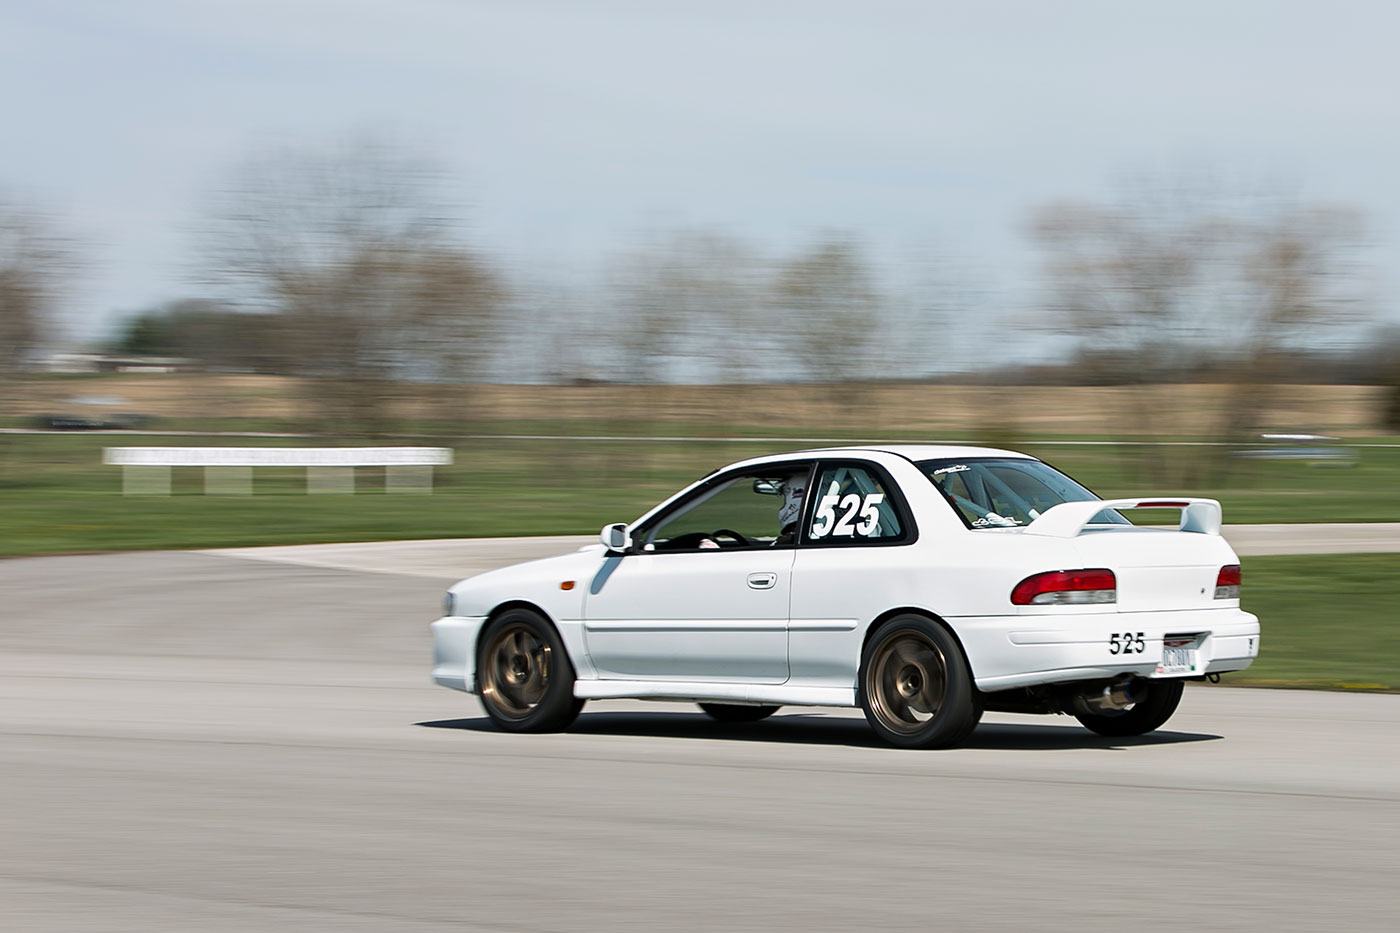
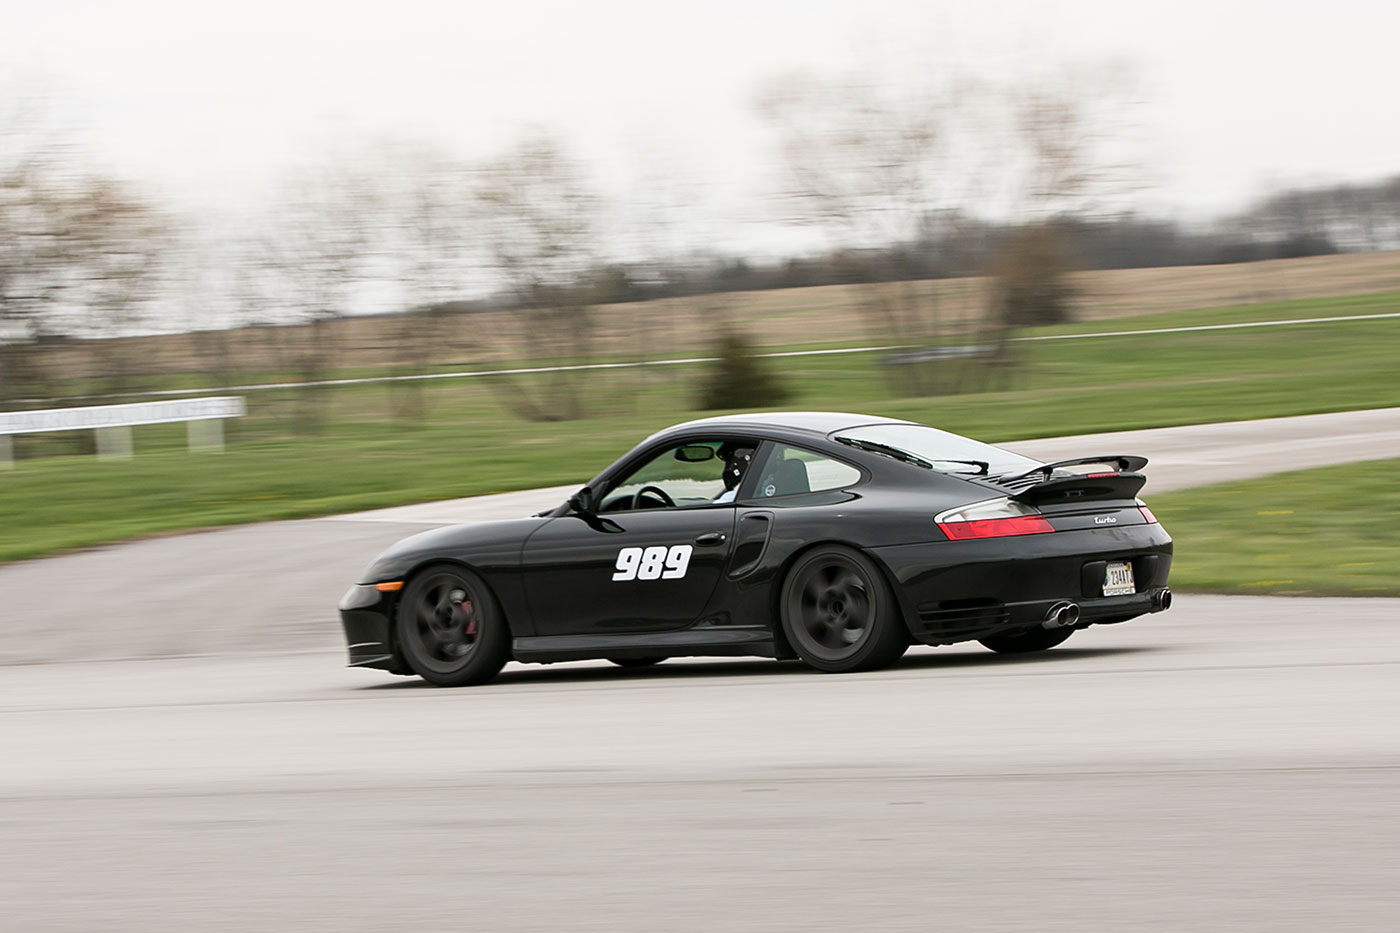
Next up, I would say the most natural progression of difficulty in pictures is the rolling shot. This is when the car being photographed is driving down the street (highway / track / etc) and there is a chase car. This typically works best when the photographer ISN’T the one driving the chase car…and probably safest. A slower shutter speed and (often times) lenses with Image Stabilization are used to introduce motion into the photograph, where the wheels and background represent the car isn’t just stopped or parked on the highway. If you took the same shot with a faster shutter speed, it would ‘freeze’ the wheels making it look like it was parked. The background can play a large role in how dramatic this picture turns out, and often times there is much to Photoshop out (other cars, signs, buildings, etc) so there is usually more time spent in post than behind the camera on this one. The direction of the car / sun / shadows plays an important role in these style of photos, as you don’t want the chase car to cast a shadow over the subject. You can see in the examples below how the sun, shadows, and position of the car play an integral part in these photos. There is also a similar style called “panning” where a photographer is stationary and is creating motion in the camera by ‘panning’ it left to right (or right to left). This technique is slightly different, though produces similar results while allowing for different angles to be used. This style is typically used by Motorsport photographers to capture motion of faster moving objects while still giving the appearance of movement.


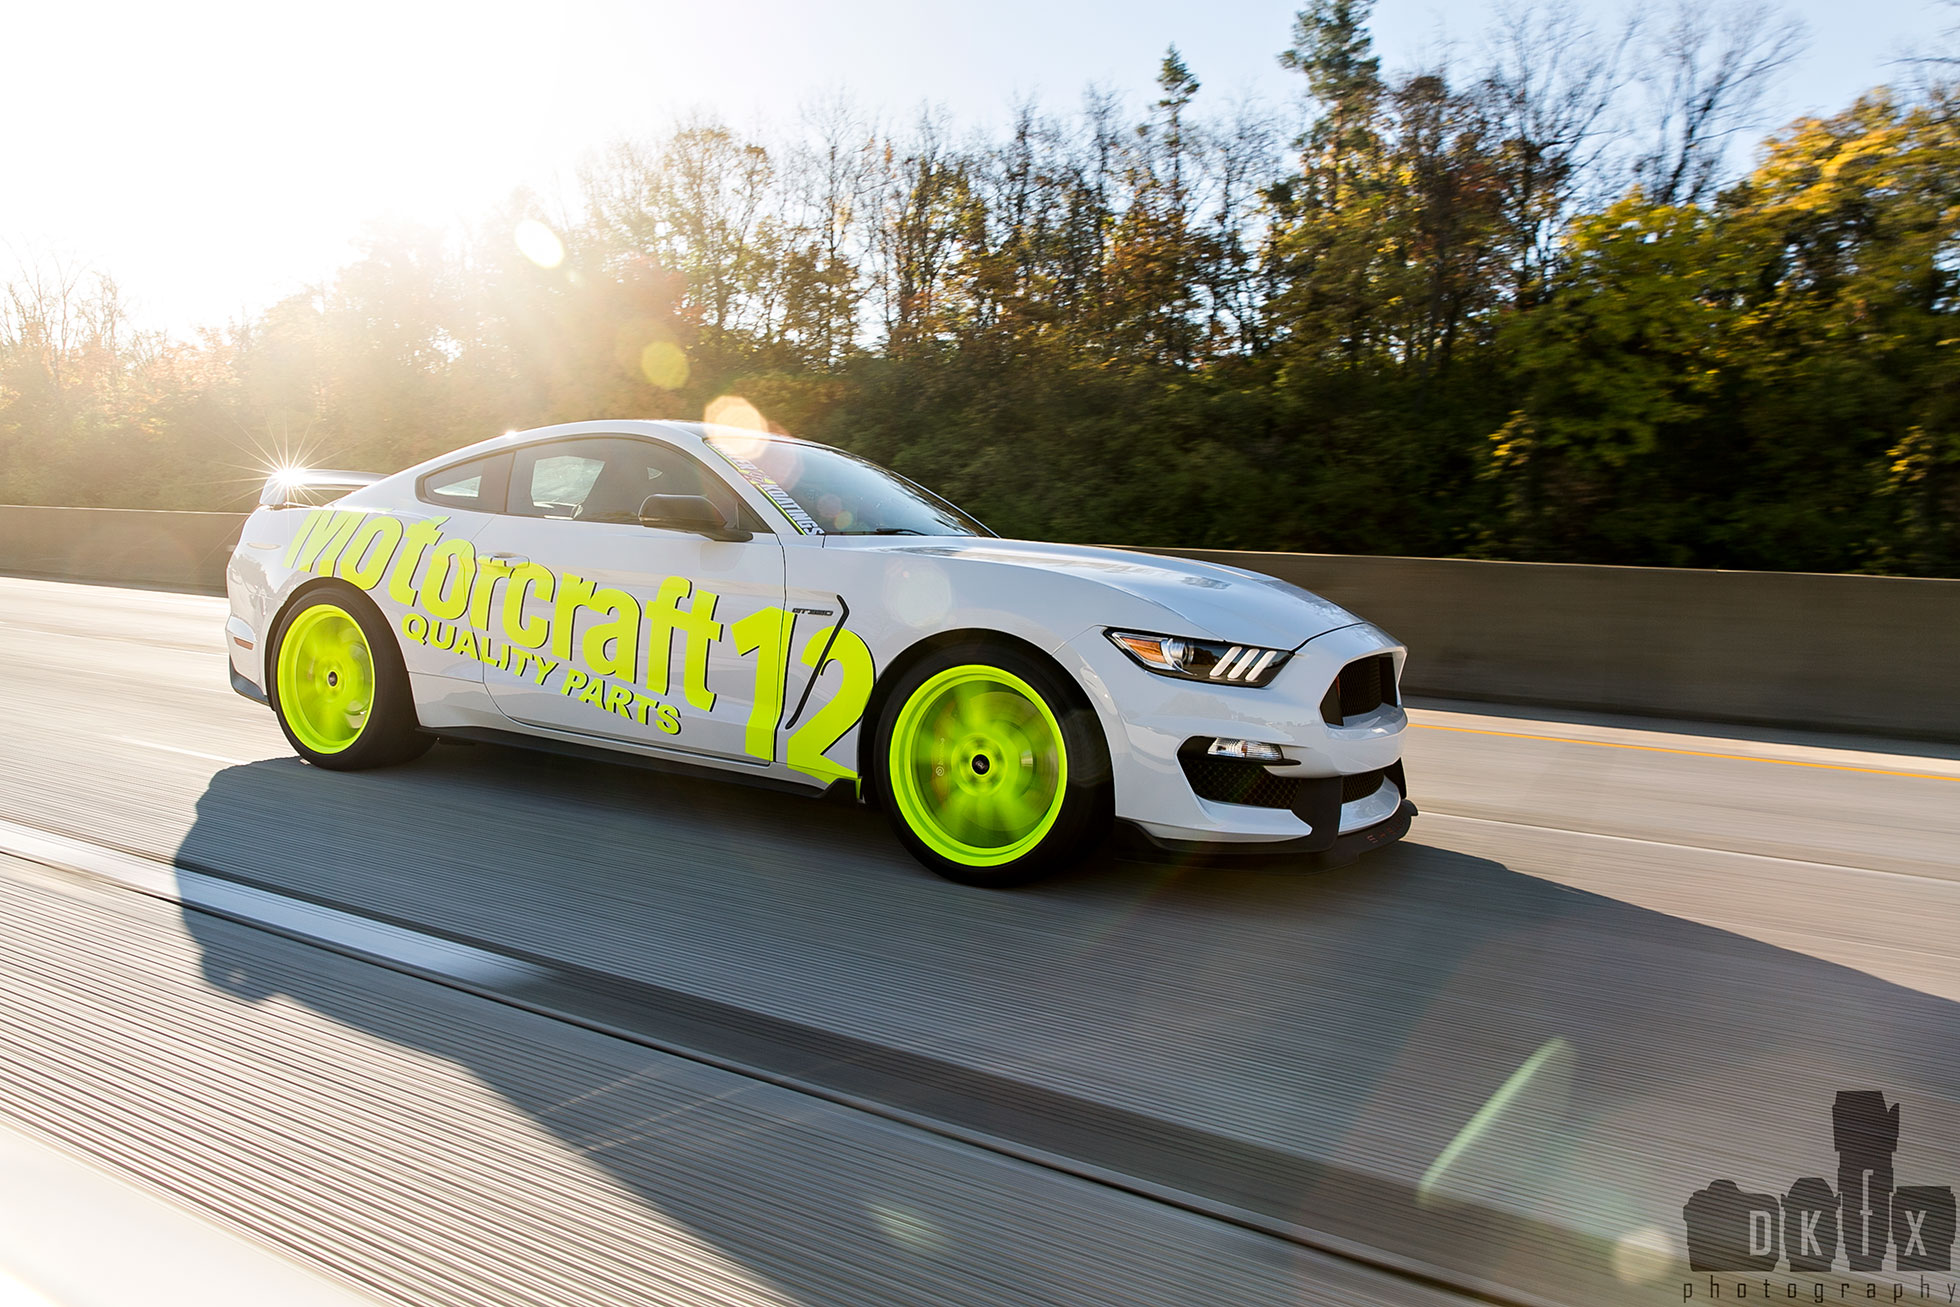


Panning Shots:

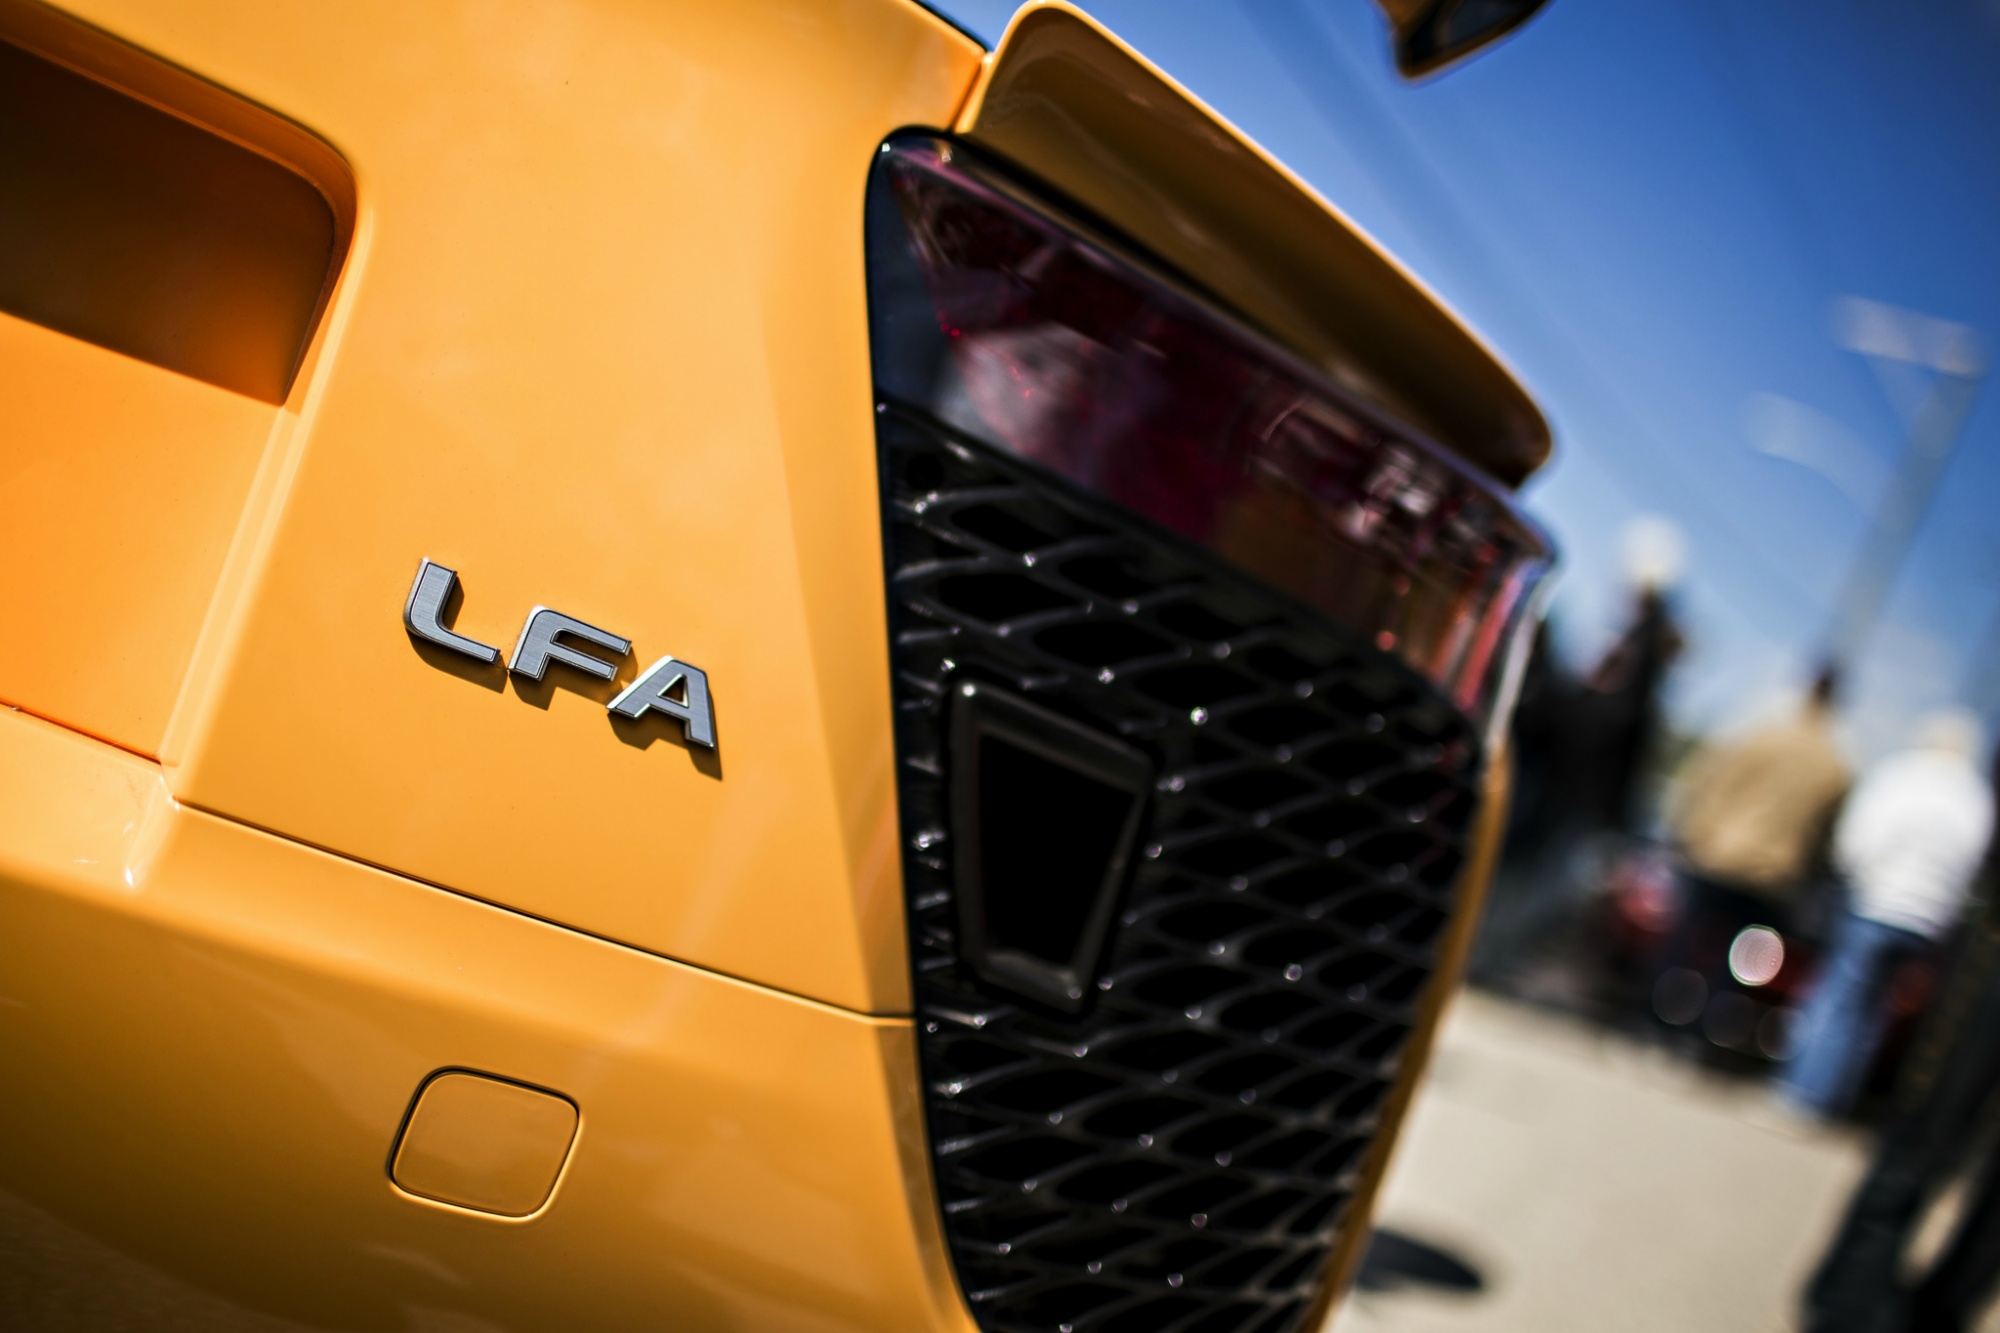
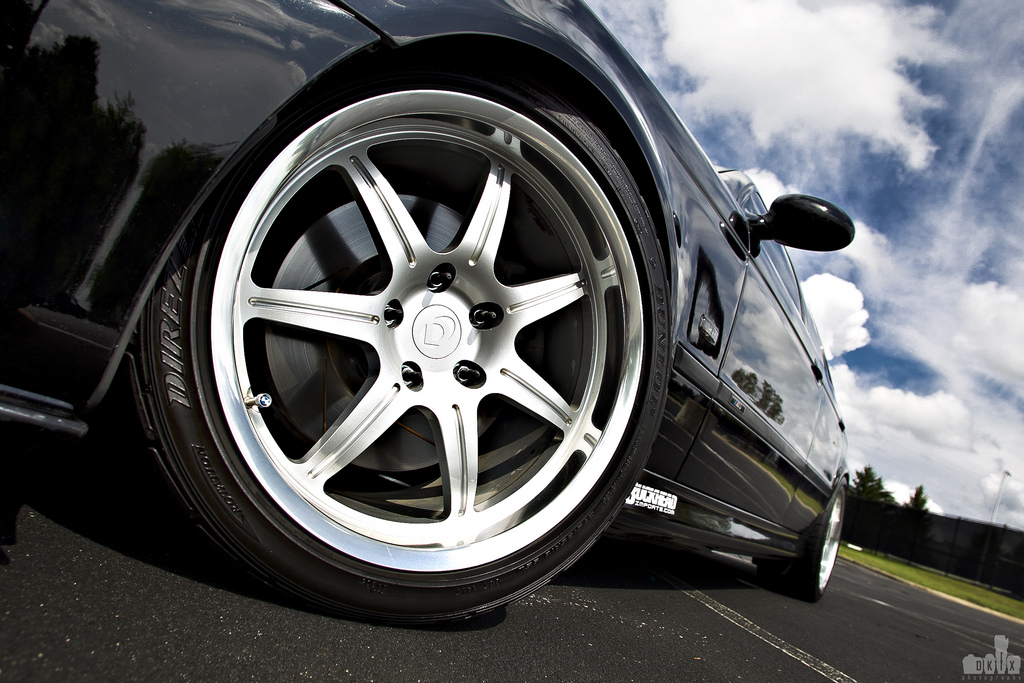
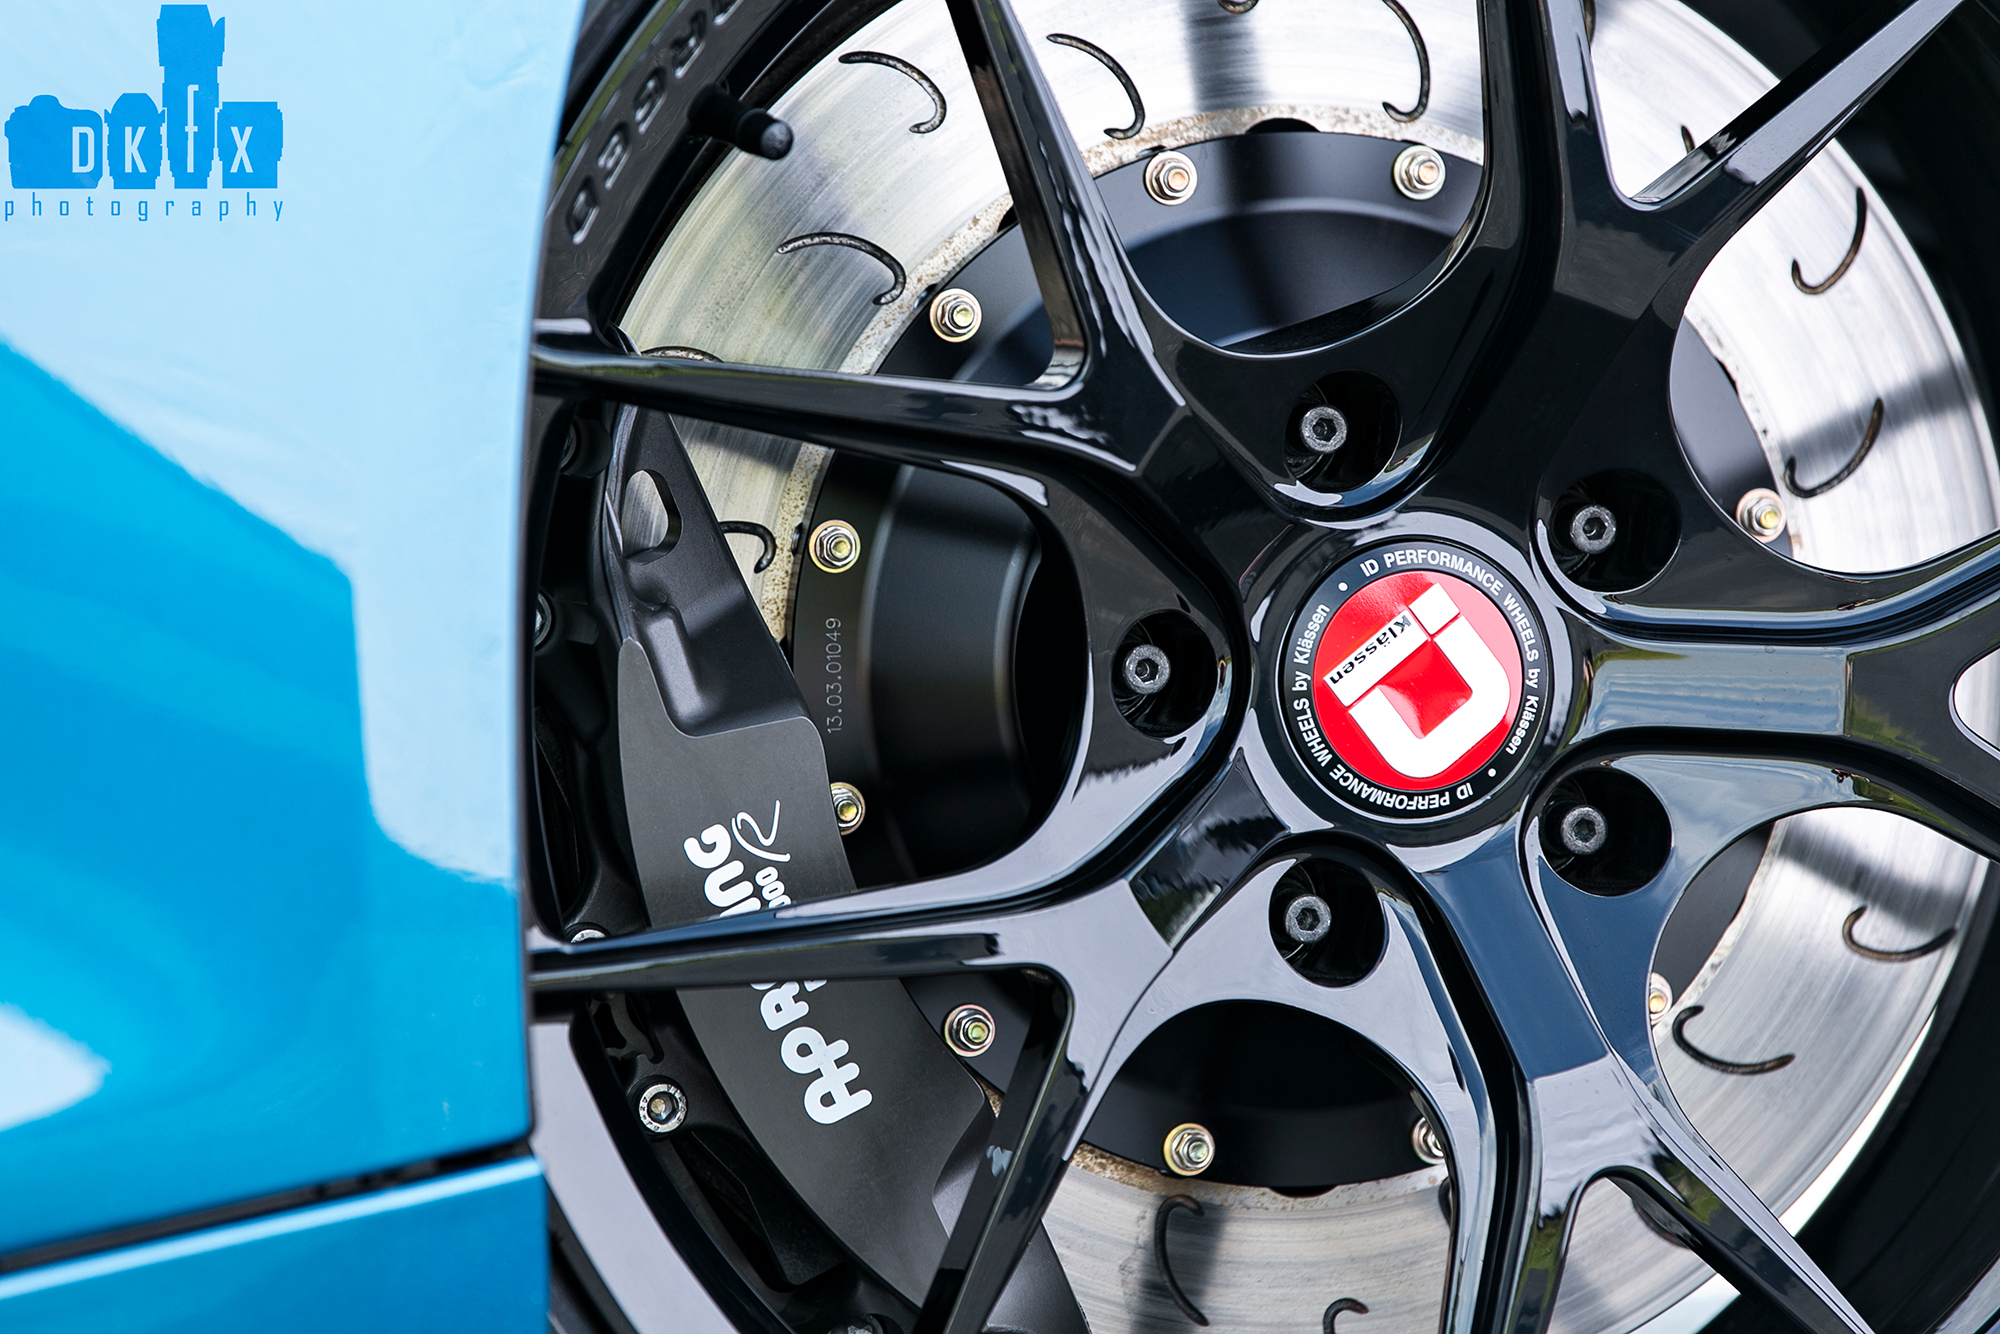
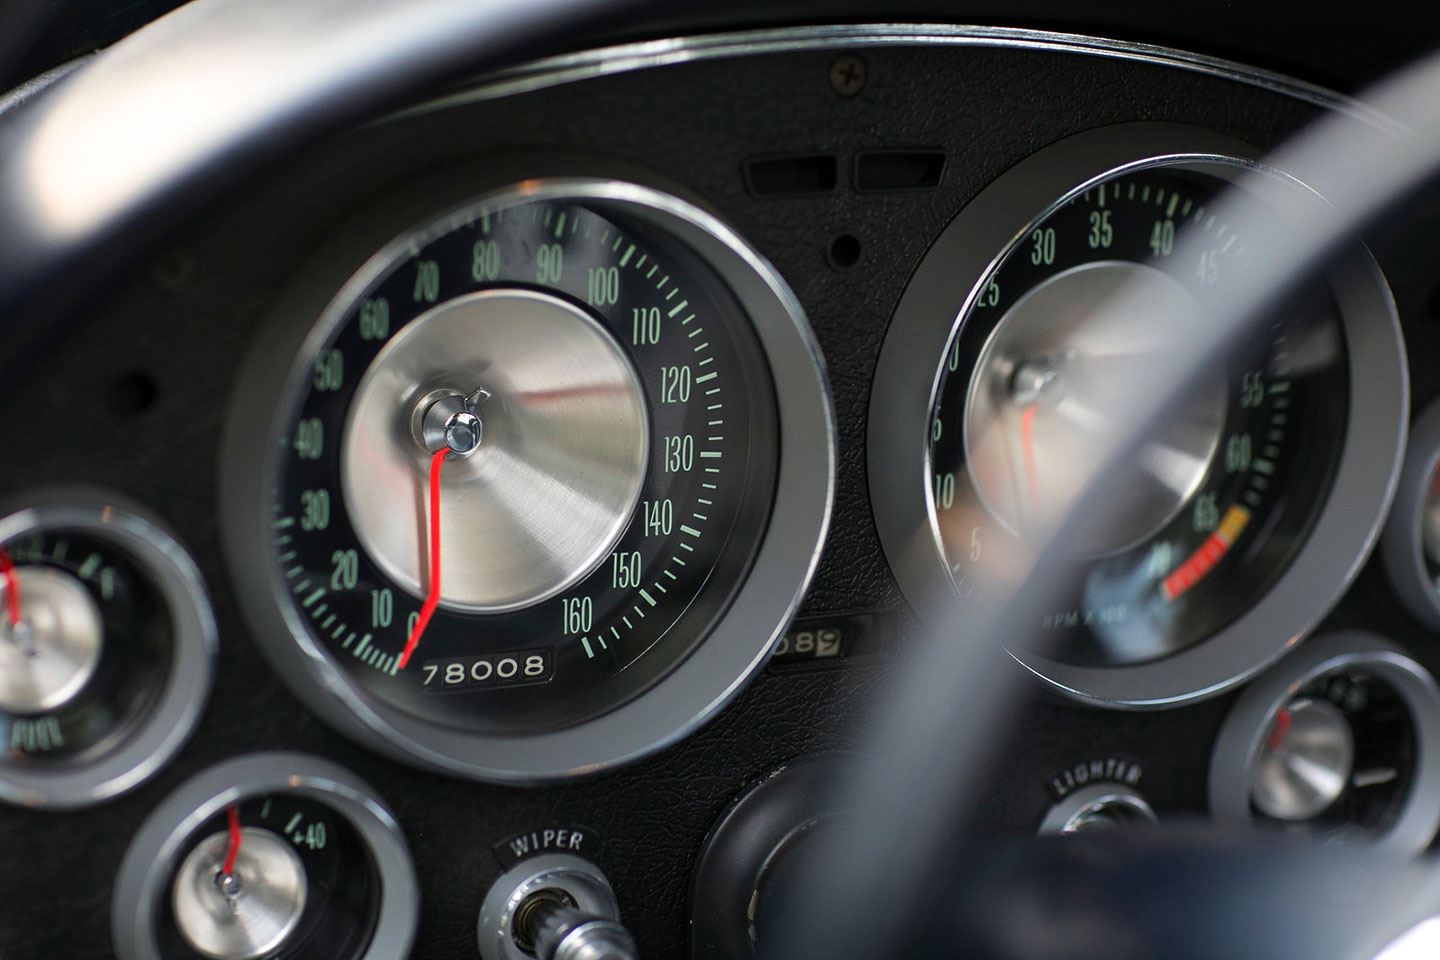
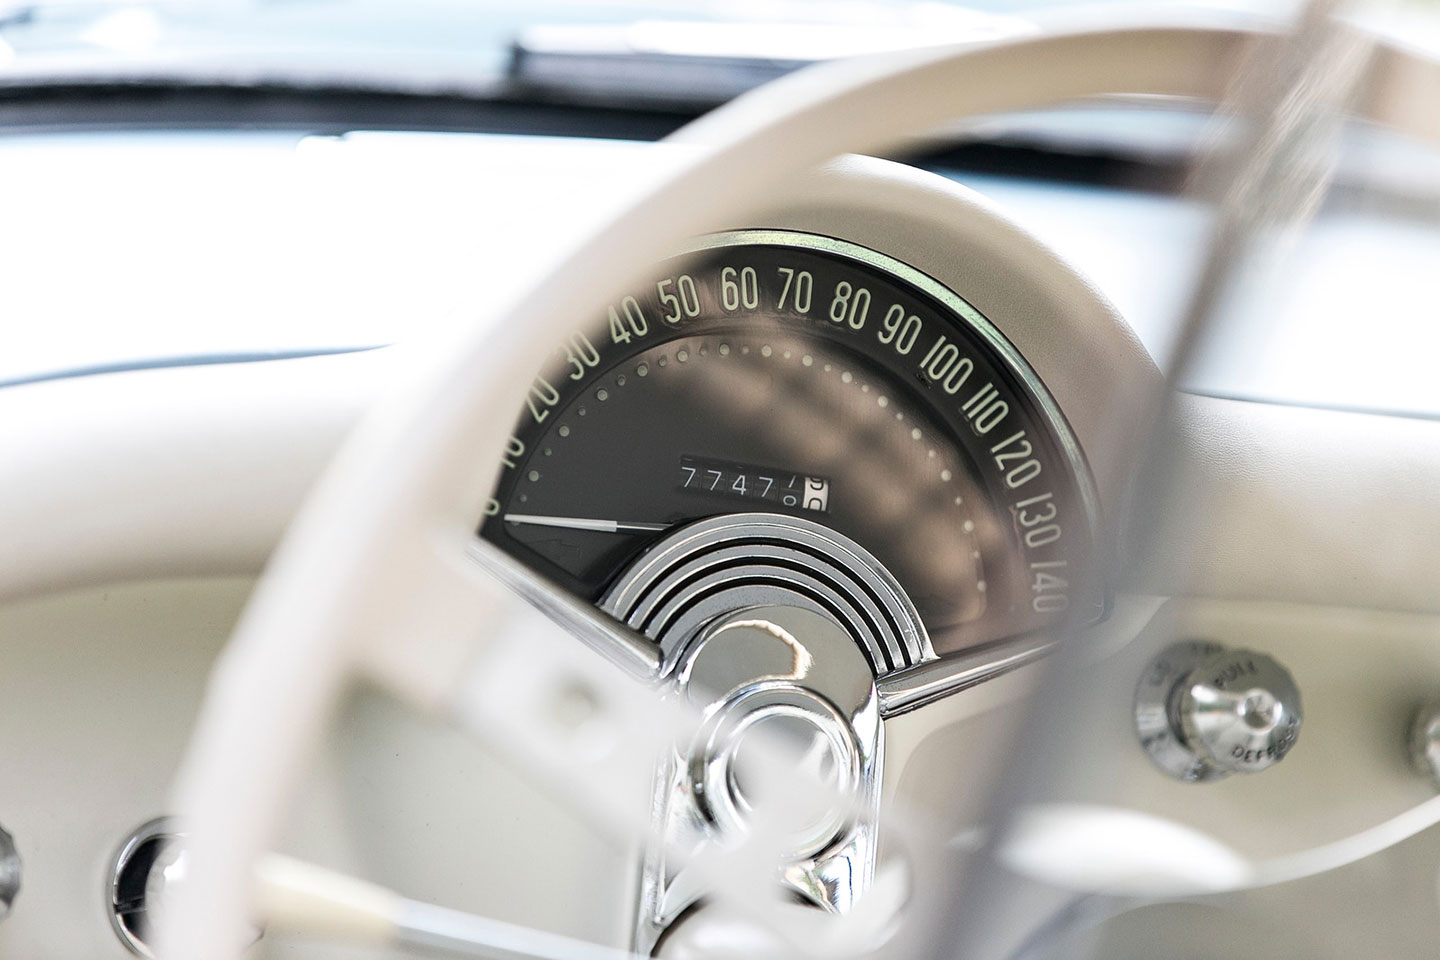
Details:
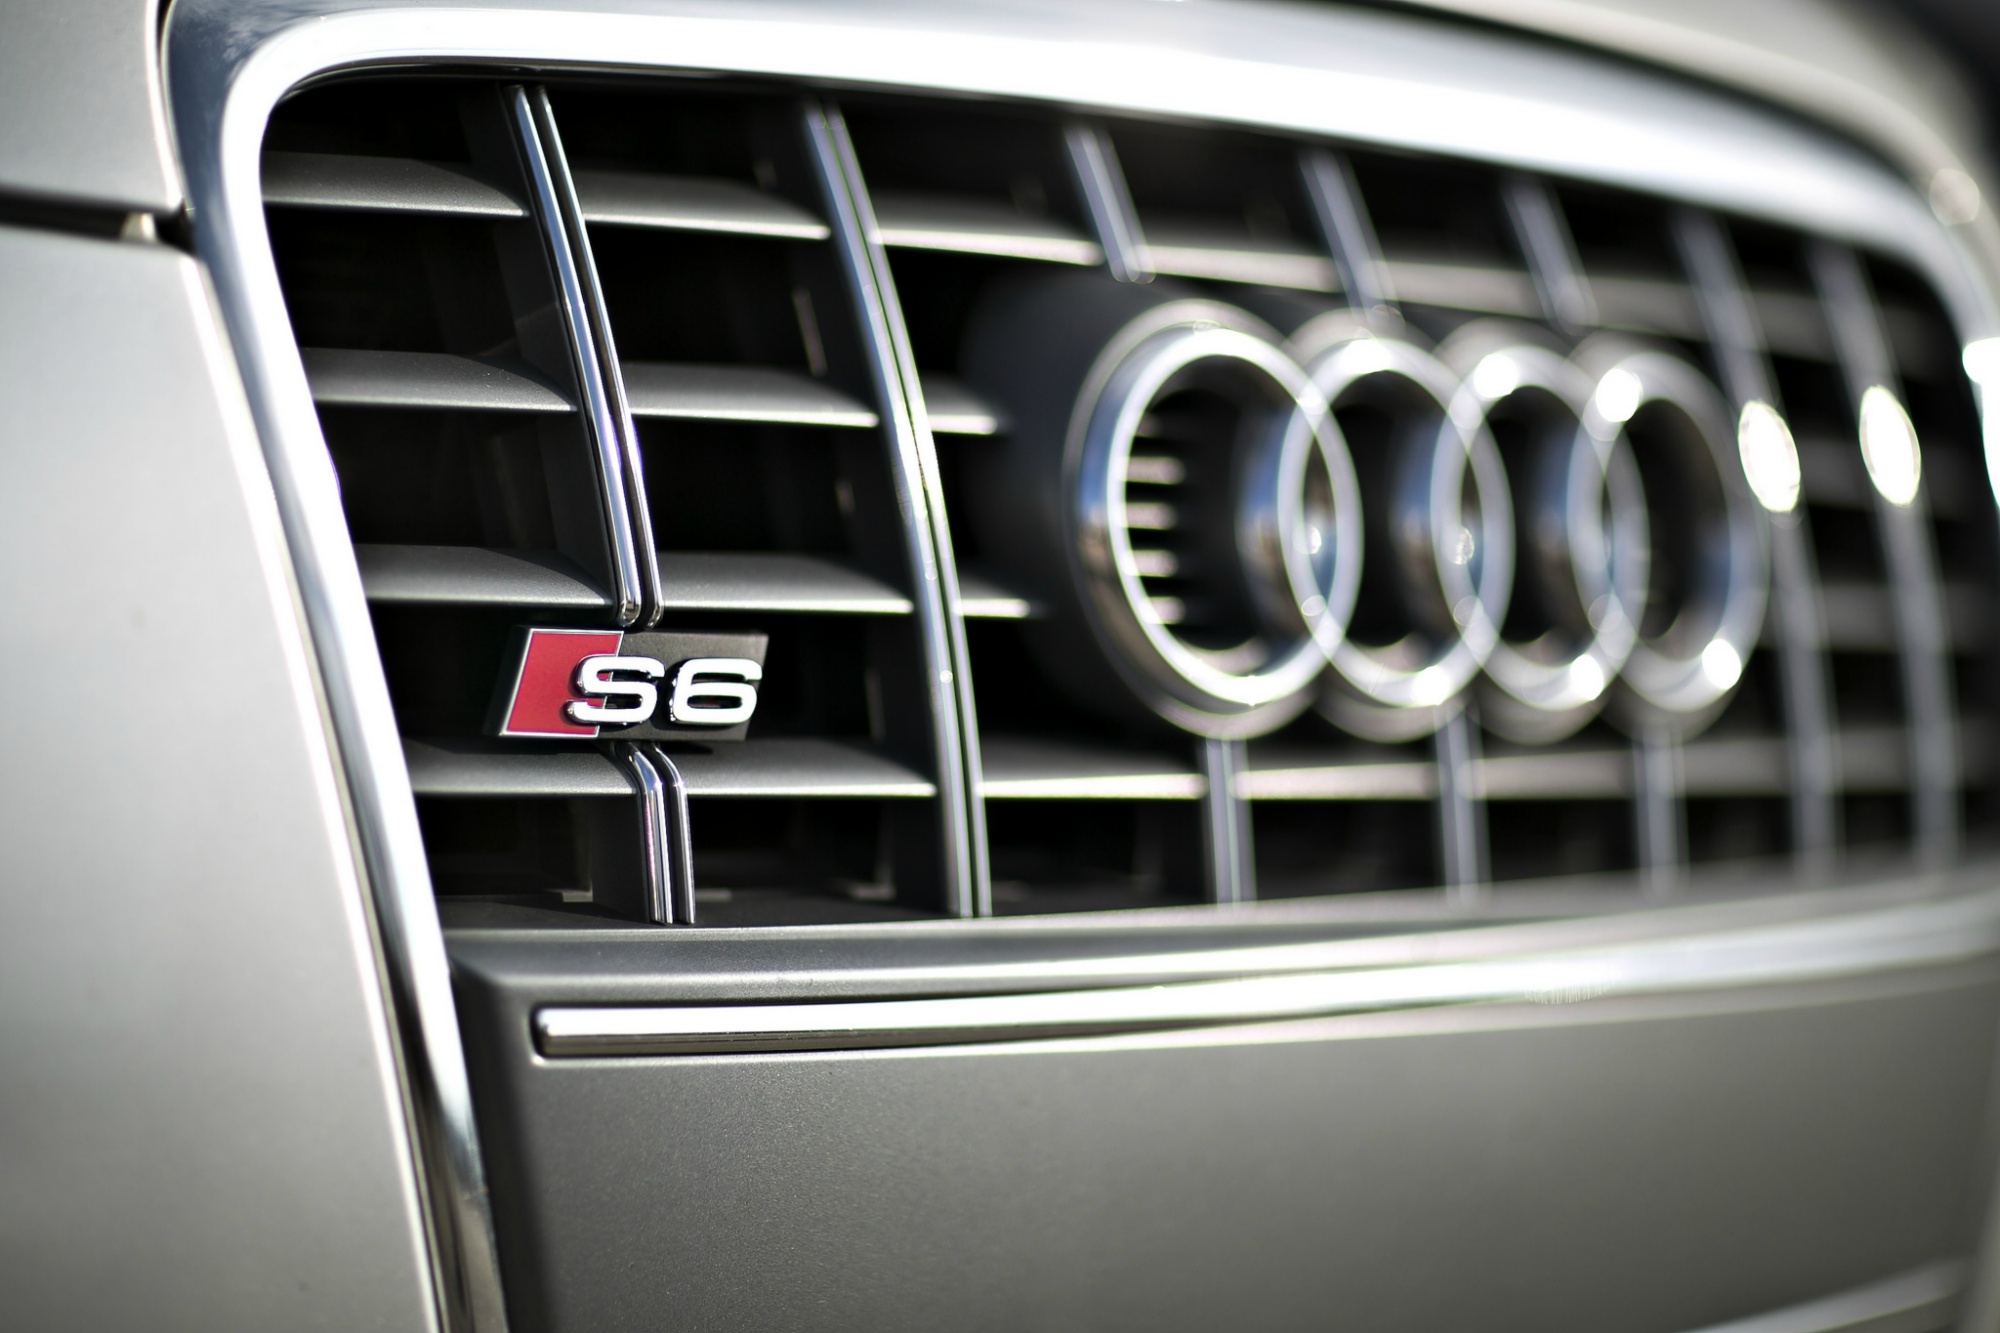
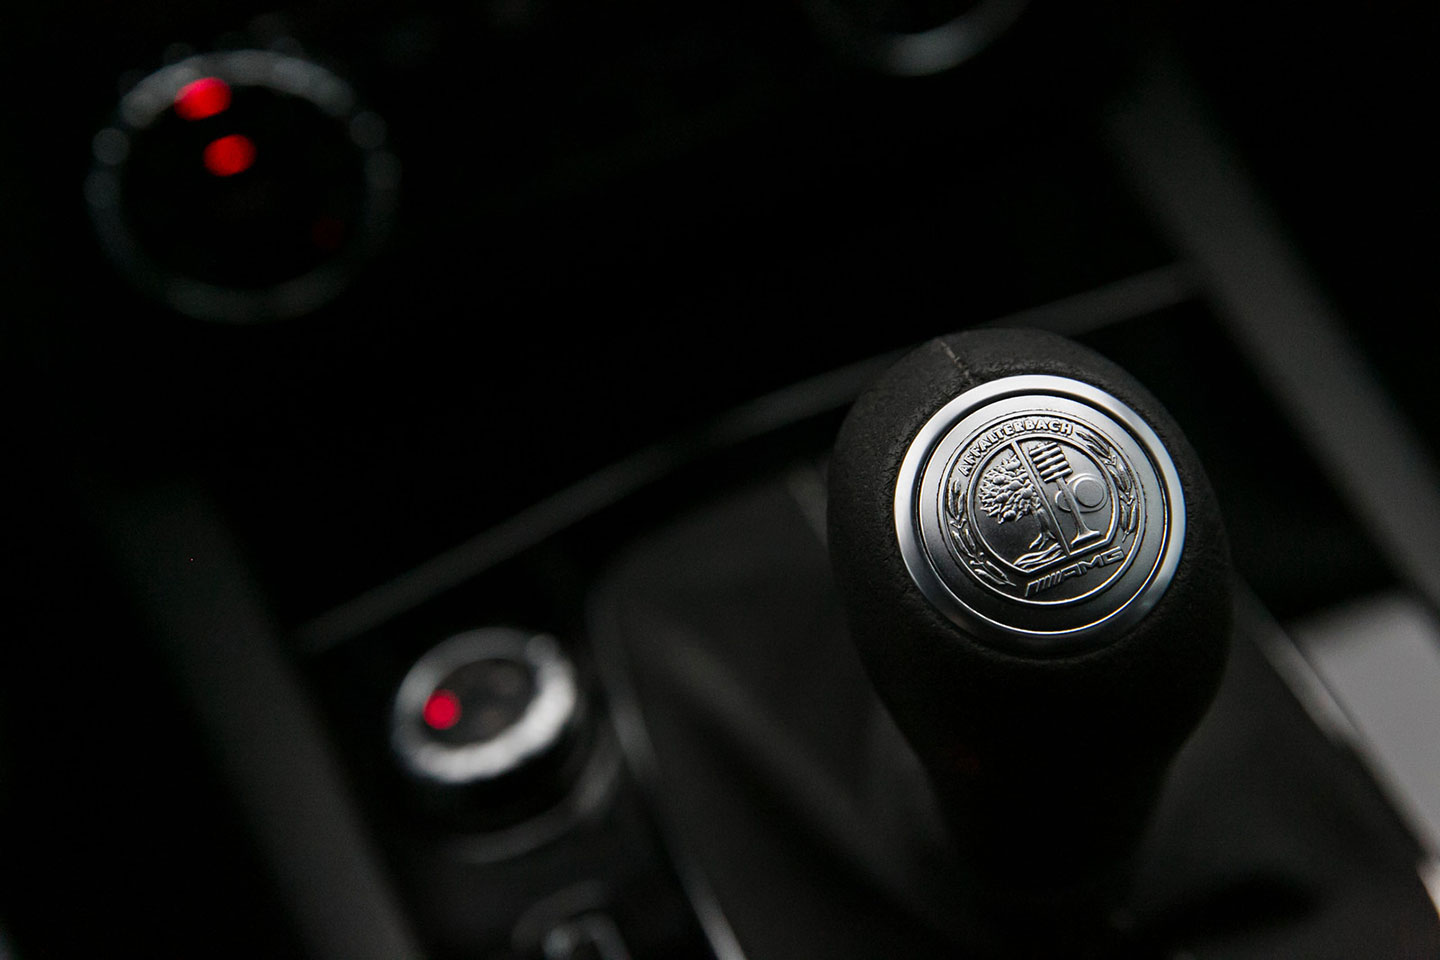
Yes! Details matter! A good way to tell the story of a car is to highlight some of the details that make the car unique. Whether it be an aftermarket set of wheels, brakes, or perhaps that 1/1 custom install, it never hurts to capture these for the customer. Depending on the subject, often times a macro lens is used, which allows the photographer to get very close to the subject while still retaining focus. Your photographer may not know that your XYZ is a custom one off unit, so informing them before hand may let their creative juices get to work. Here are a handful of detail shots to prove the point.
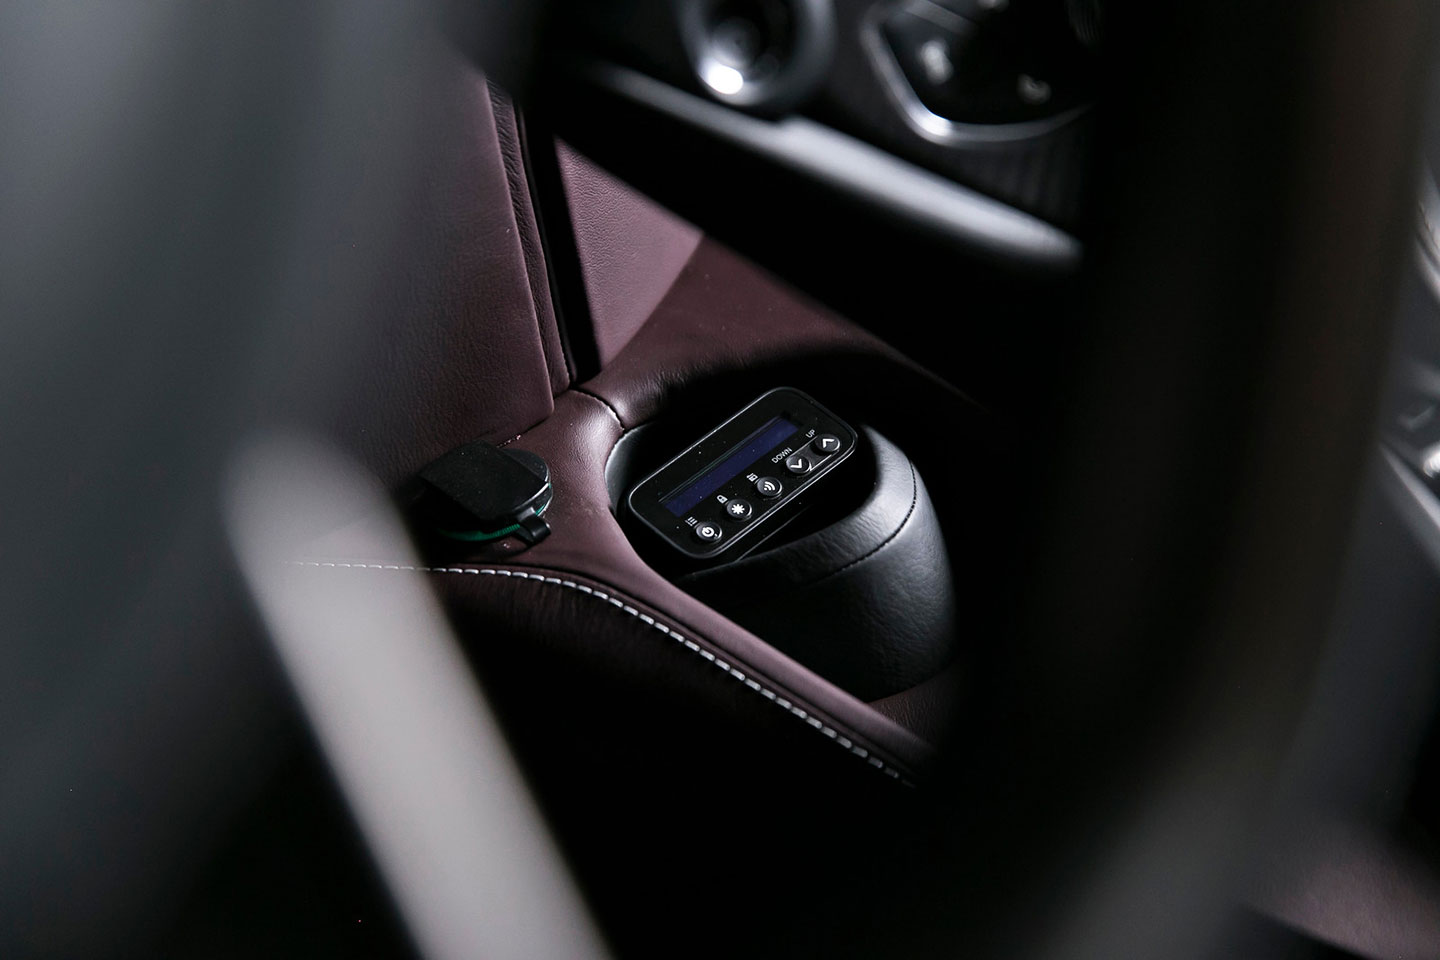
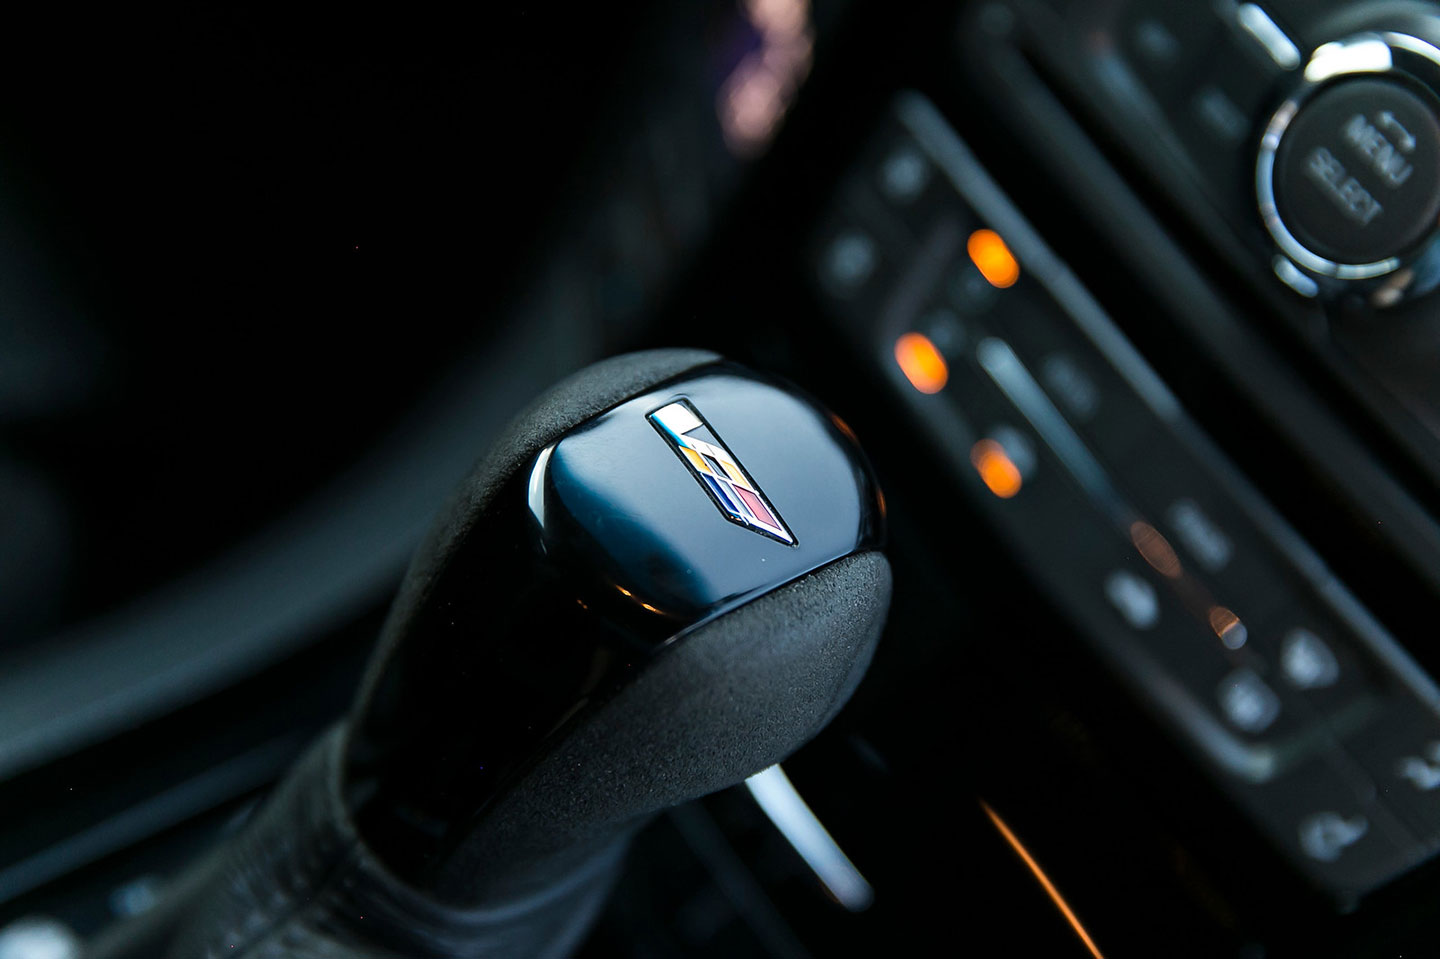

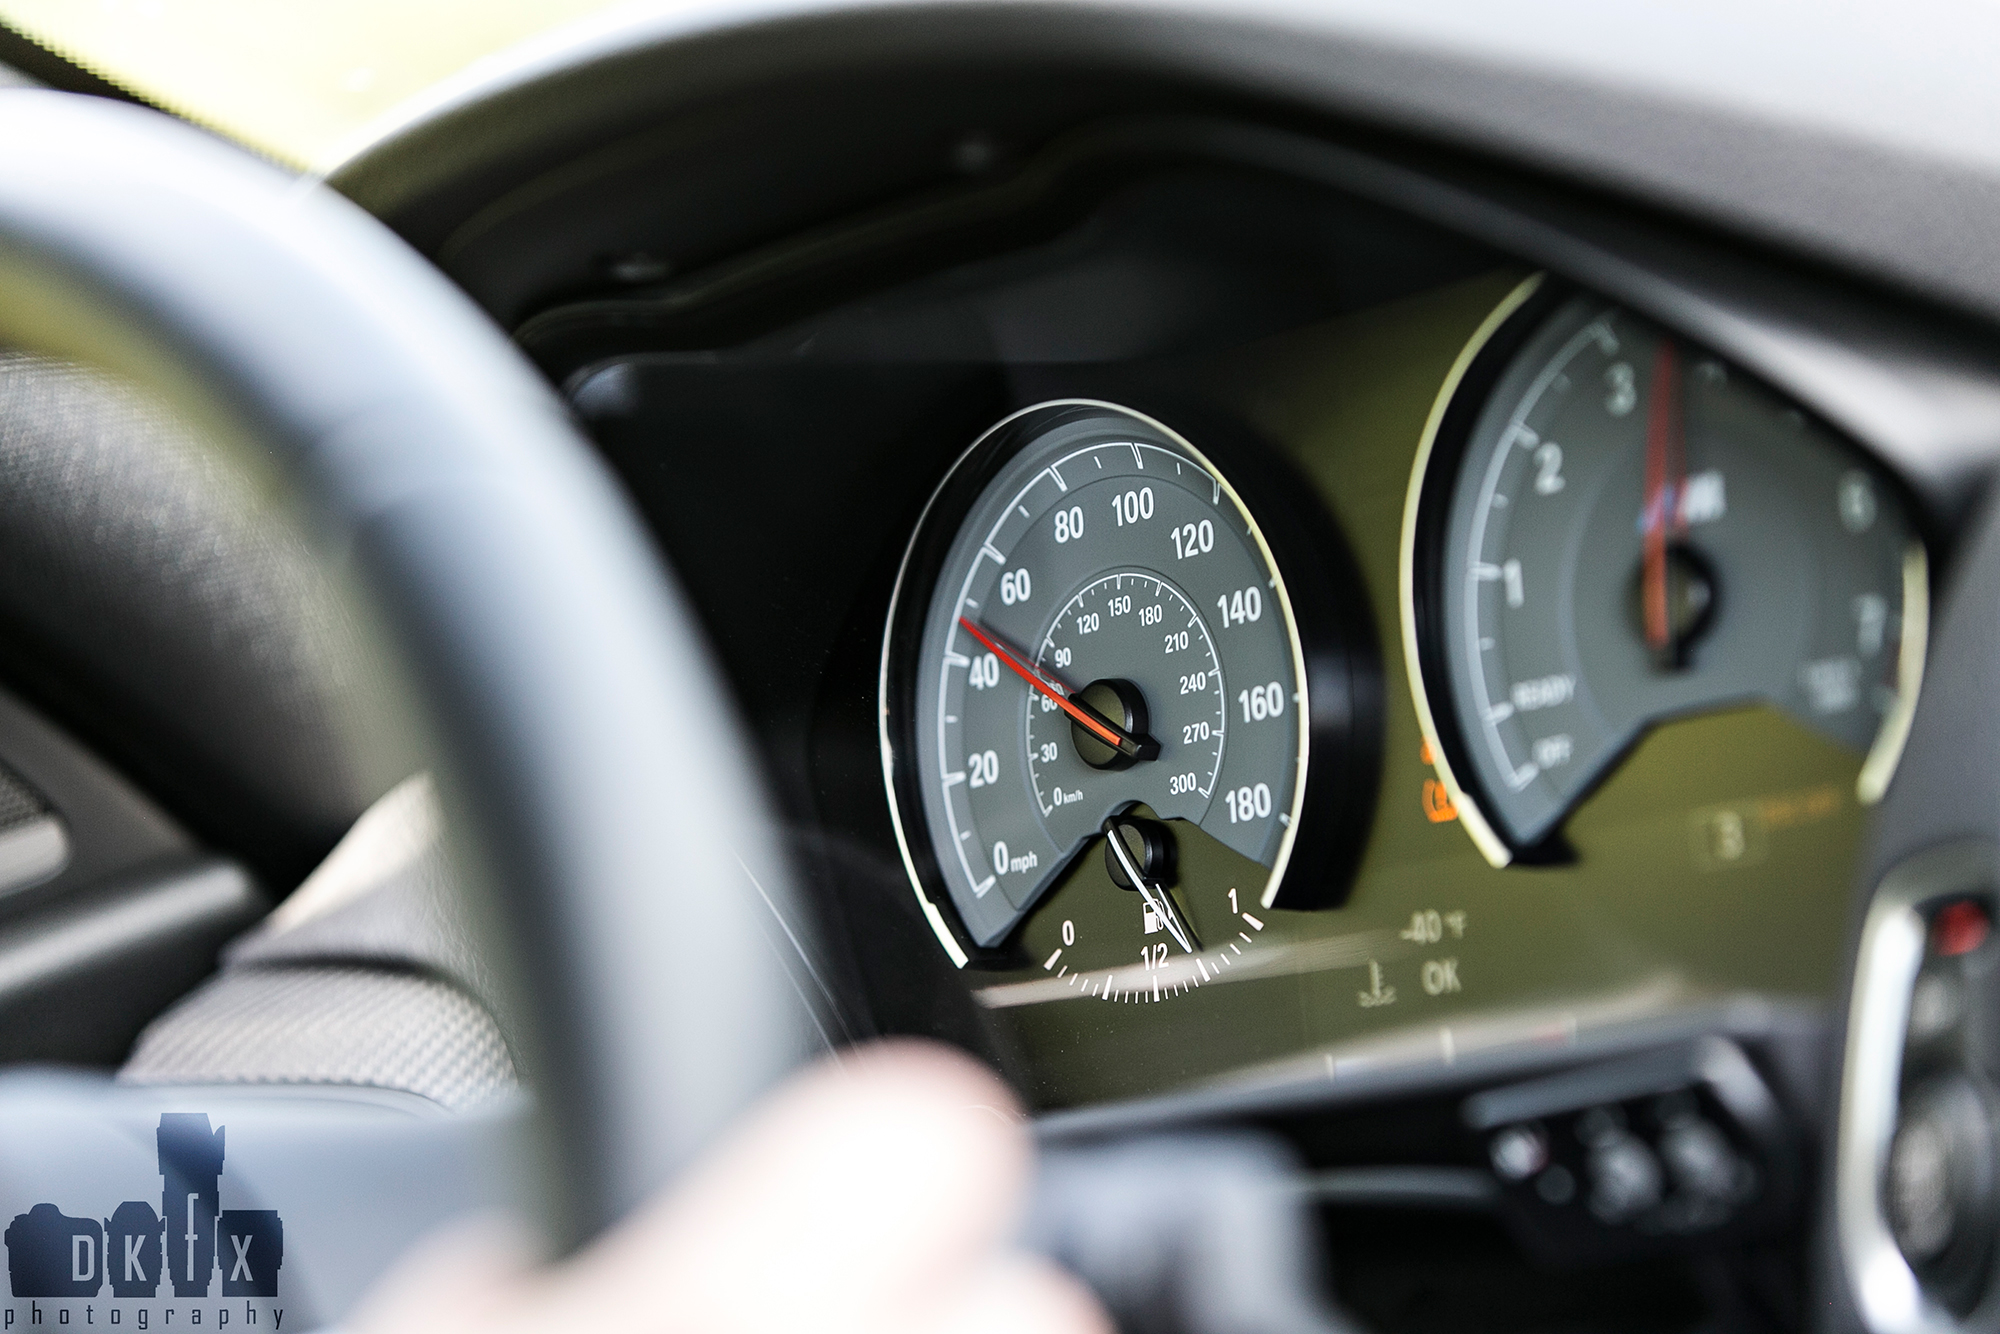
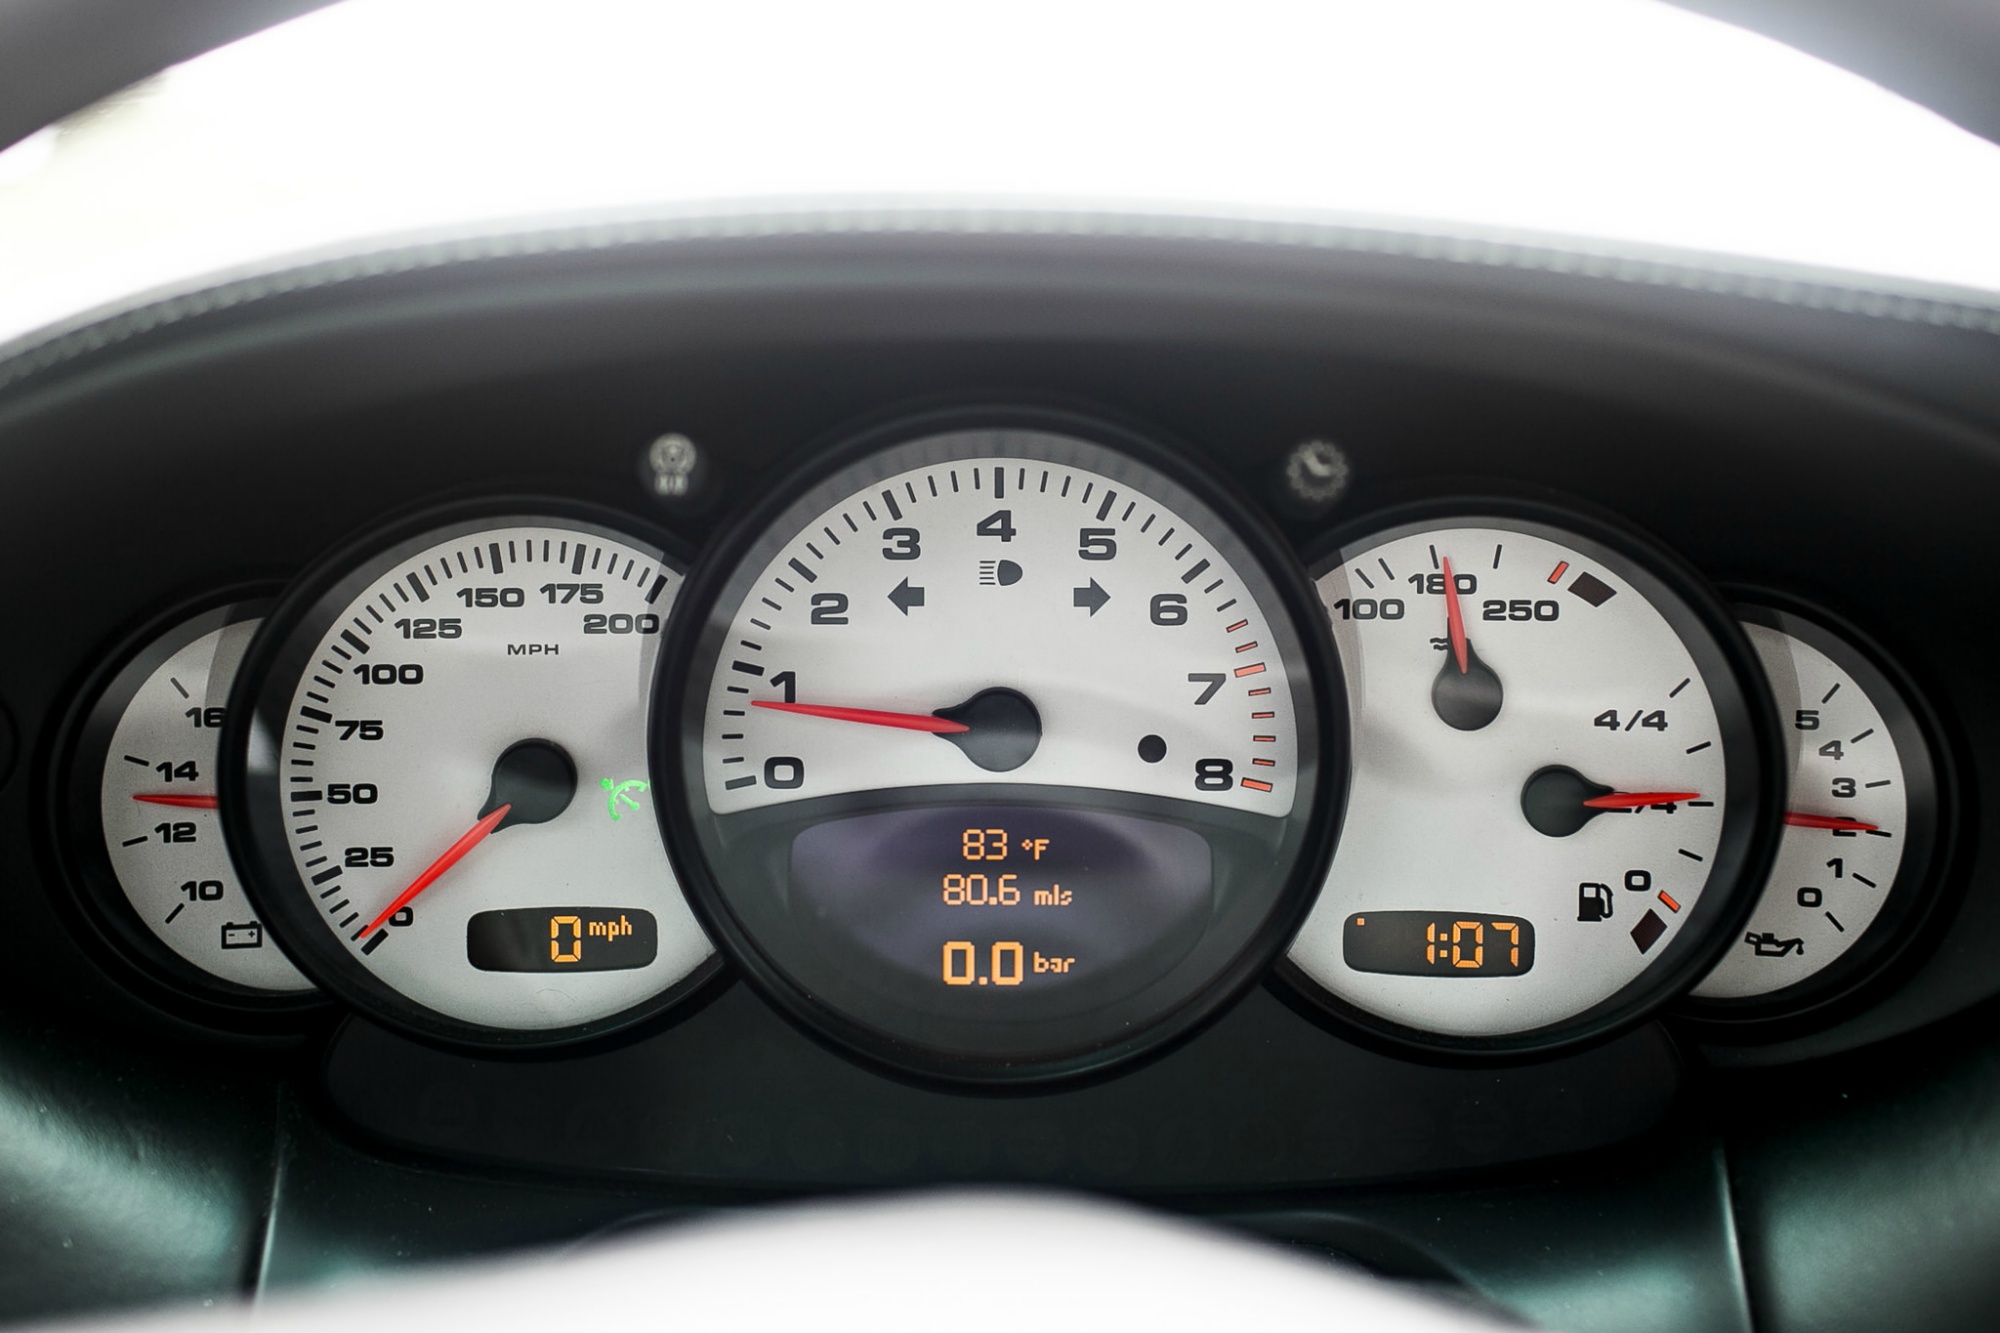
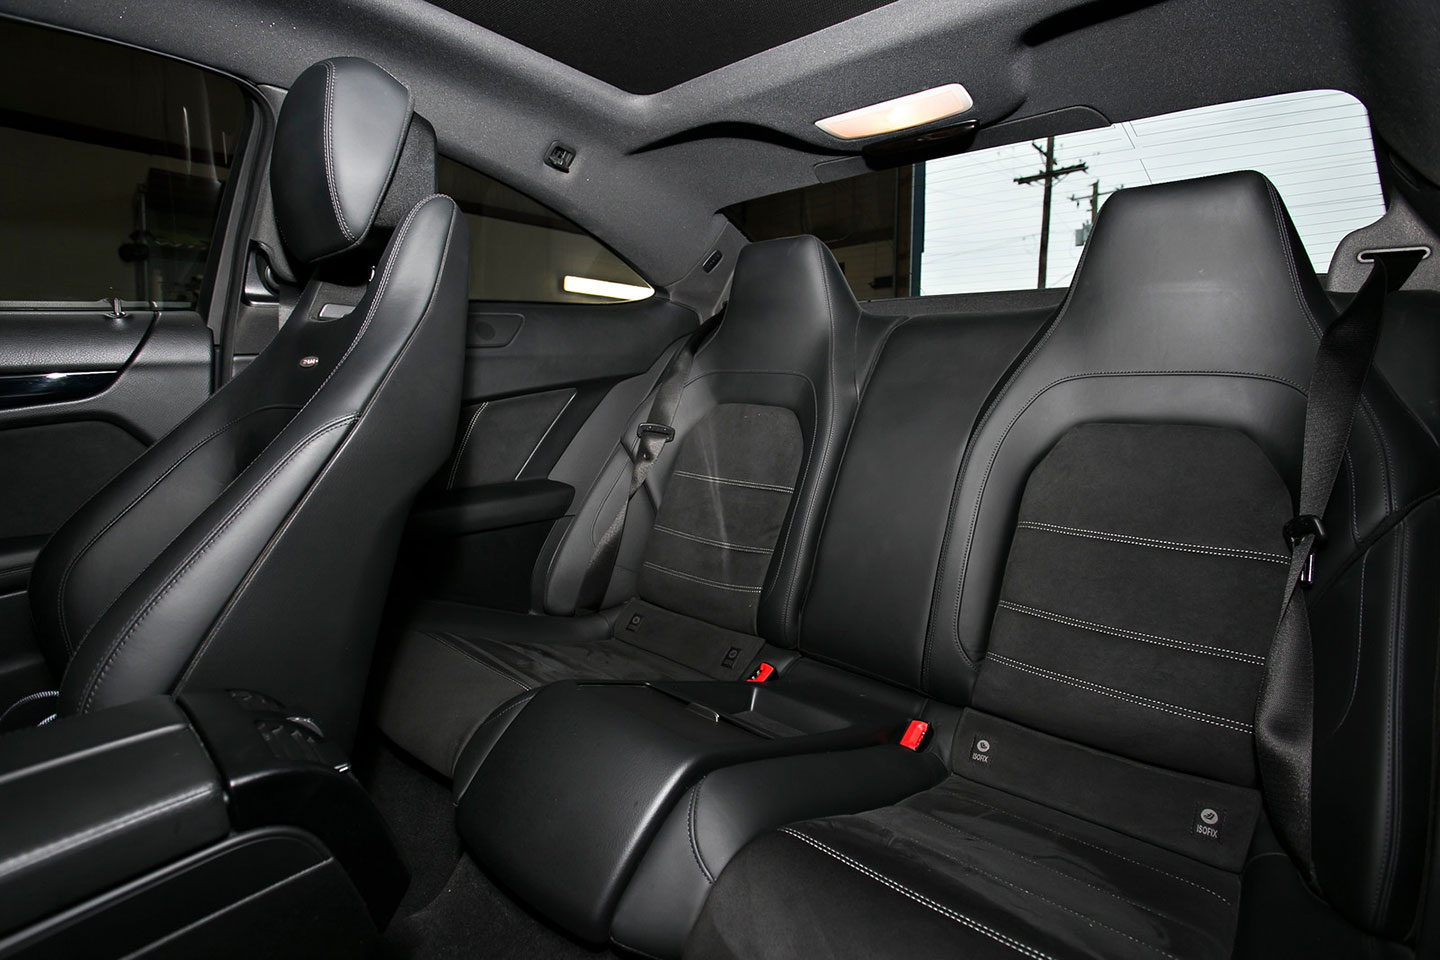
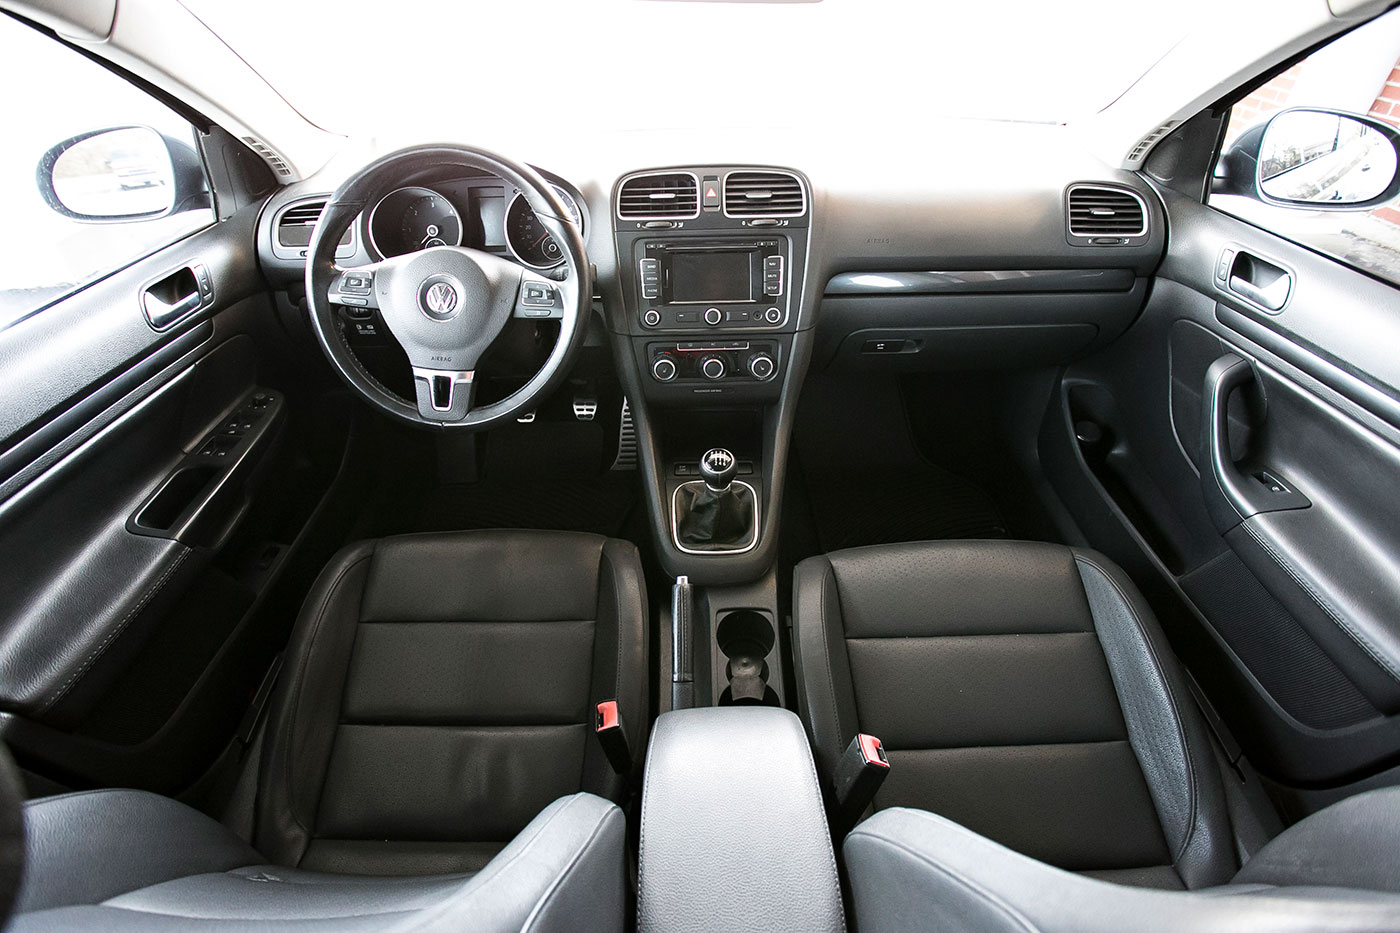
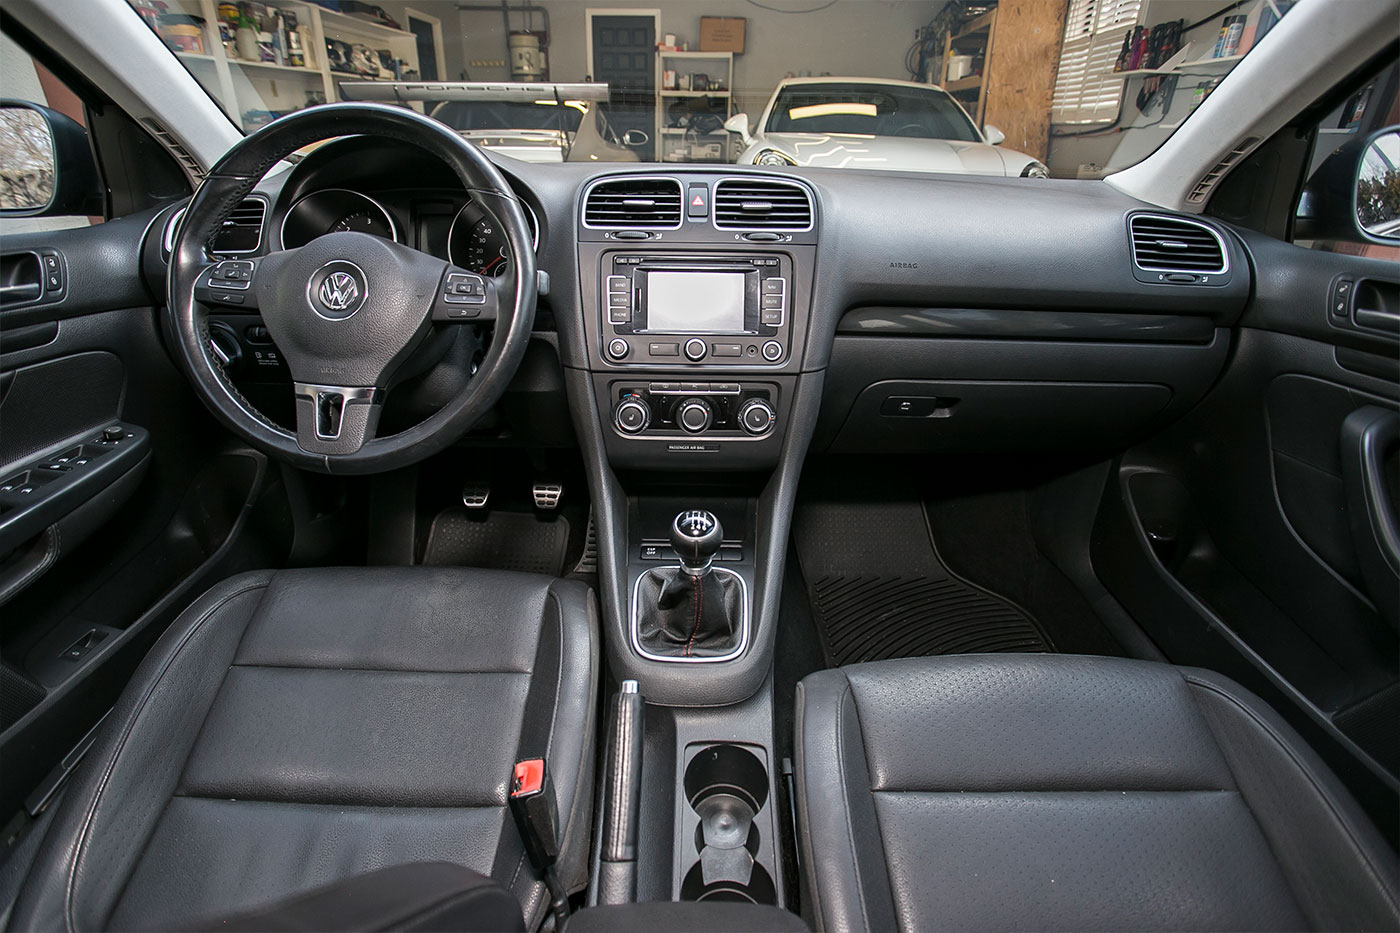
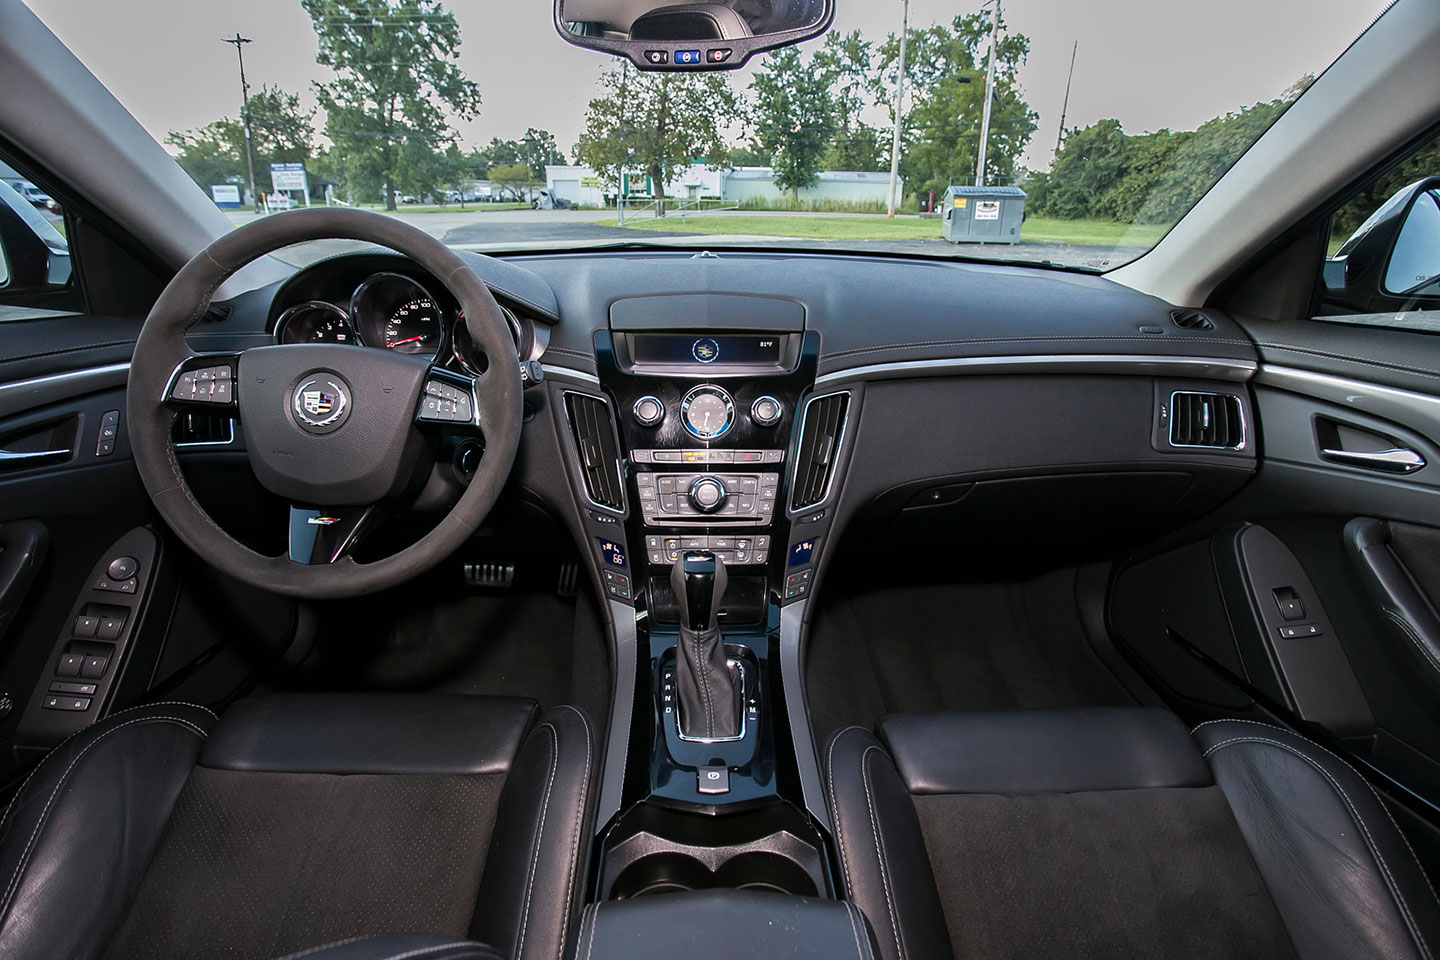
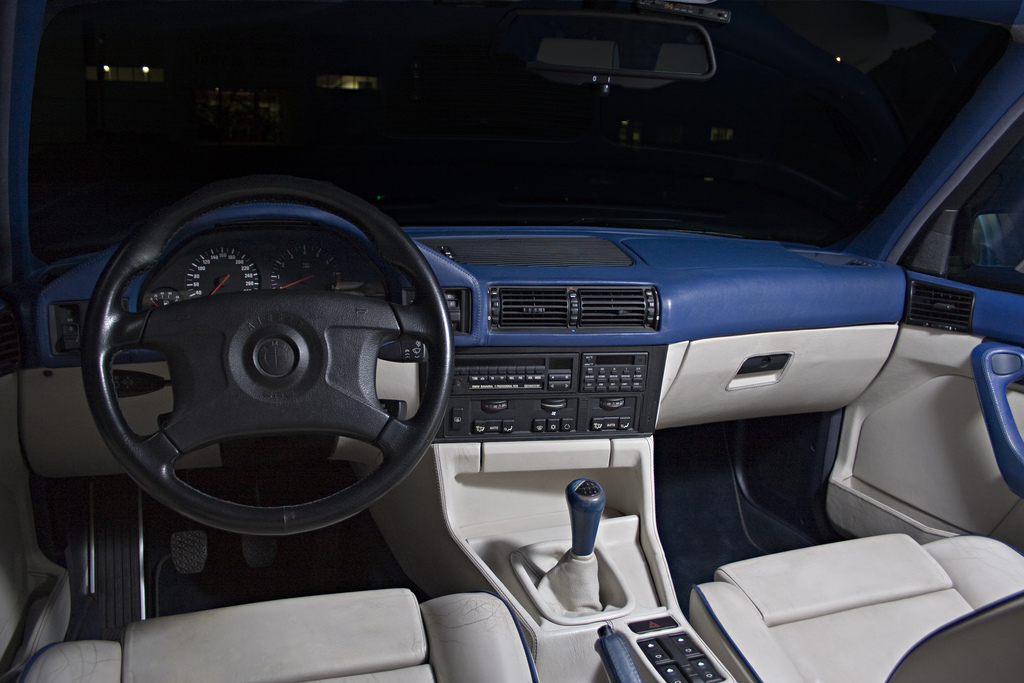
Interior Shots:
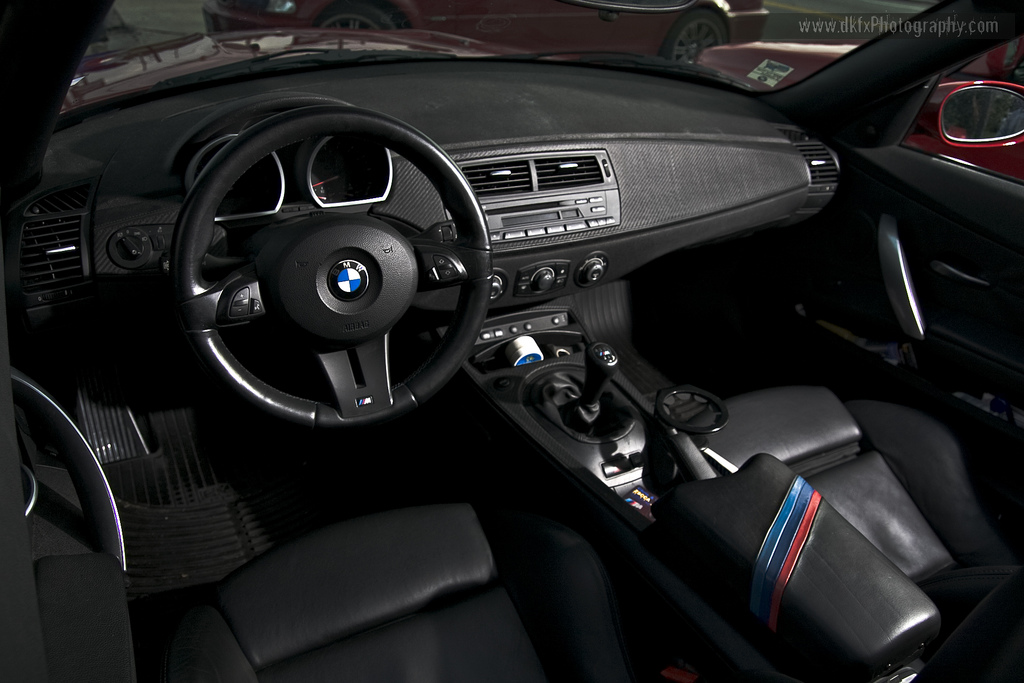
I don’t get super excited about these shots, but it’s nice to capture some of the interior for a well balanced shoot. Understanding the reflective surfaces and how they react to light will tell an educated photographer to use a flash or go natural…though there’s more than one way to take a picture.

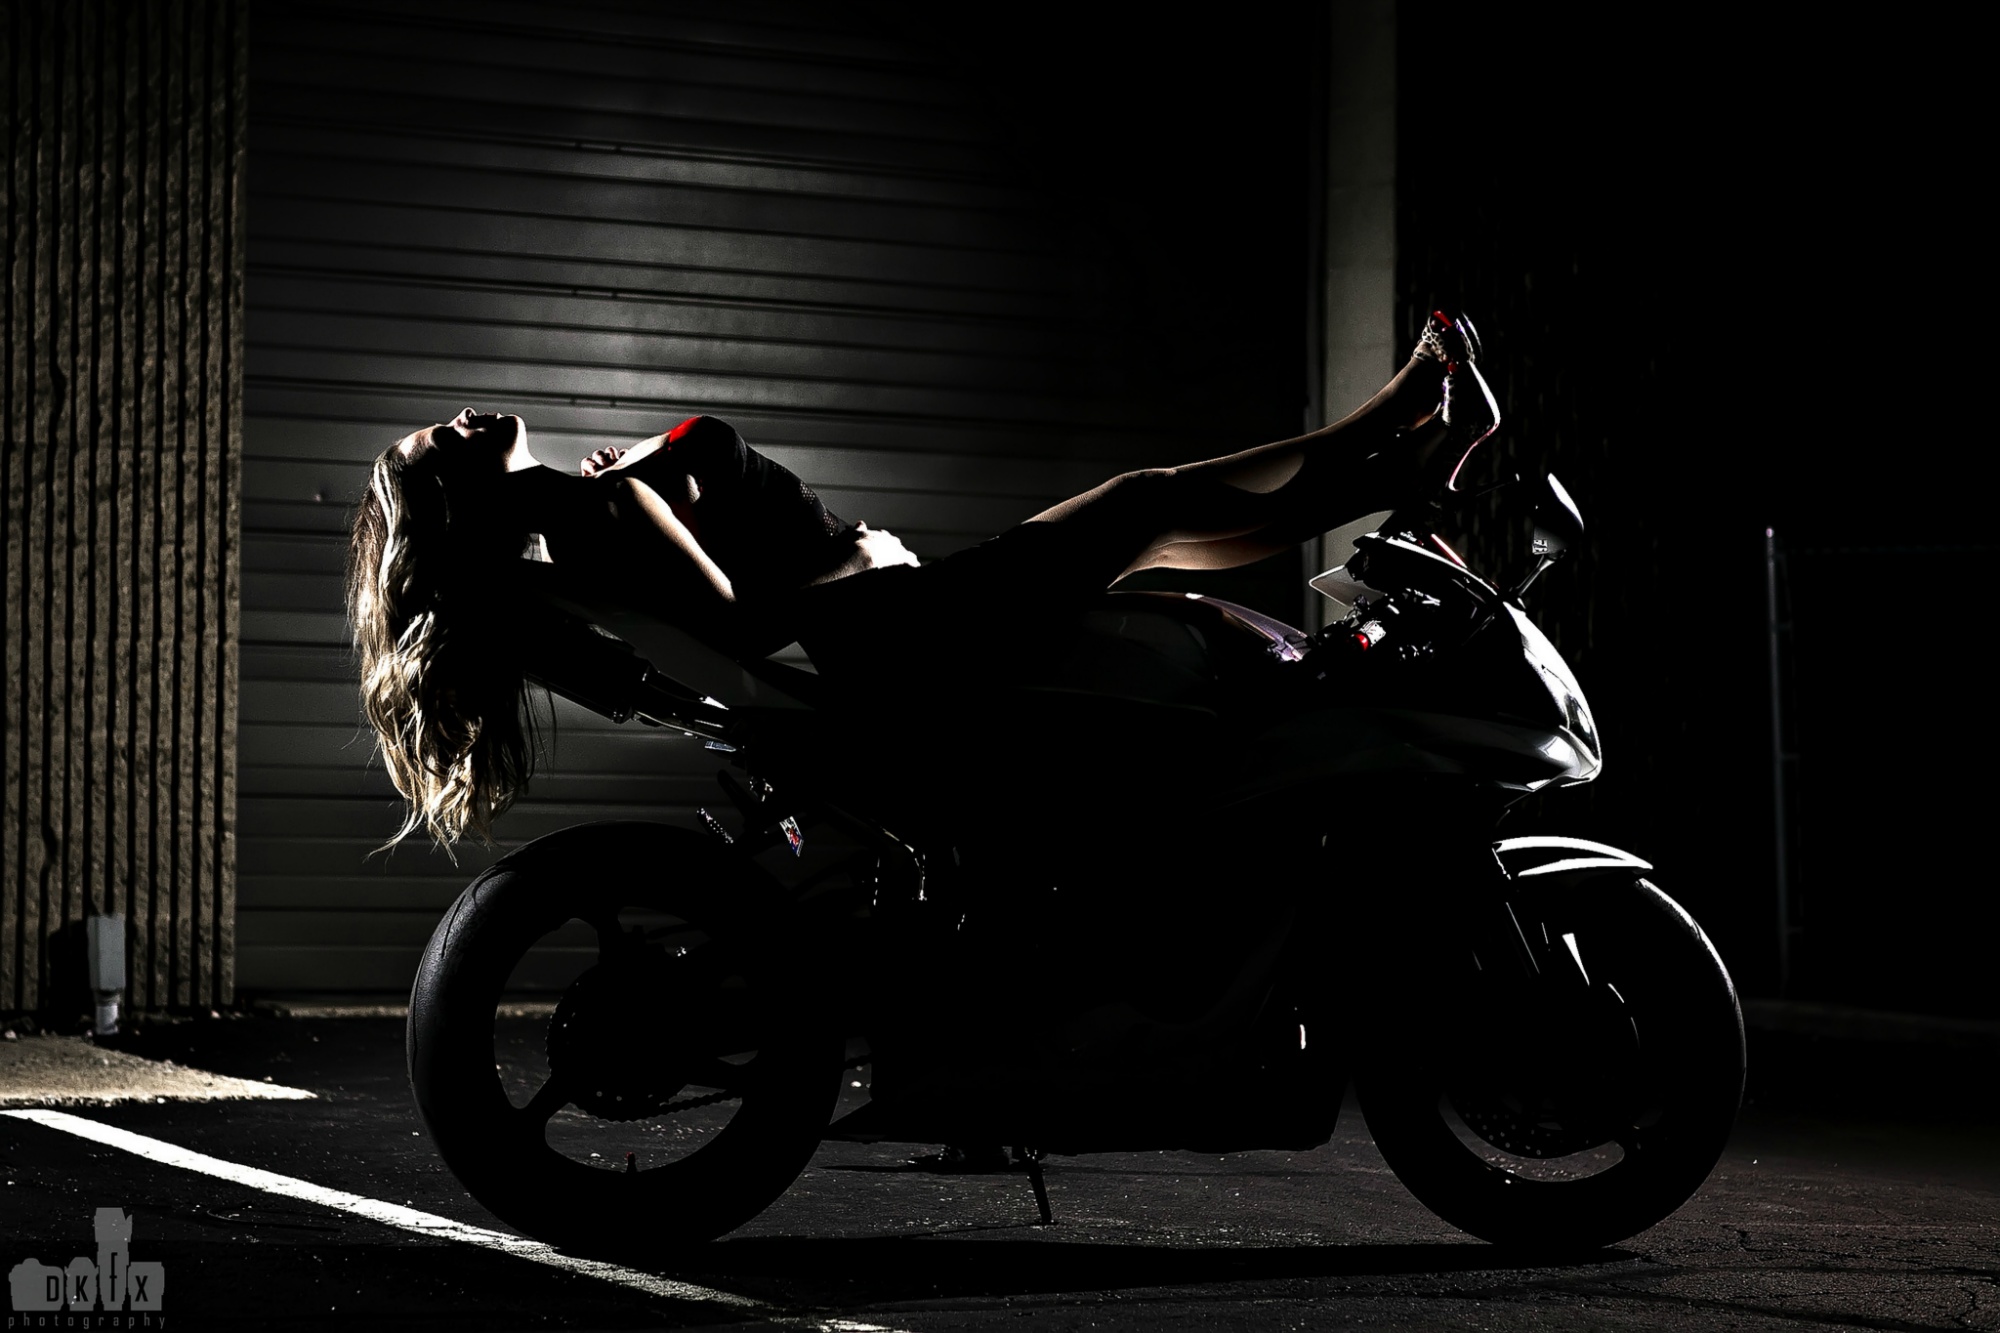
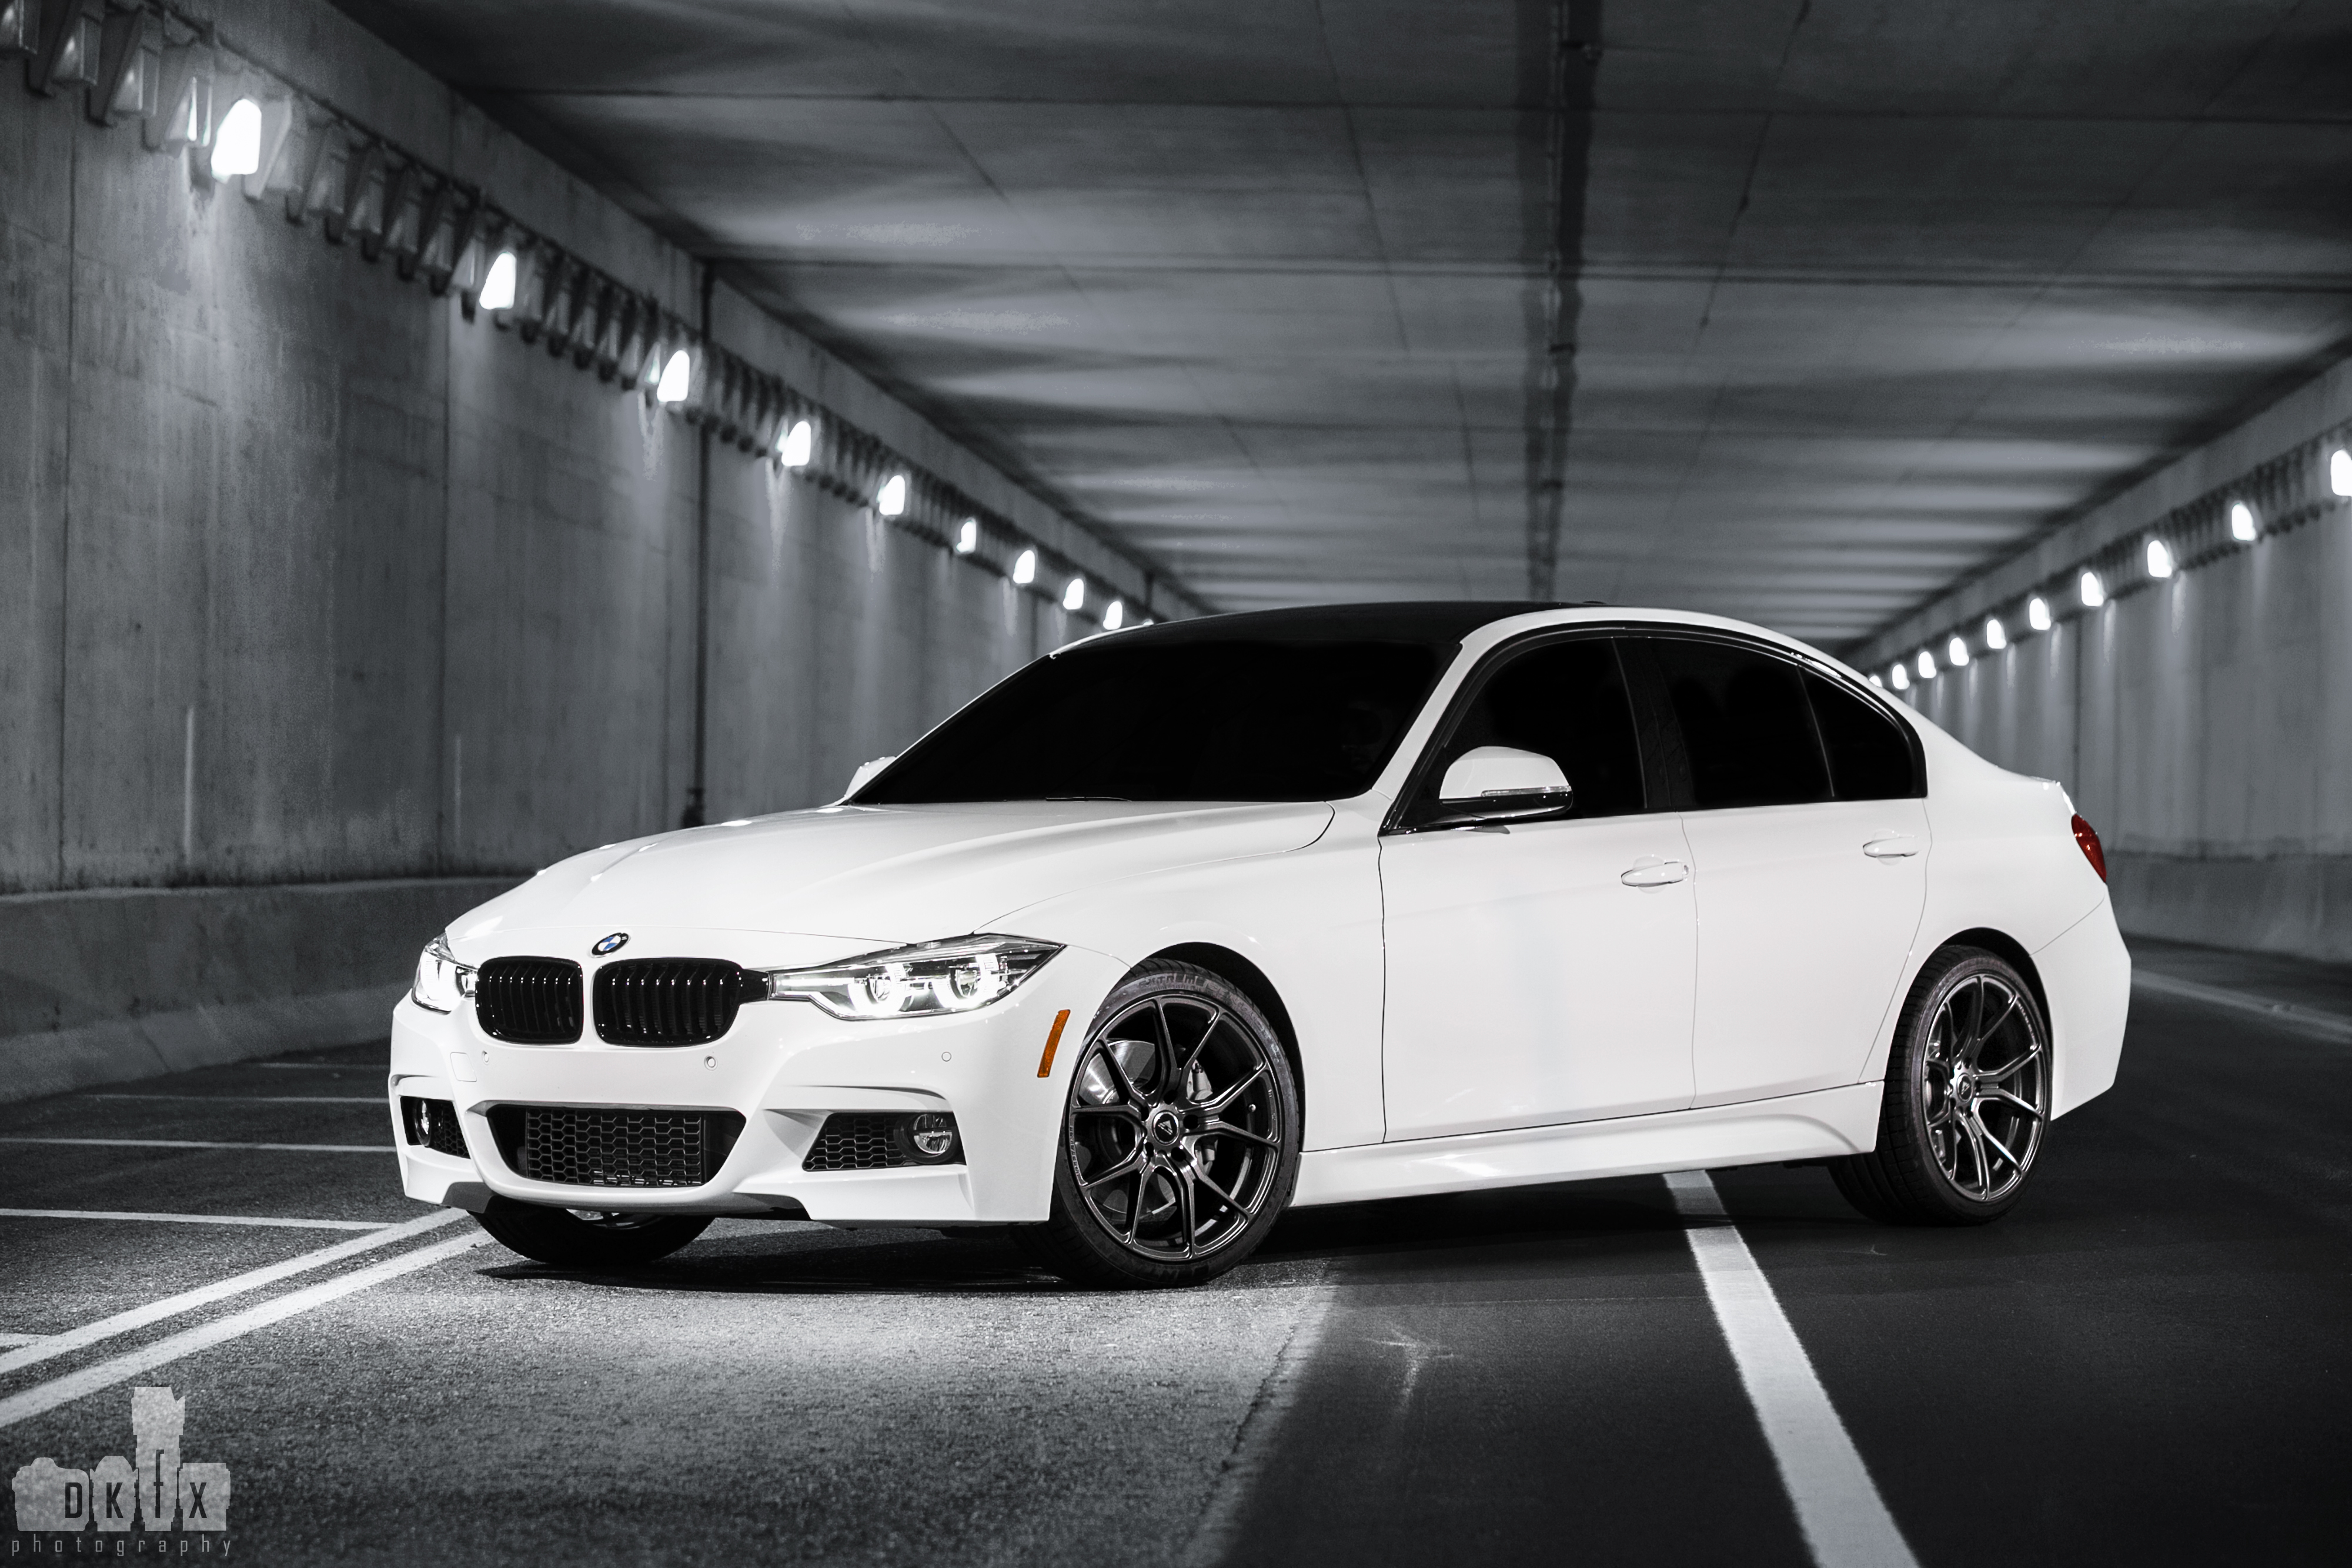
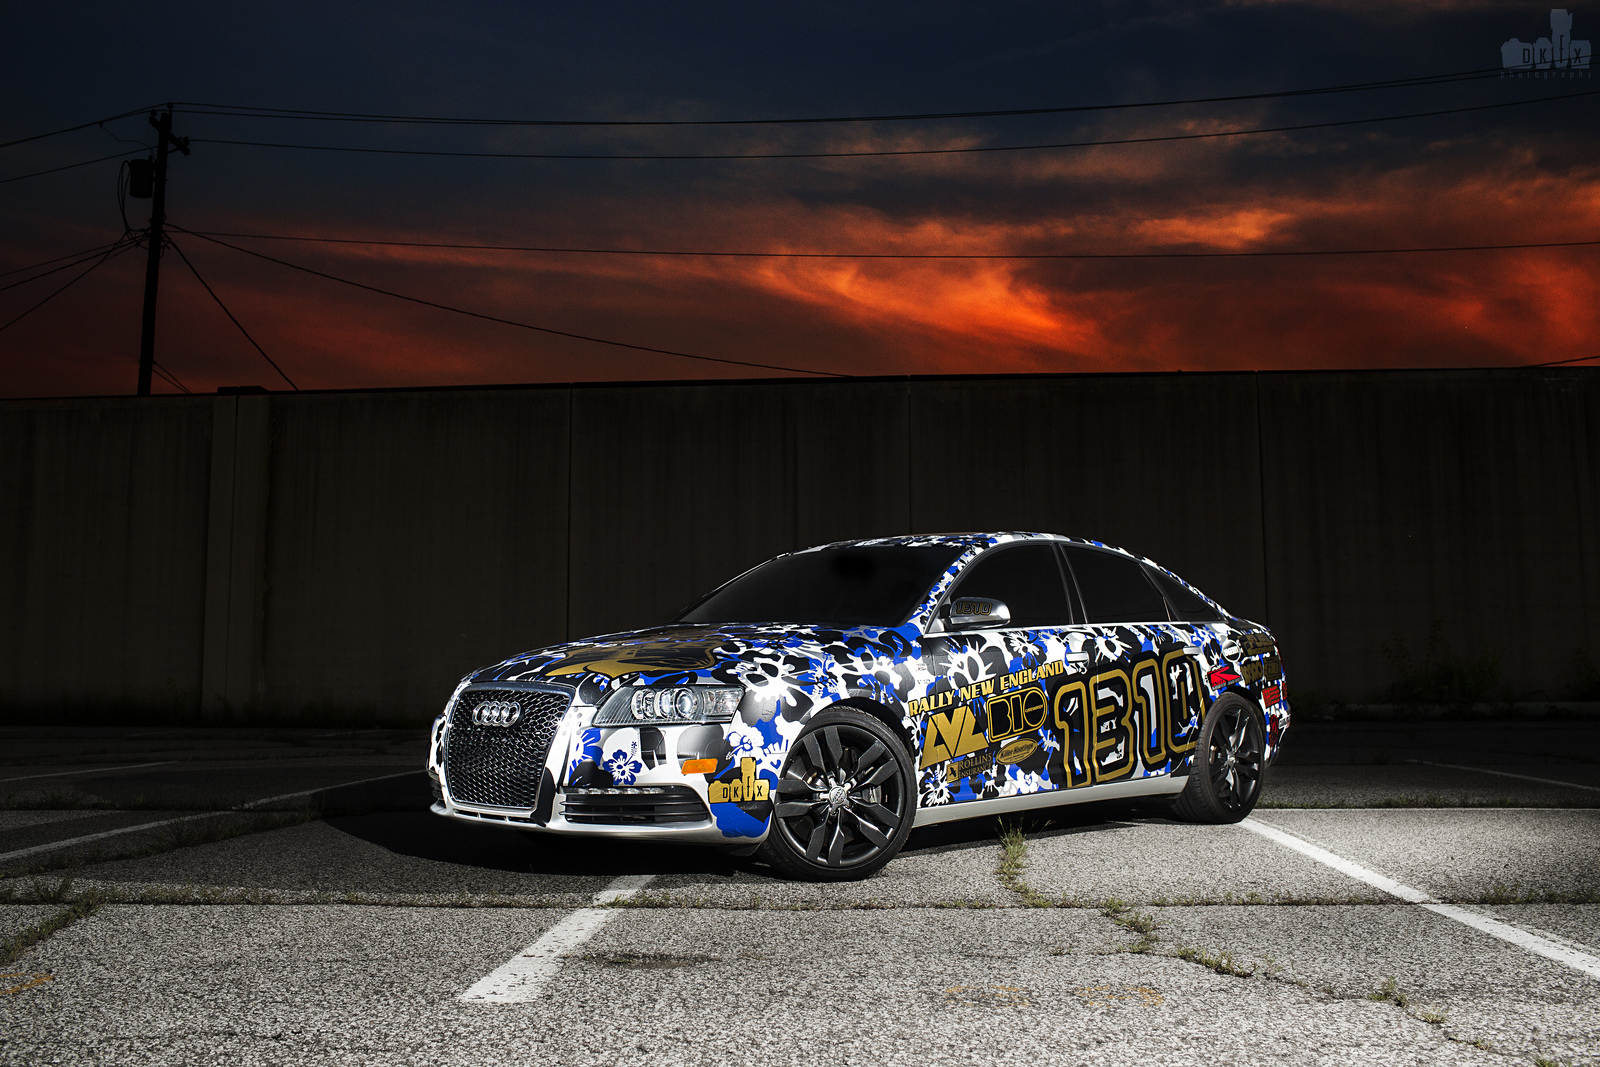
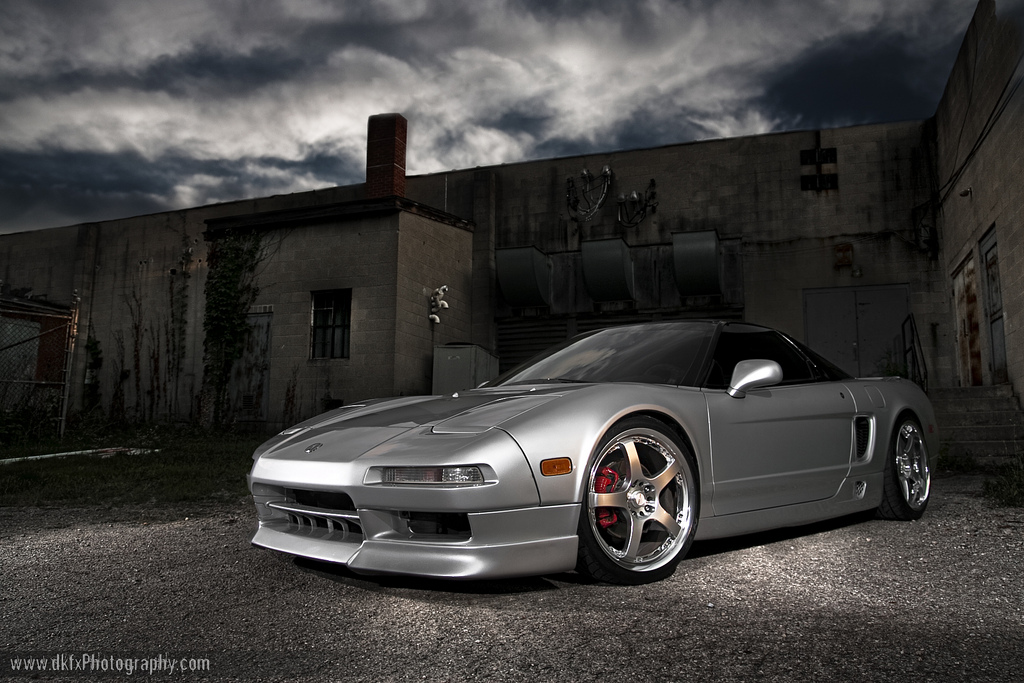
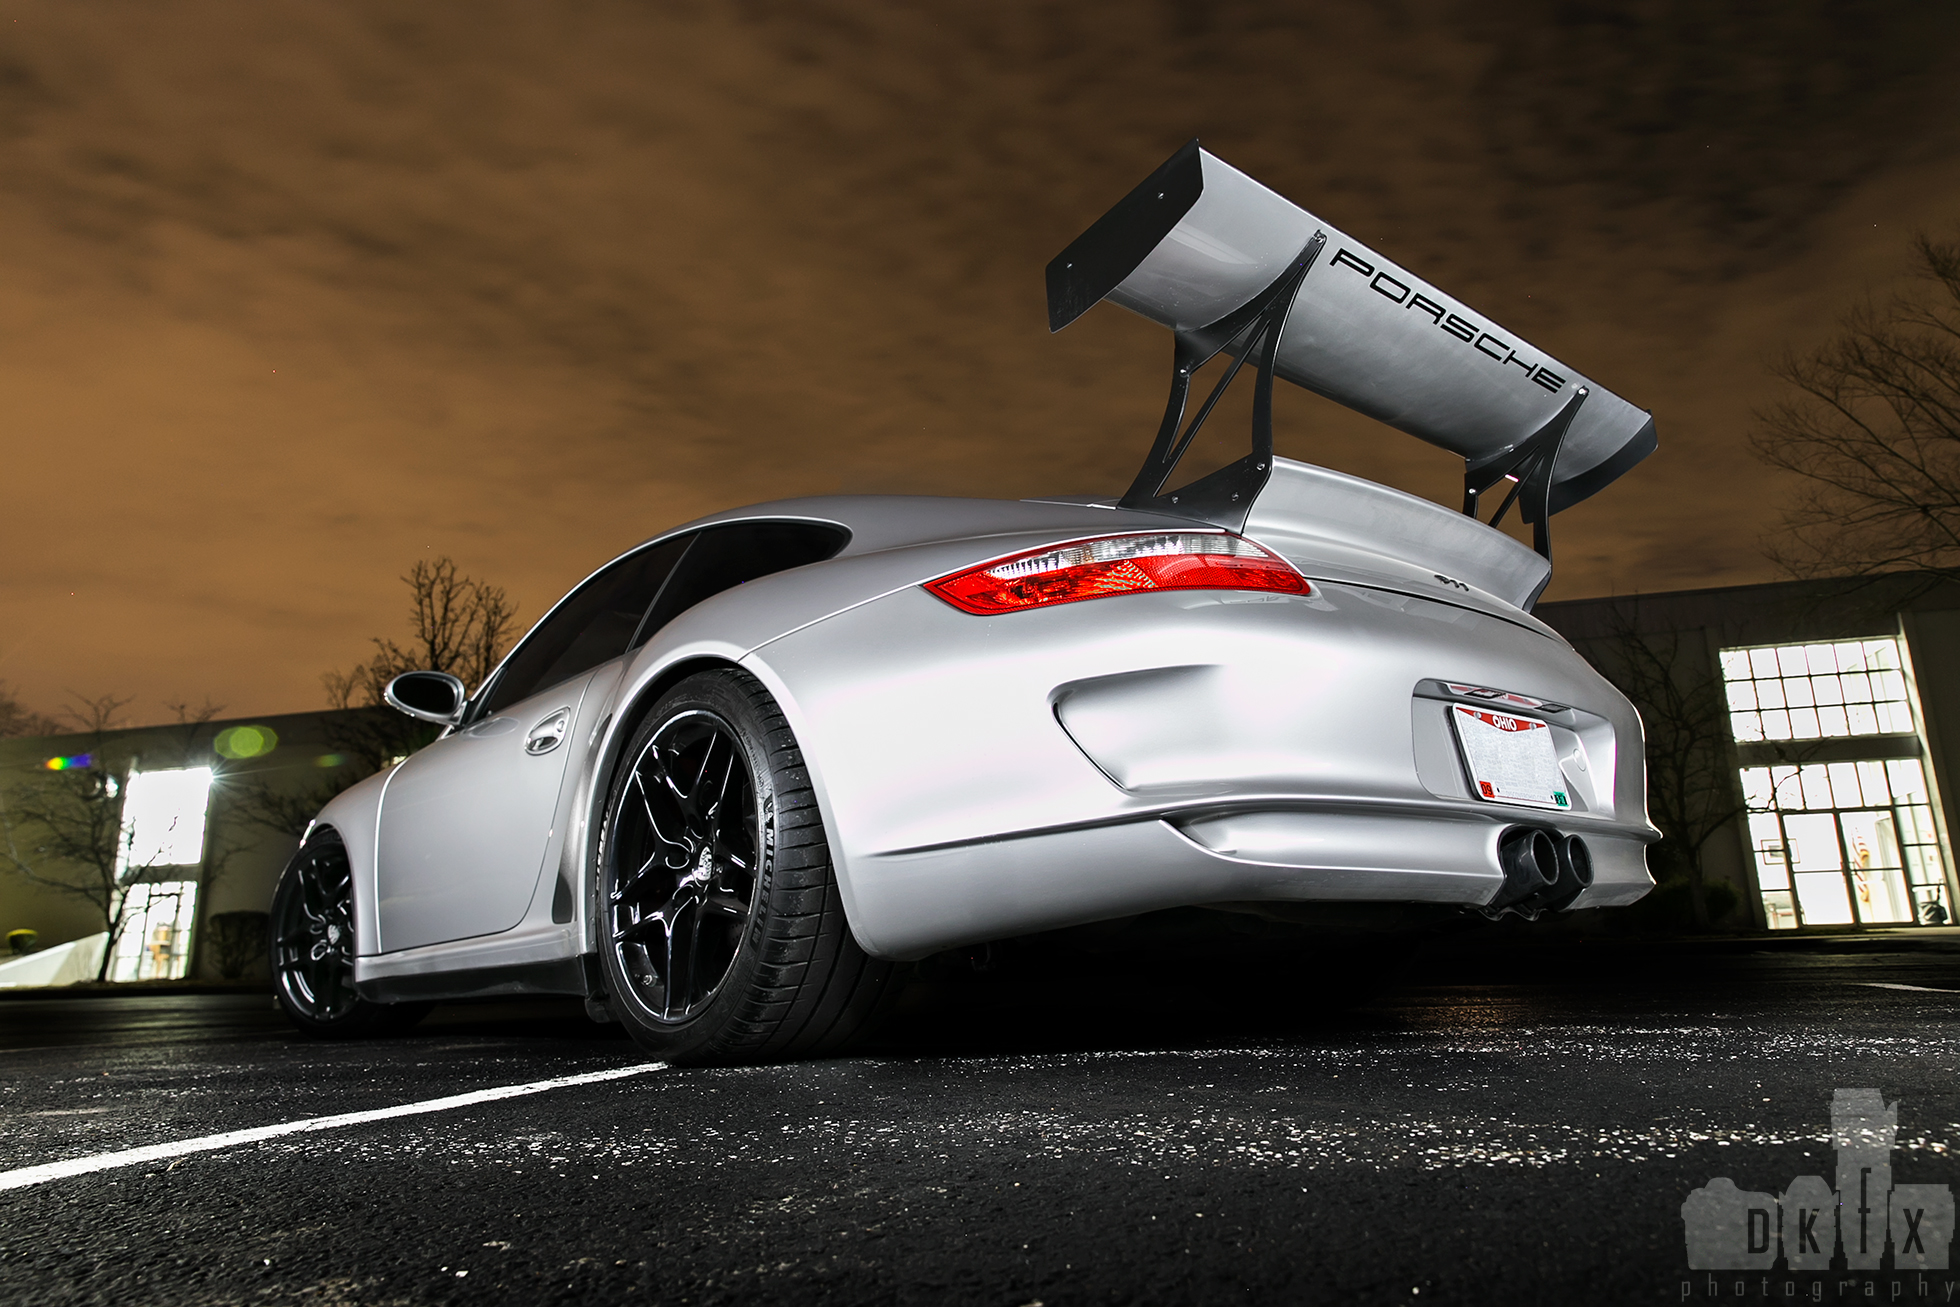
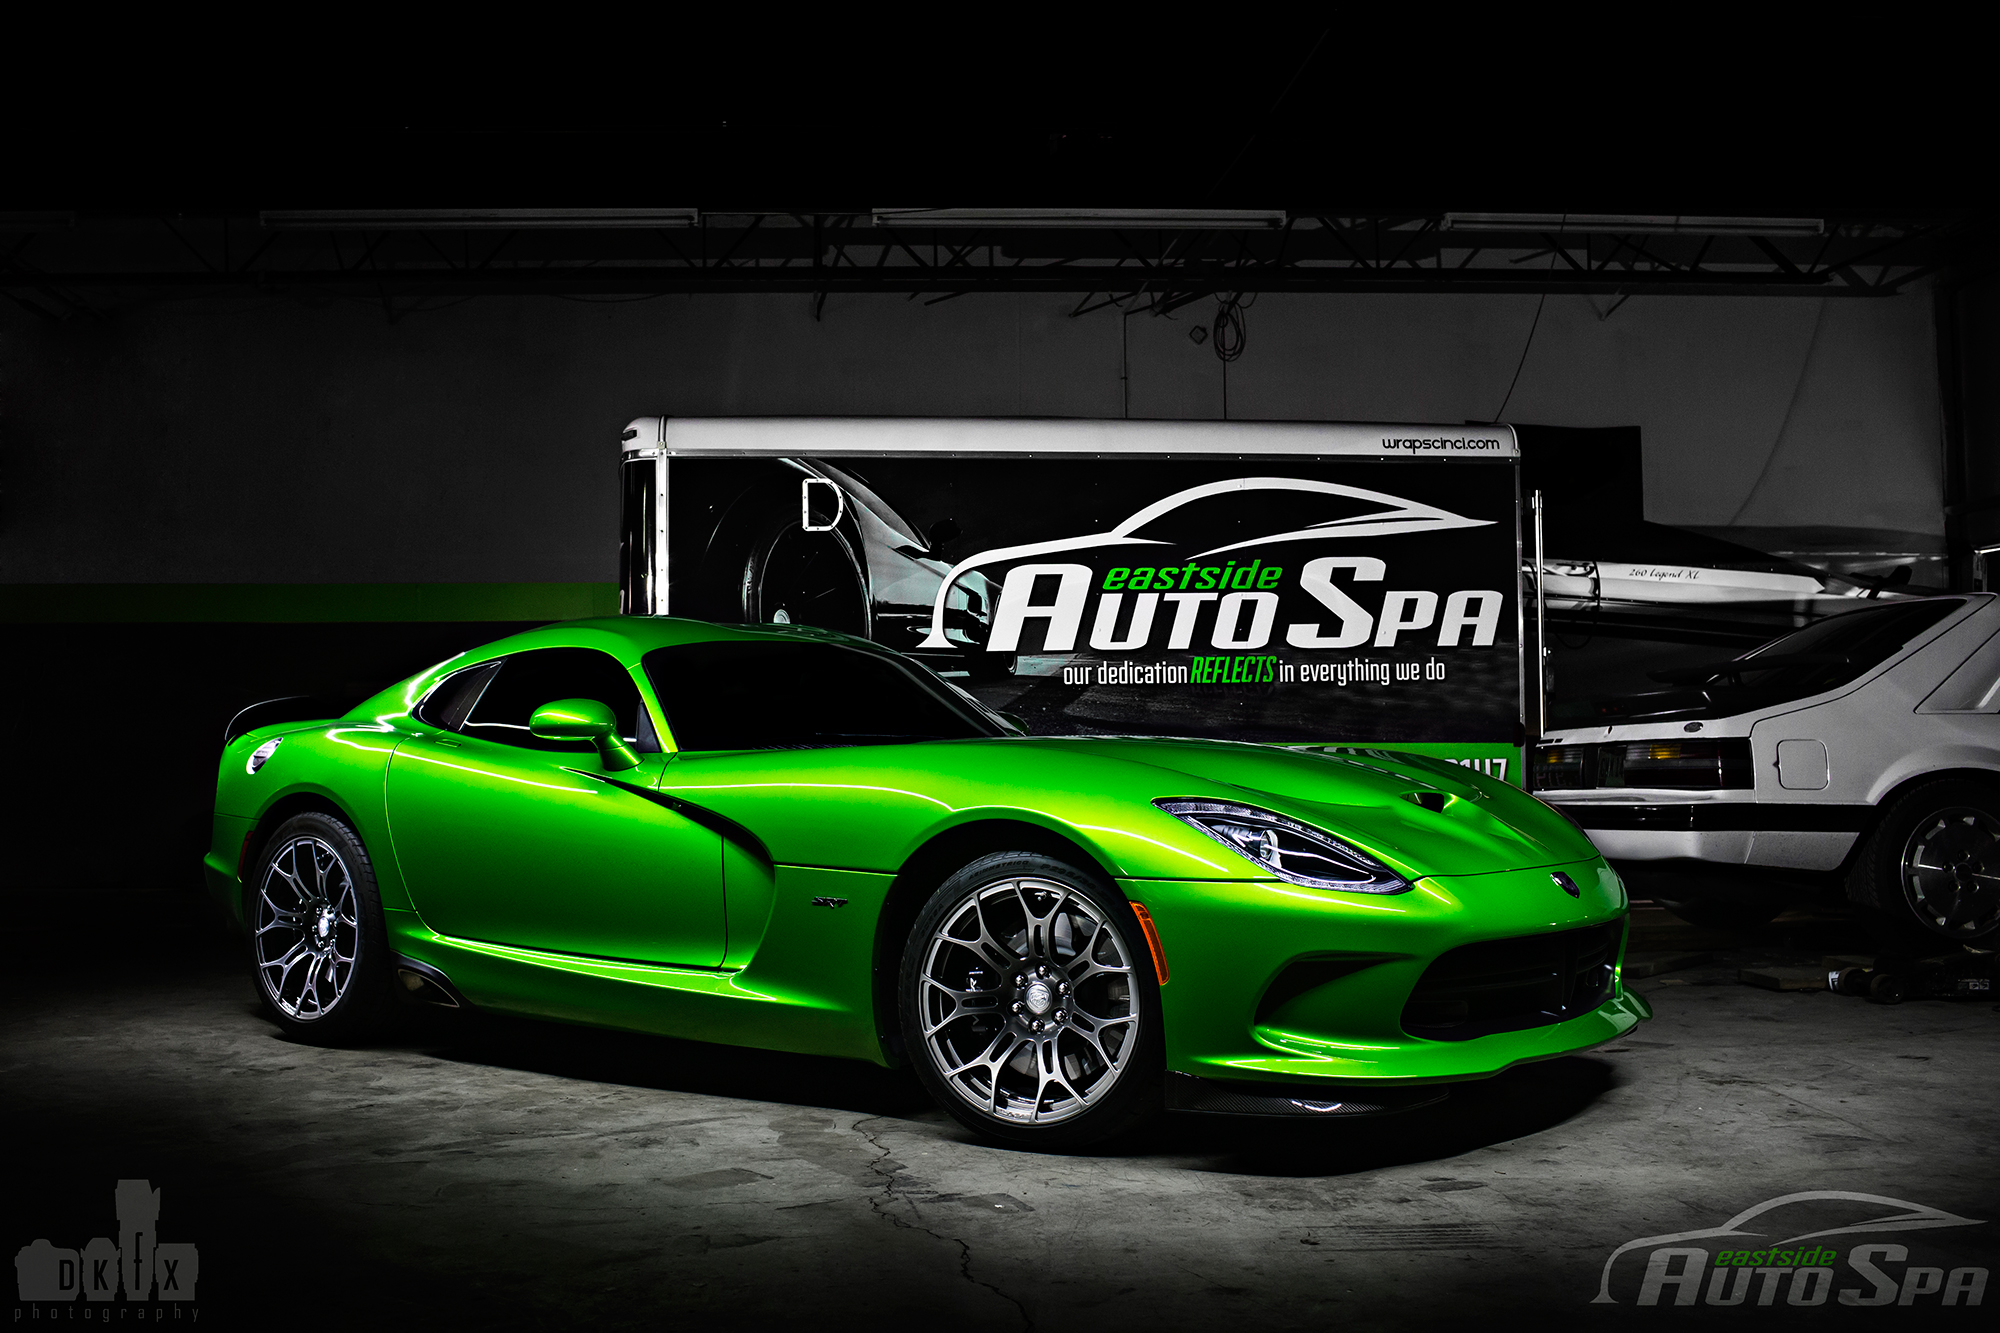
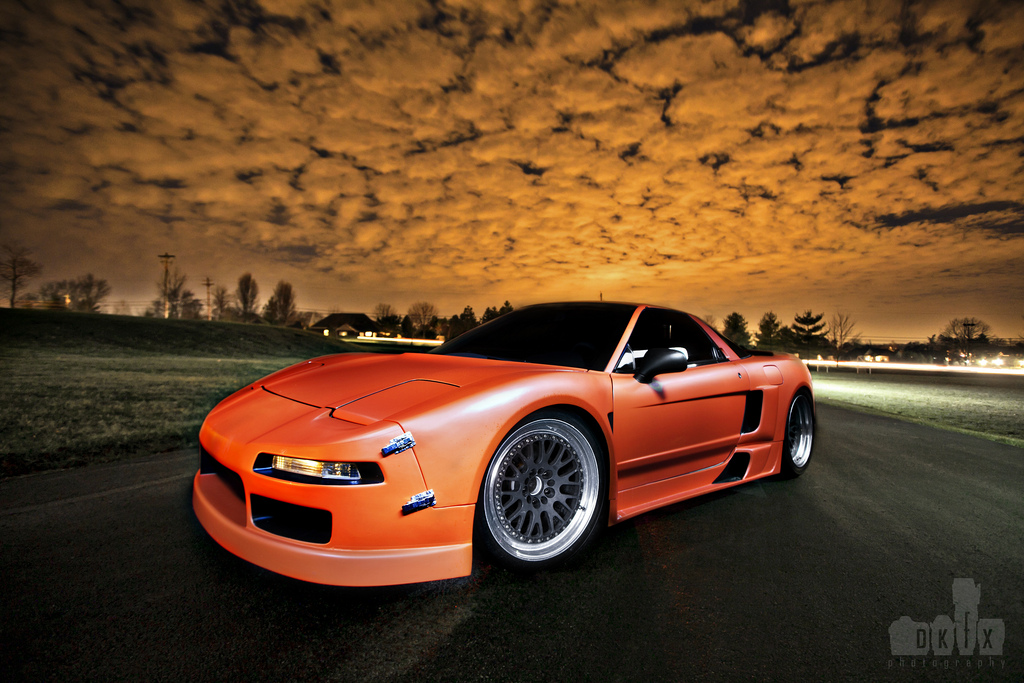
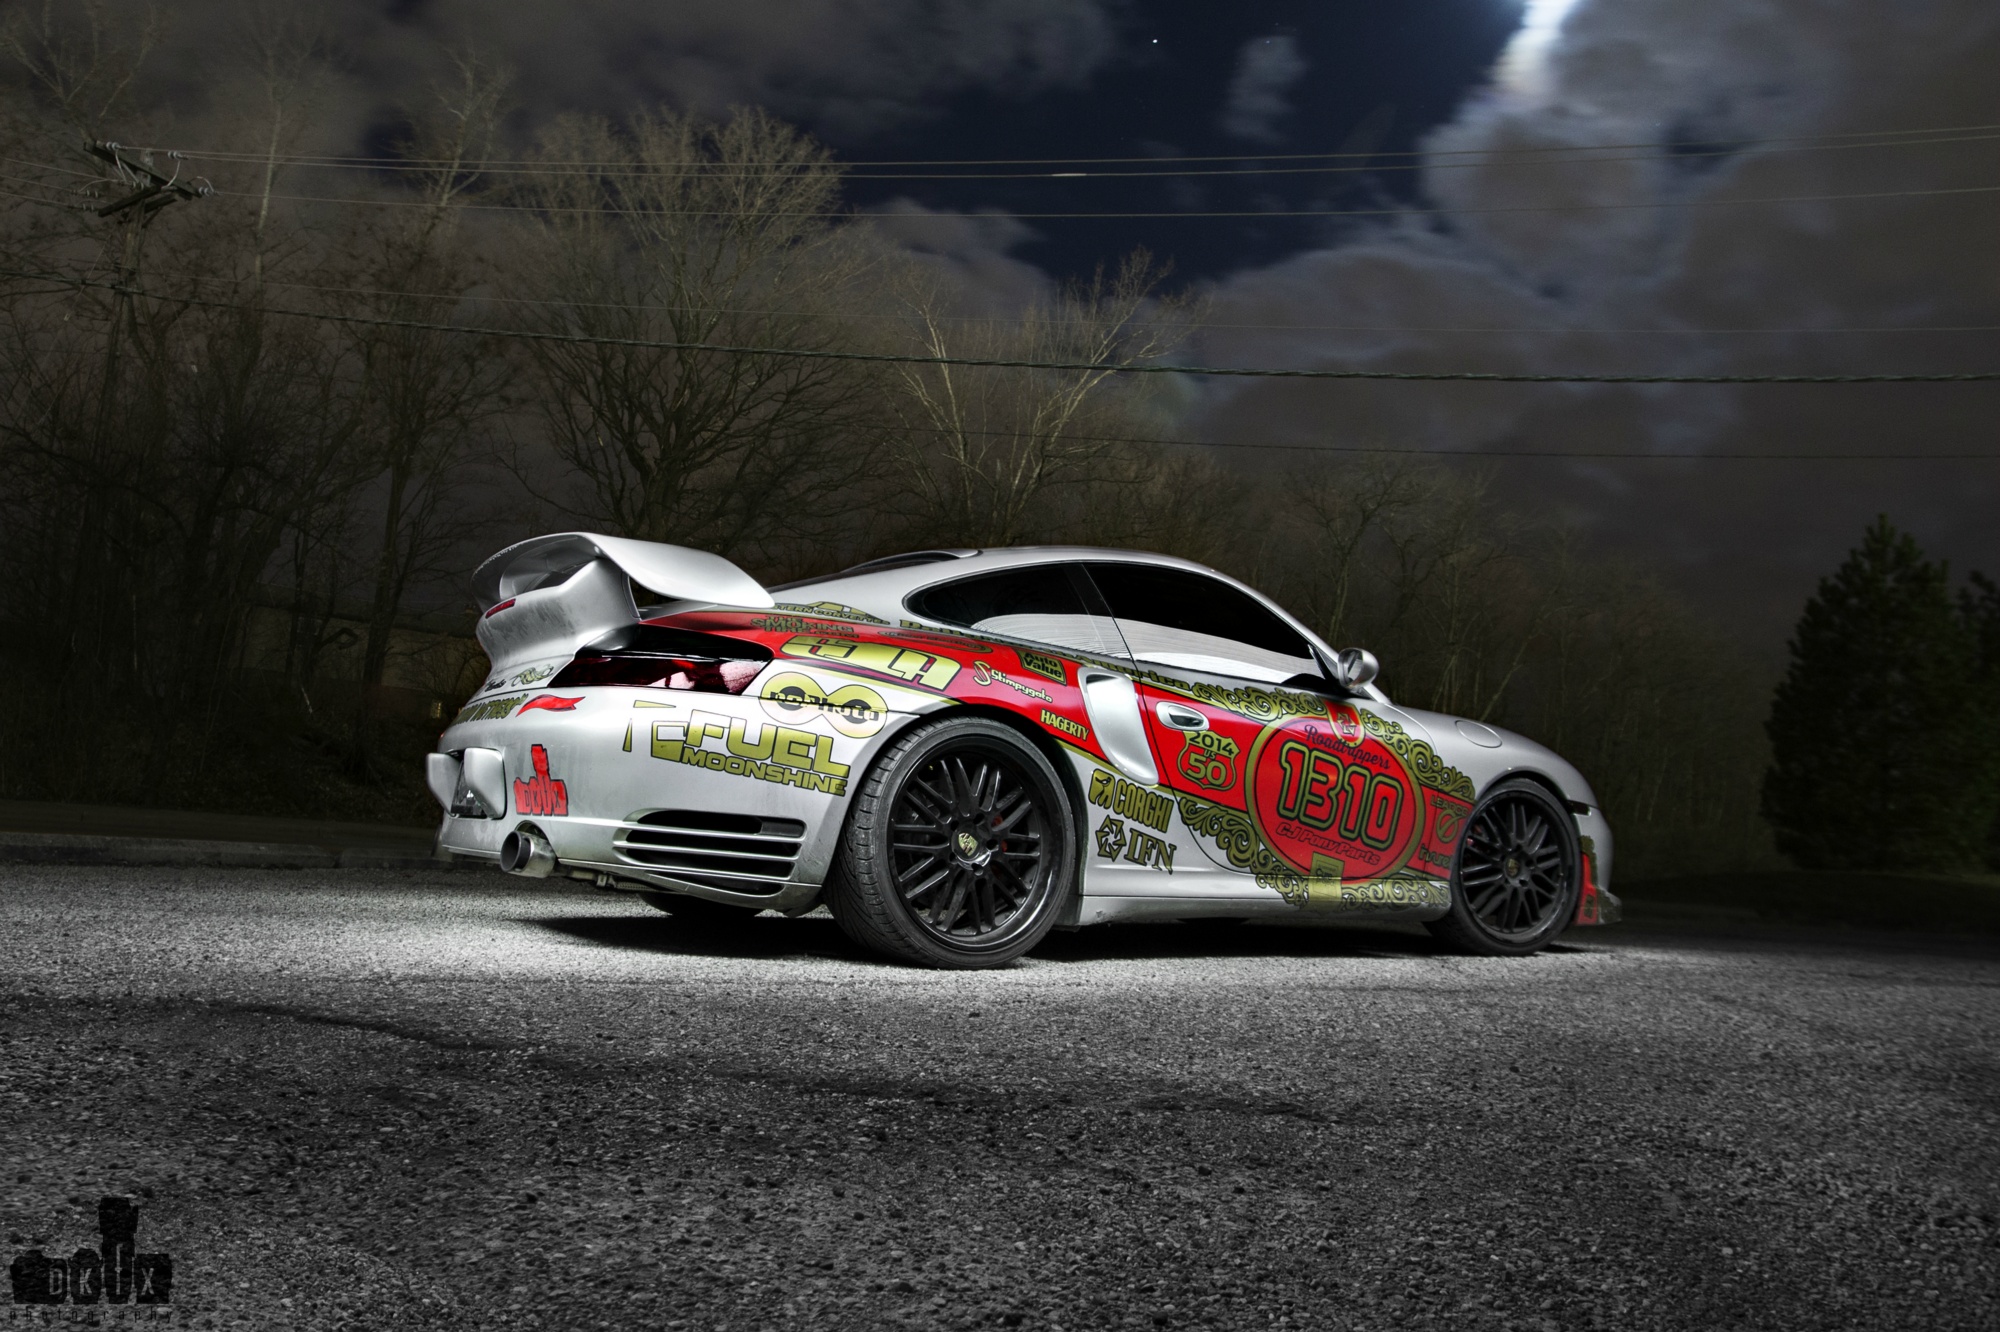
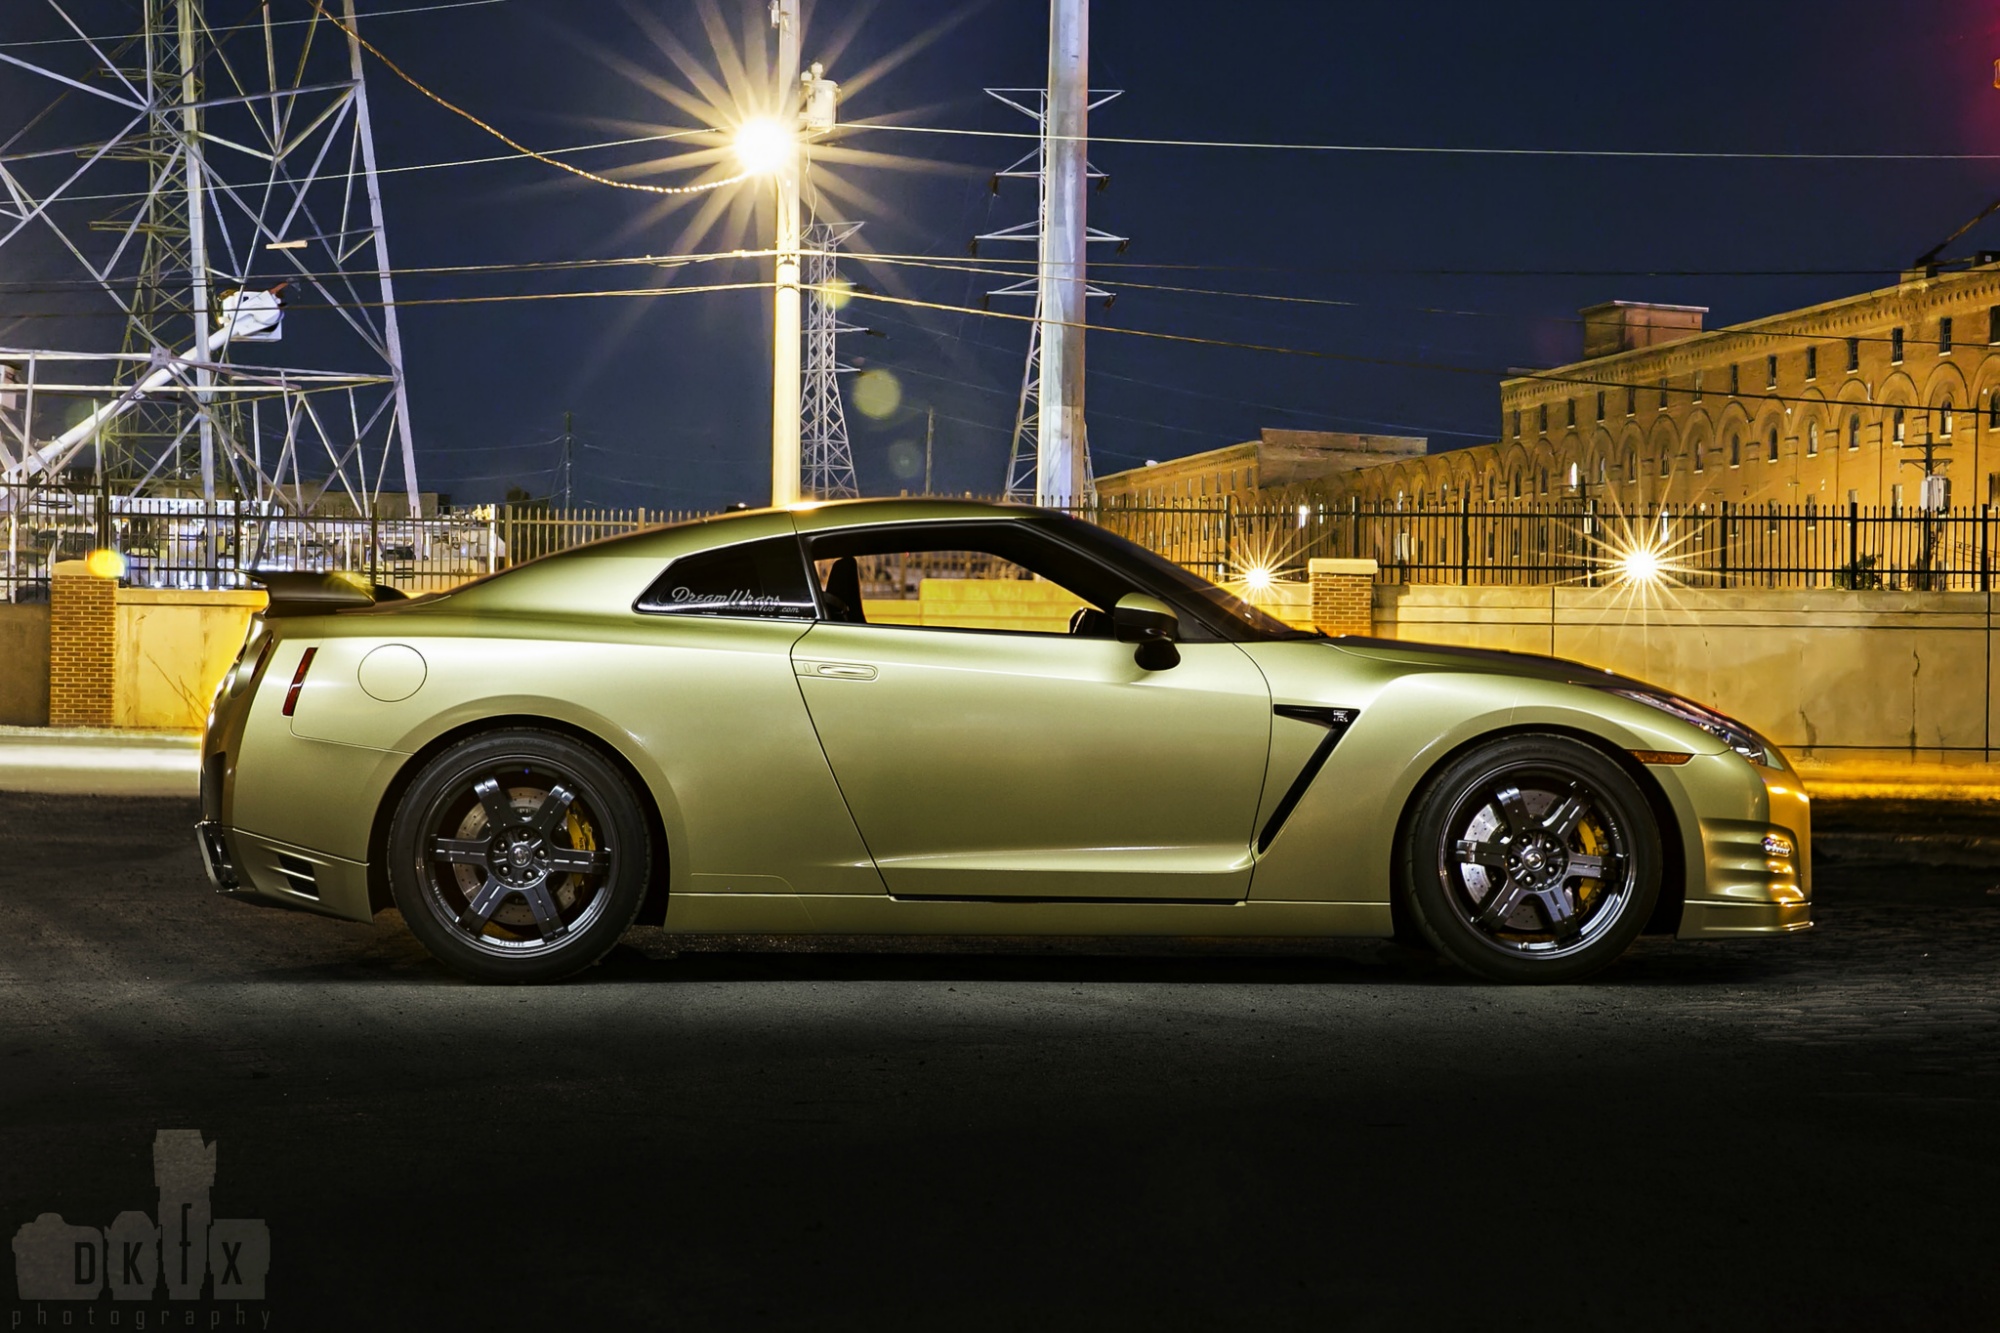
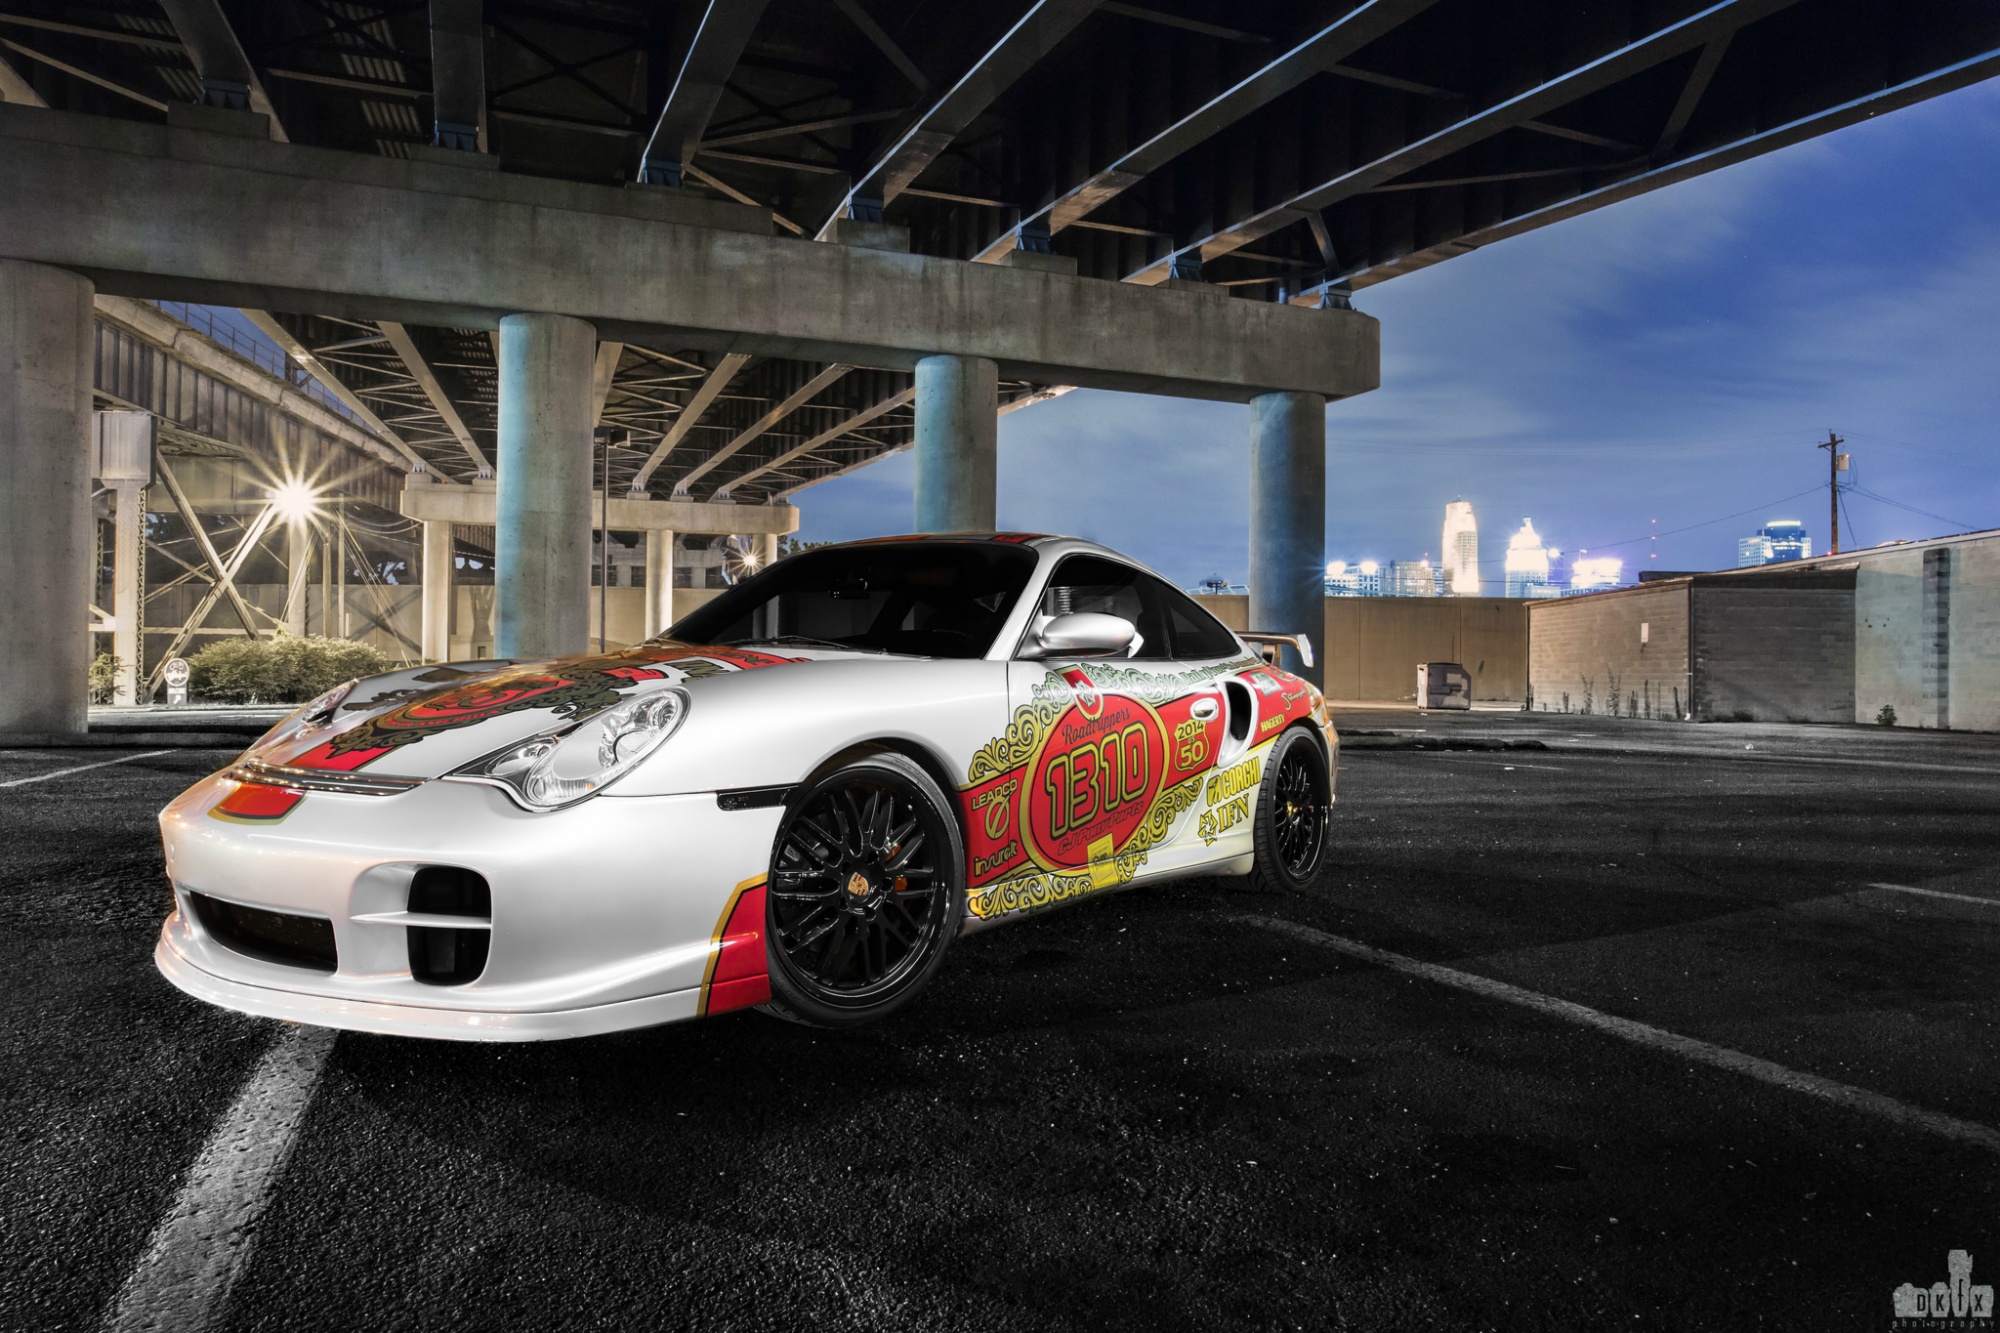
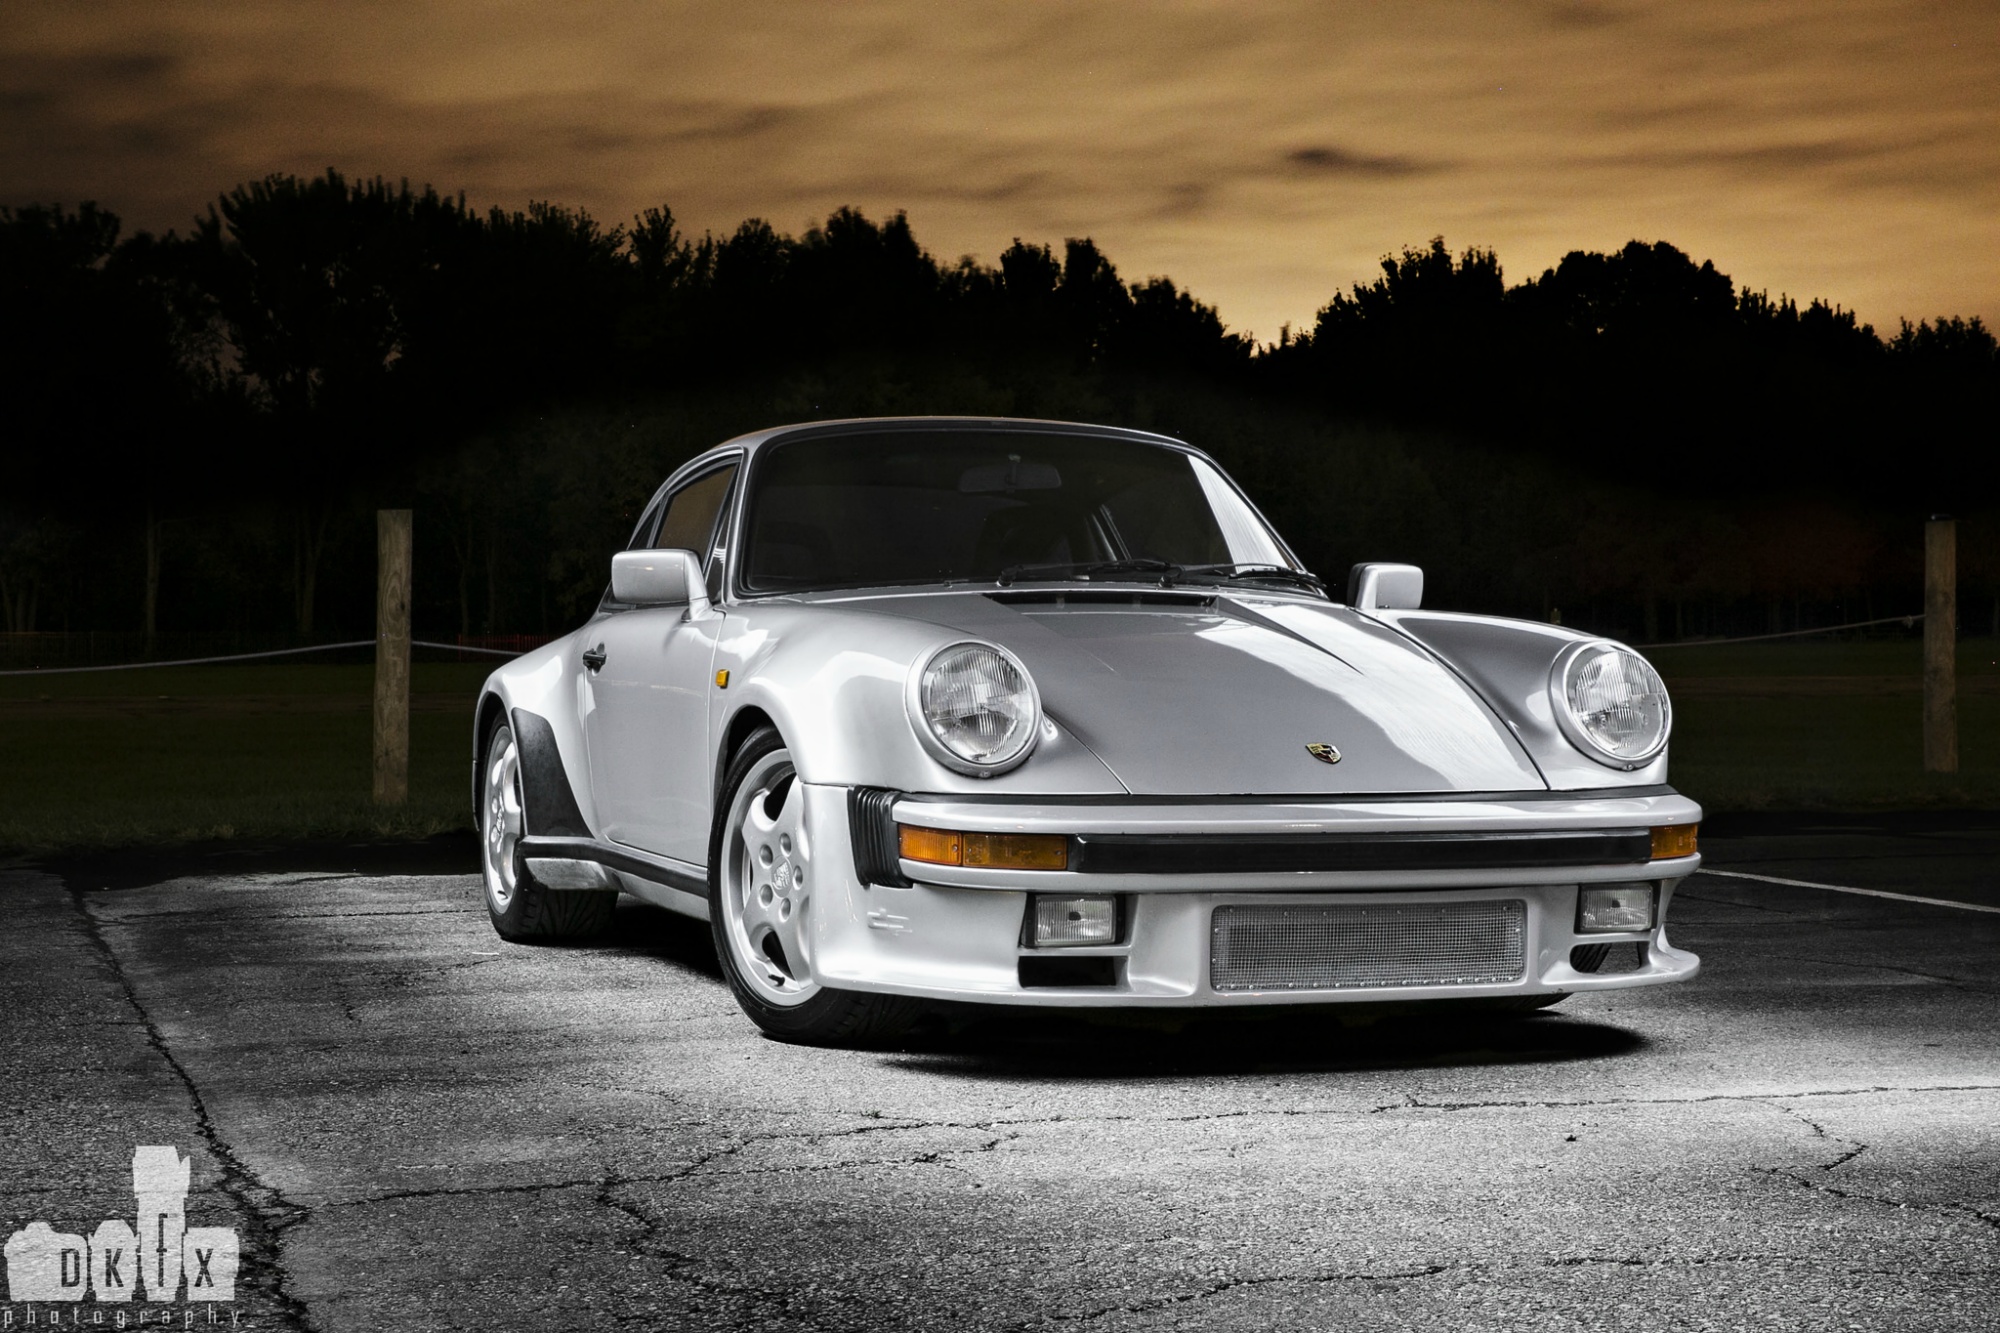
Flash / Strobe / Layered Shots:
This is where things start to get fun. Introducing additional lights can really make the image pop, and allows a deeper level of control for the photographer to separate the subject from the background. Lights can be used to add drama, or highlight the true colors of the cars paint / finish and fill in shadows. A note for the car owner though, if your car has swirl marks or blemishes, they will be more obvious once light is introduced to the paint, so make sure your car is cleaned and polished! If this is the case, additional editing time is needed to remove blemishes in post, which can take some time and talent. You can see below some shots have a more dramatic look, and some have a more natural look. This will depend on when the car is shot, what the sky is doing, and request of customer.

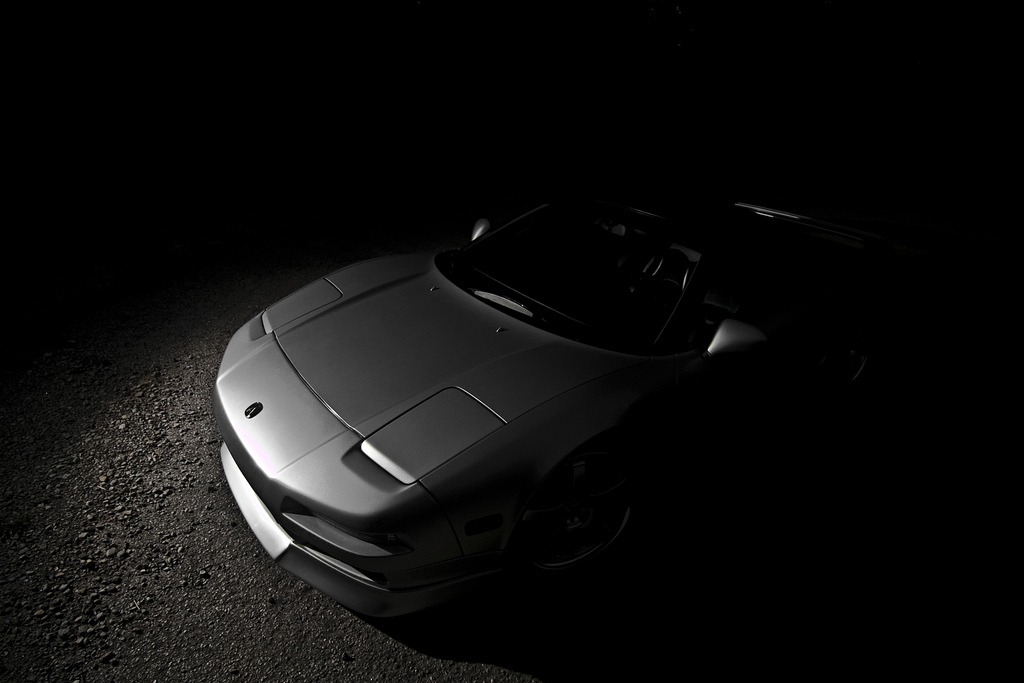


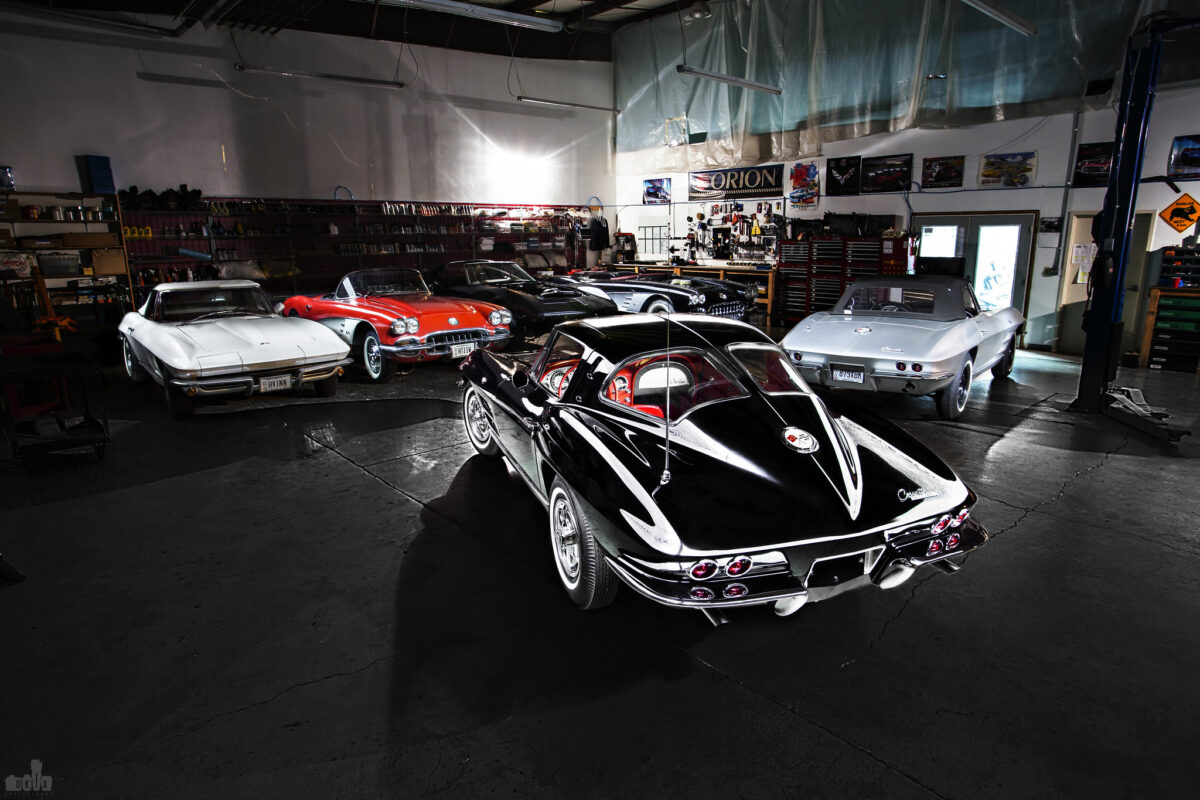
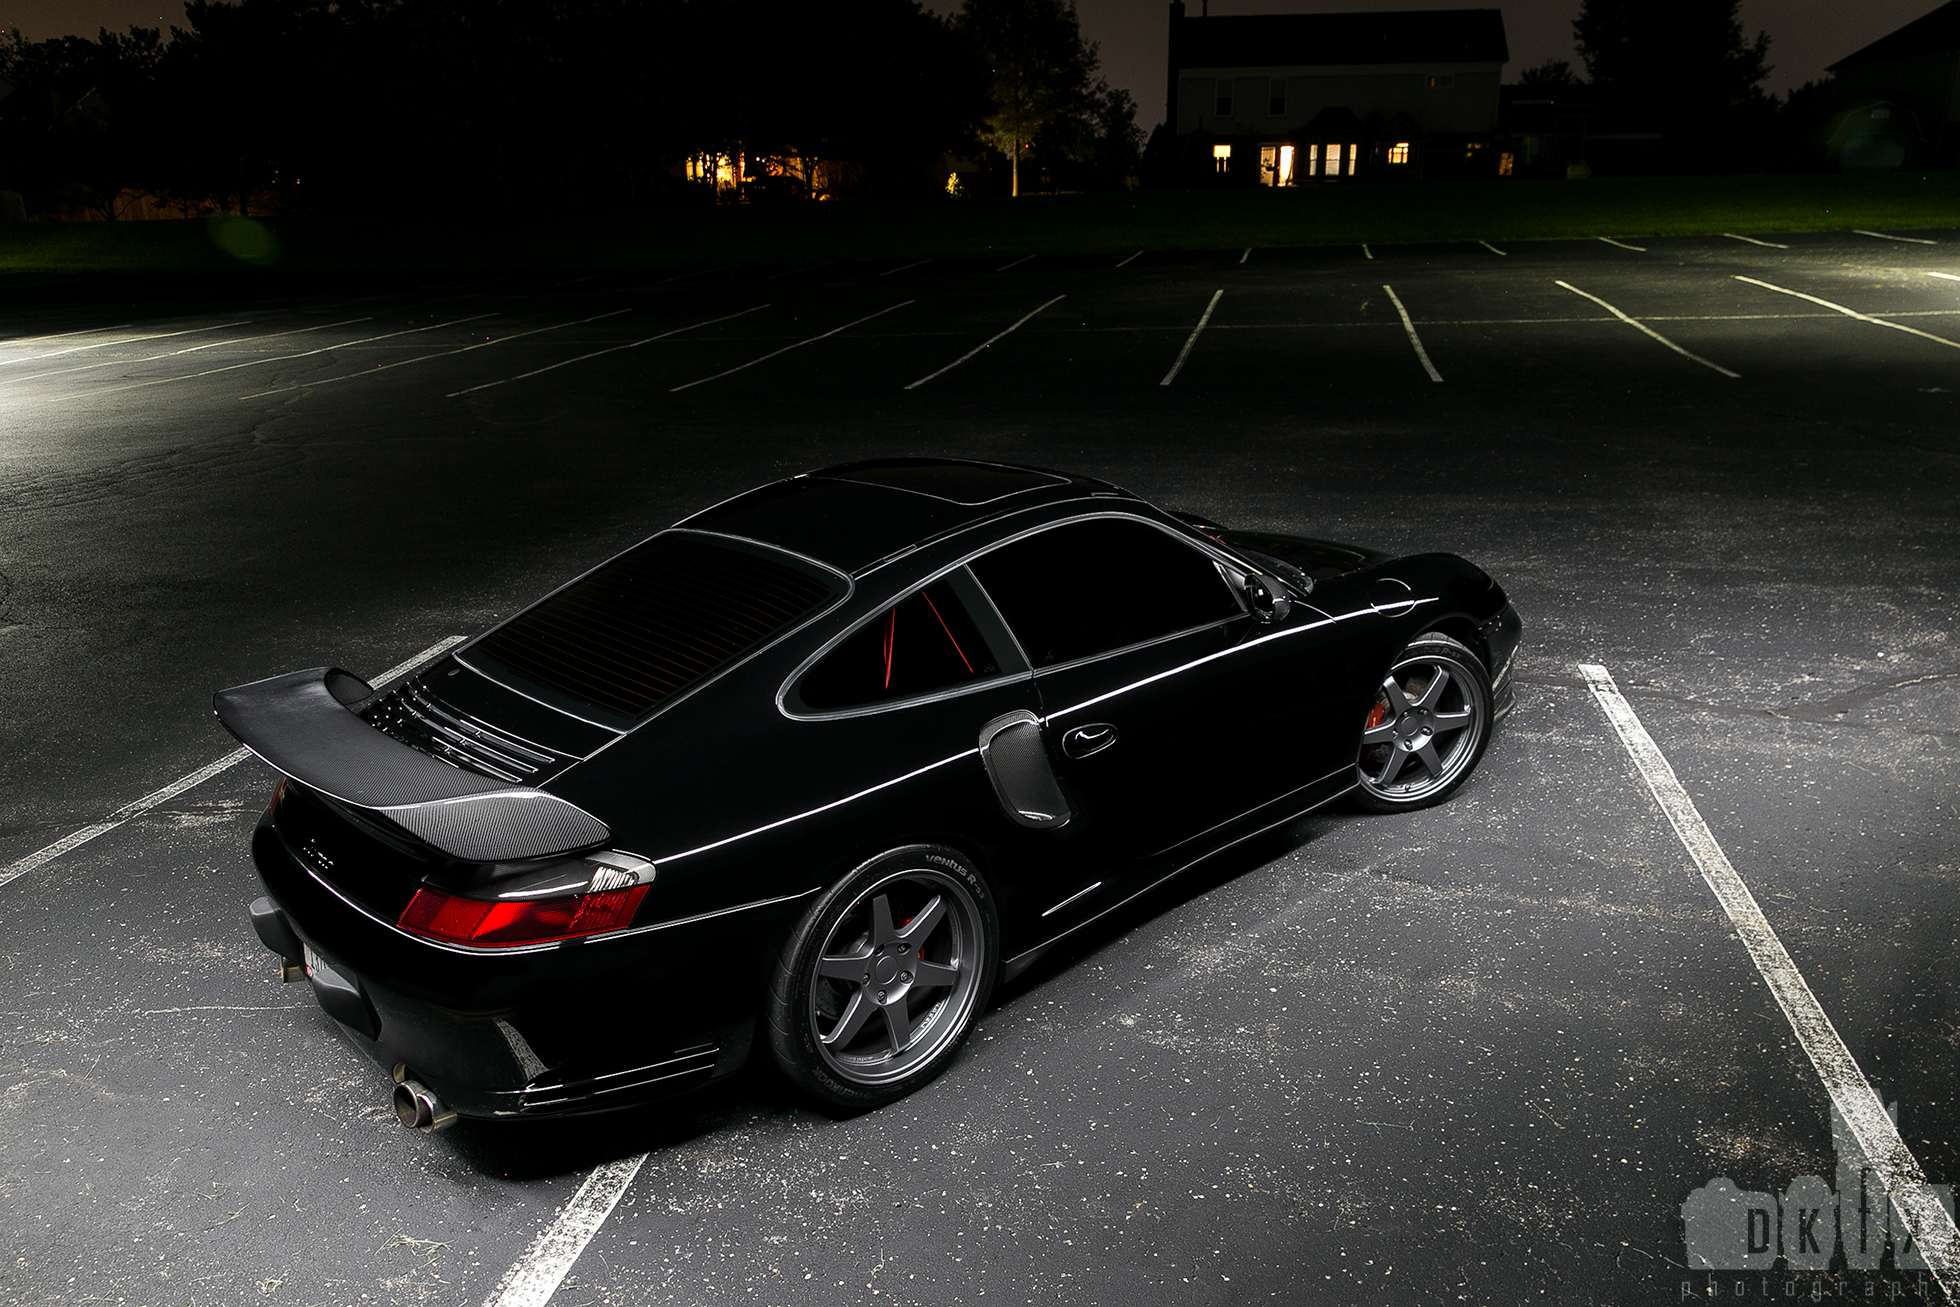
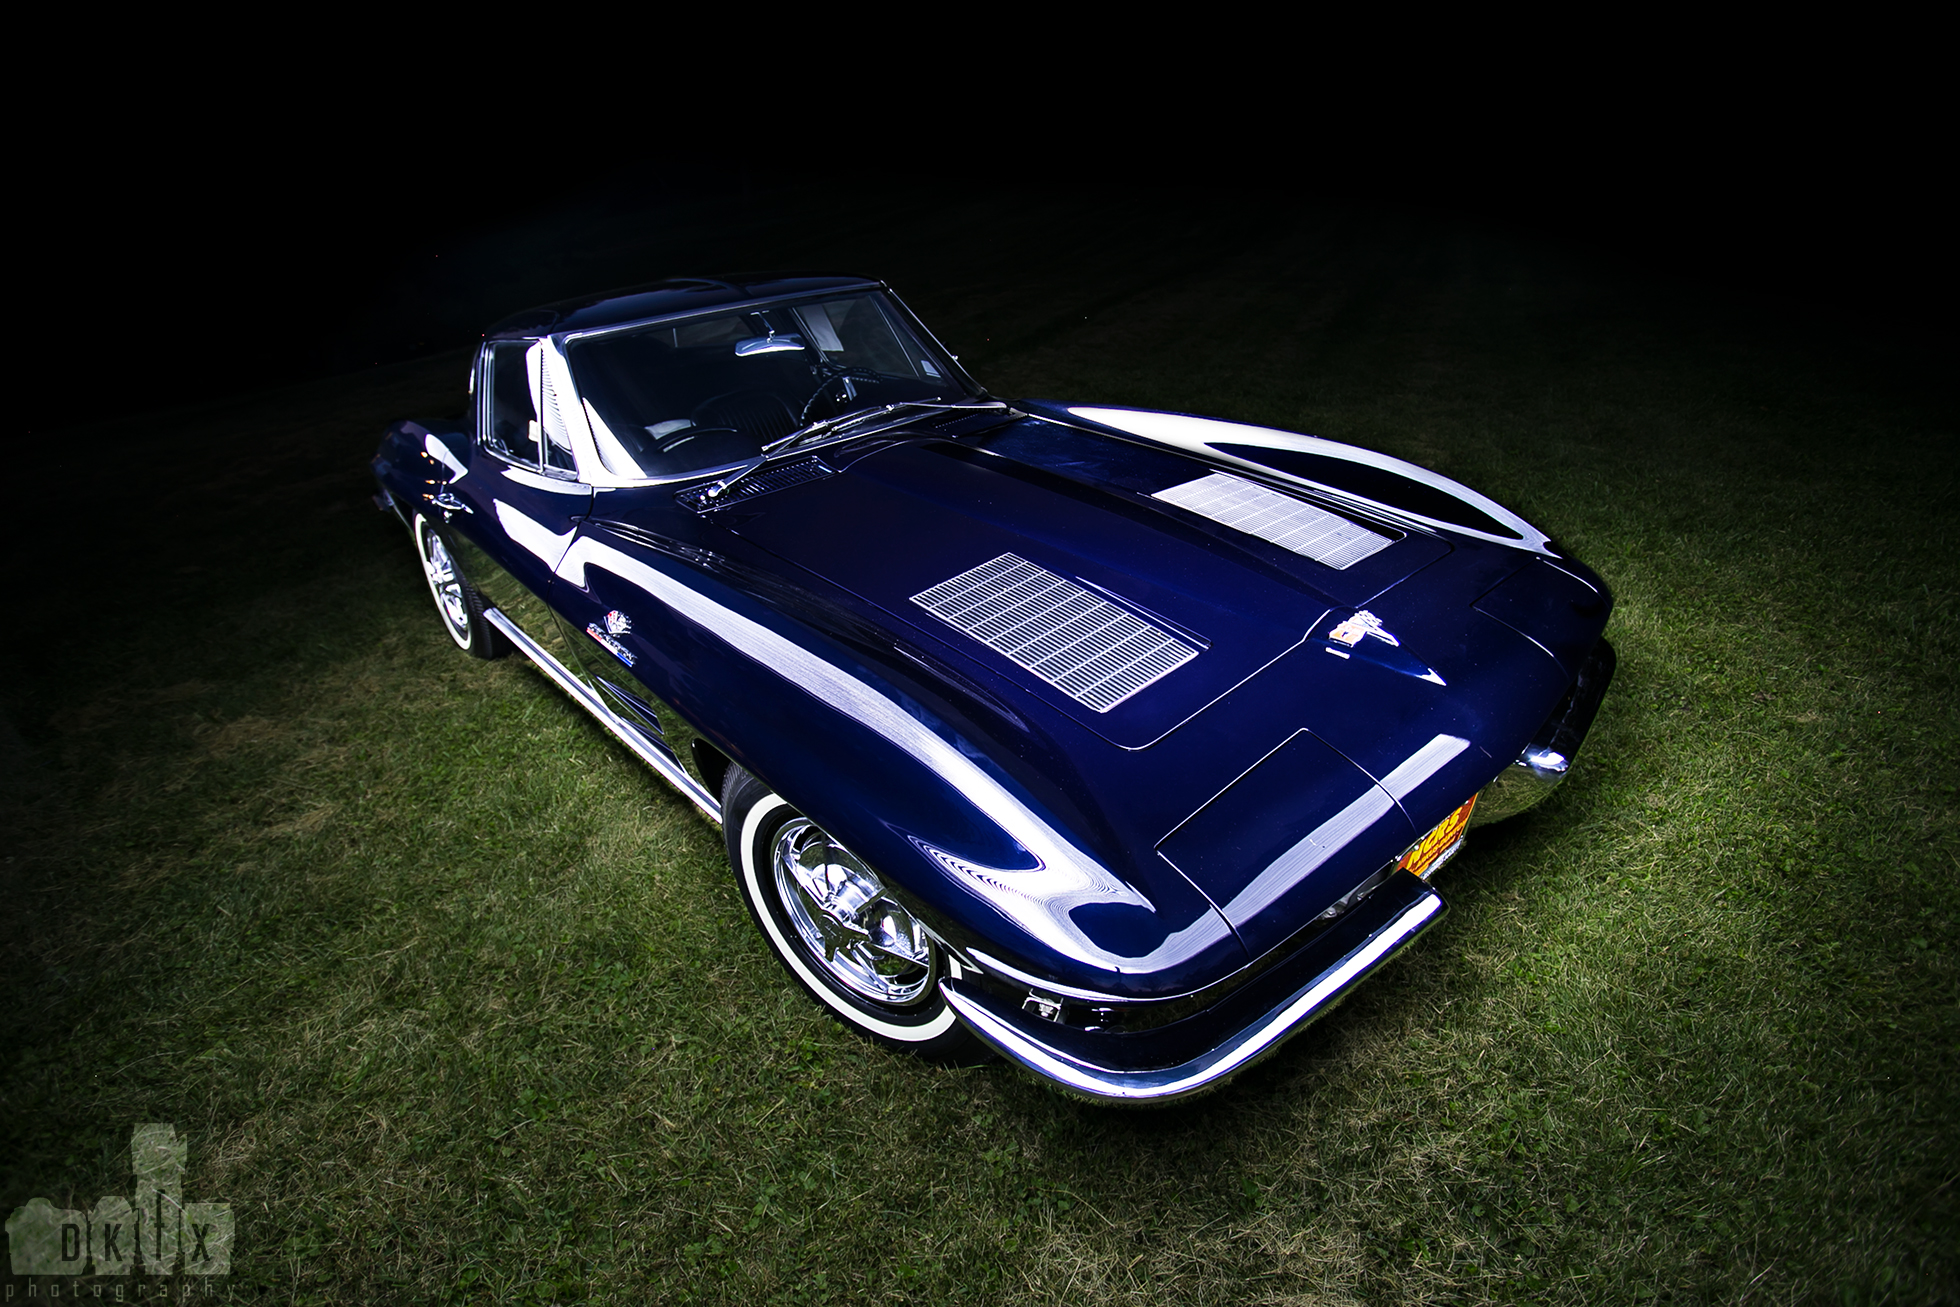
Light Painting Shots:
Light painting shots have probably been the most popular dramatic shots as of recently in the automotive community. This utilizes a technique where the camera is set on a tripod, and a constant light is drug a few feet away from the paint of the car which illuminates the car’s paint of a longer exposure time. There are tons of different styles, methods, modifiers, and ways of doing this, though they are usually easily identified. These shots require very little ambient light to setup correctly, so shooting in a dark area with no additional lights (street lights, garage lights, etc) will make the photographers job easier. These typically require a good amount of editing time as there are usually multiple exposures taken (multiple pictures) and then stitched together in post. If a customer wants these style of photos, a location and time where there is no sun / extra lighting will always be easiest, though isn’t necessarily out of the question depending on the photographers / editors skill level. These are some of my favorite shots, though some may say they look a little too ‘cartoony’ for them. You decide.


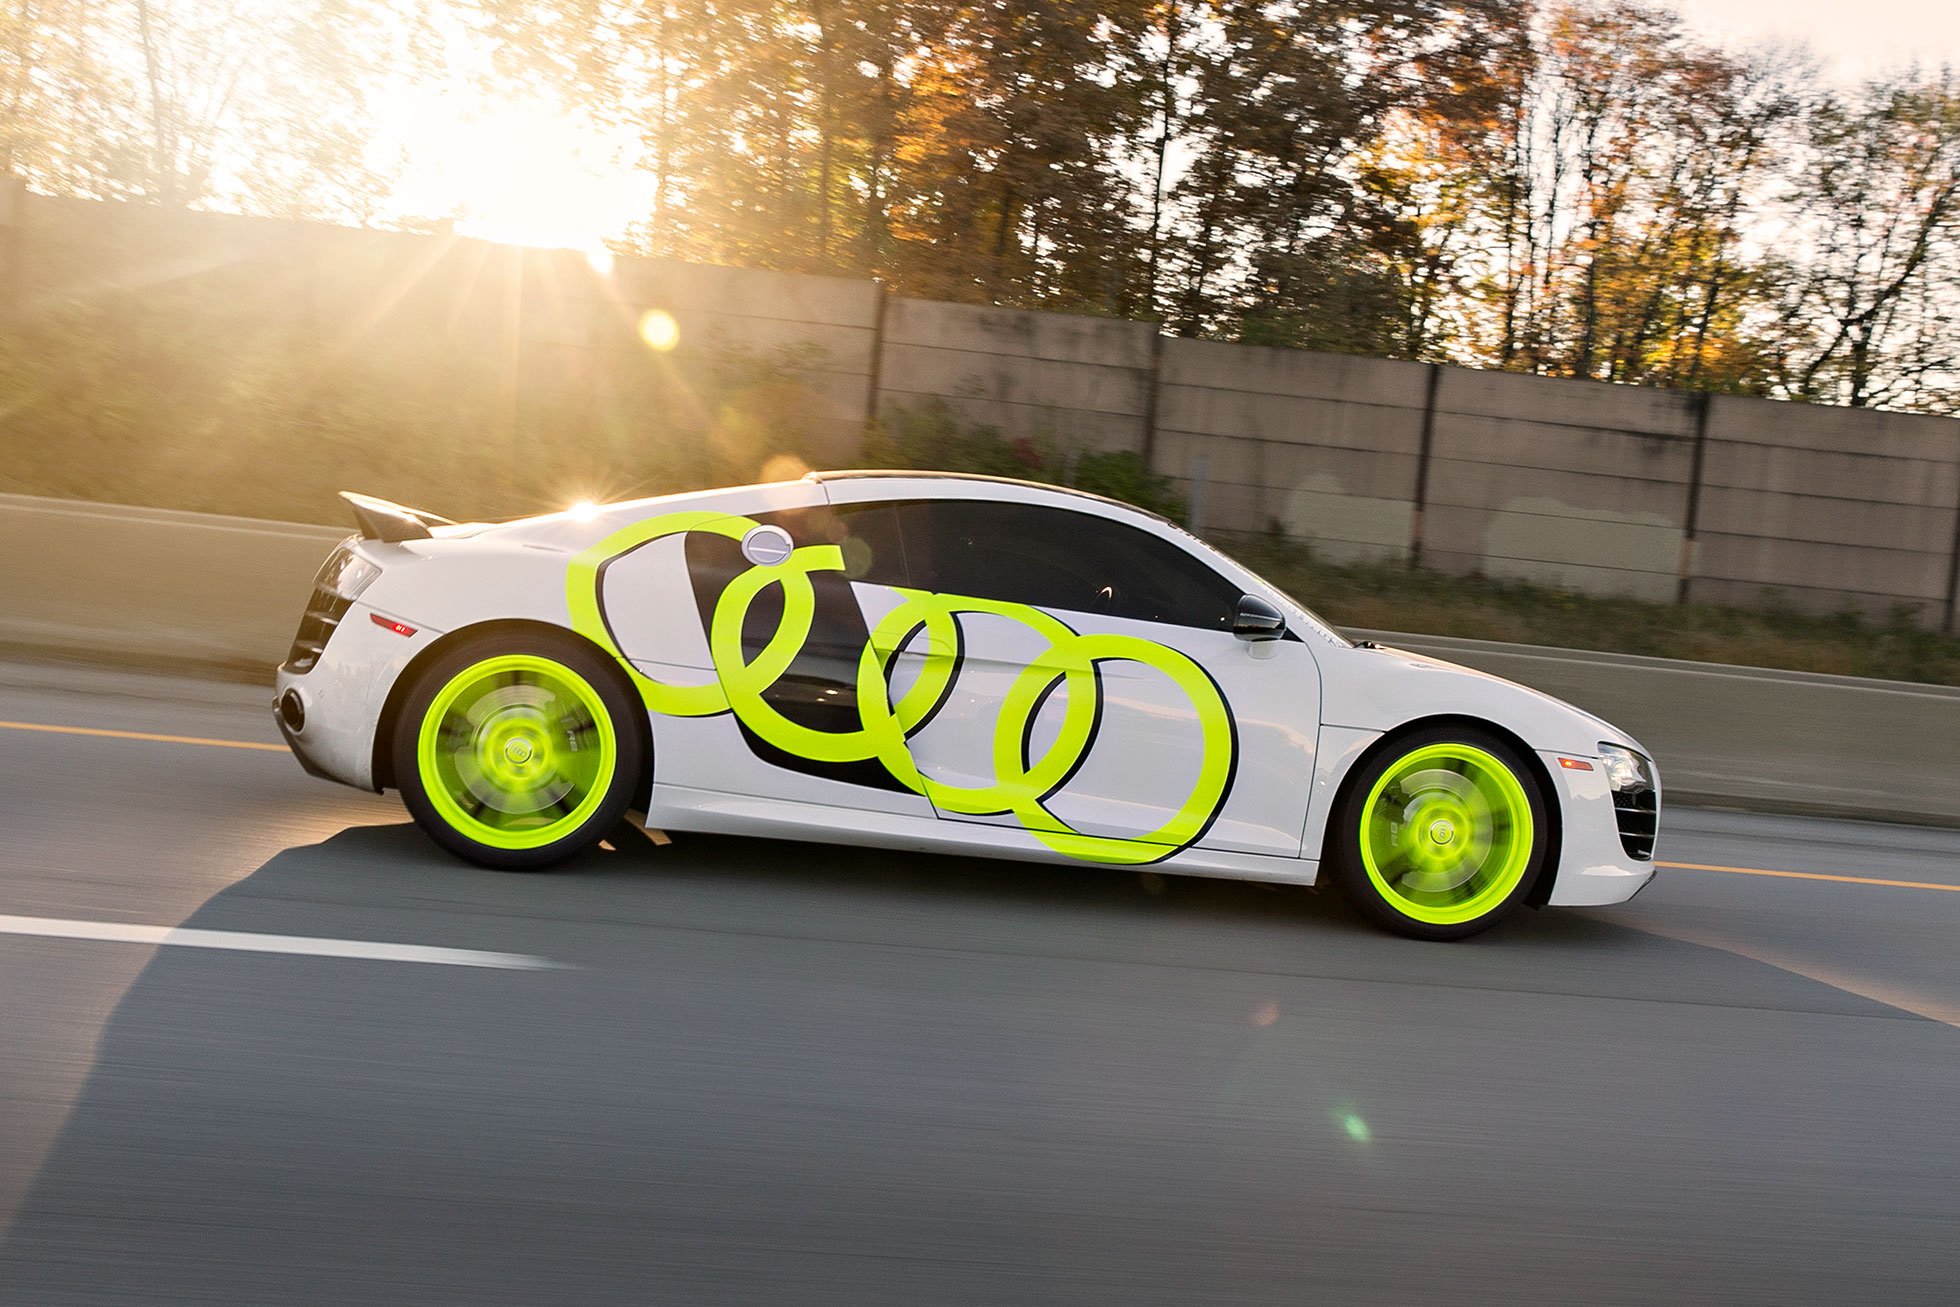
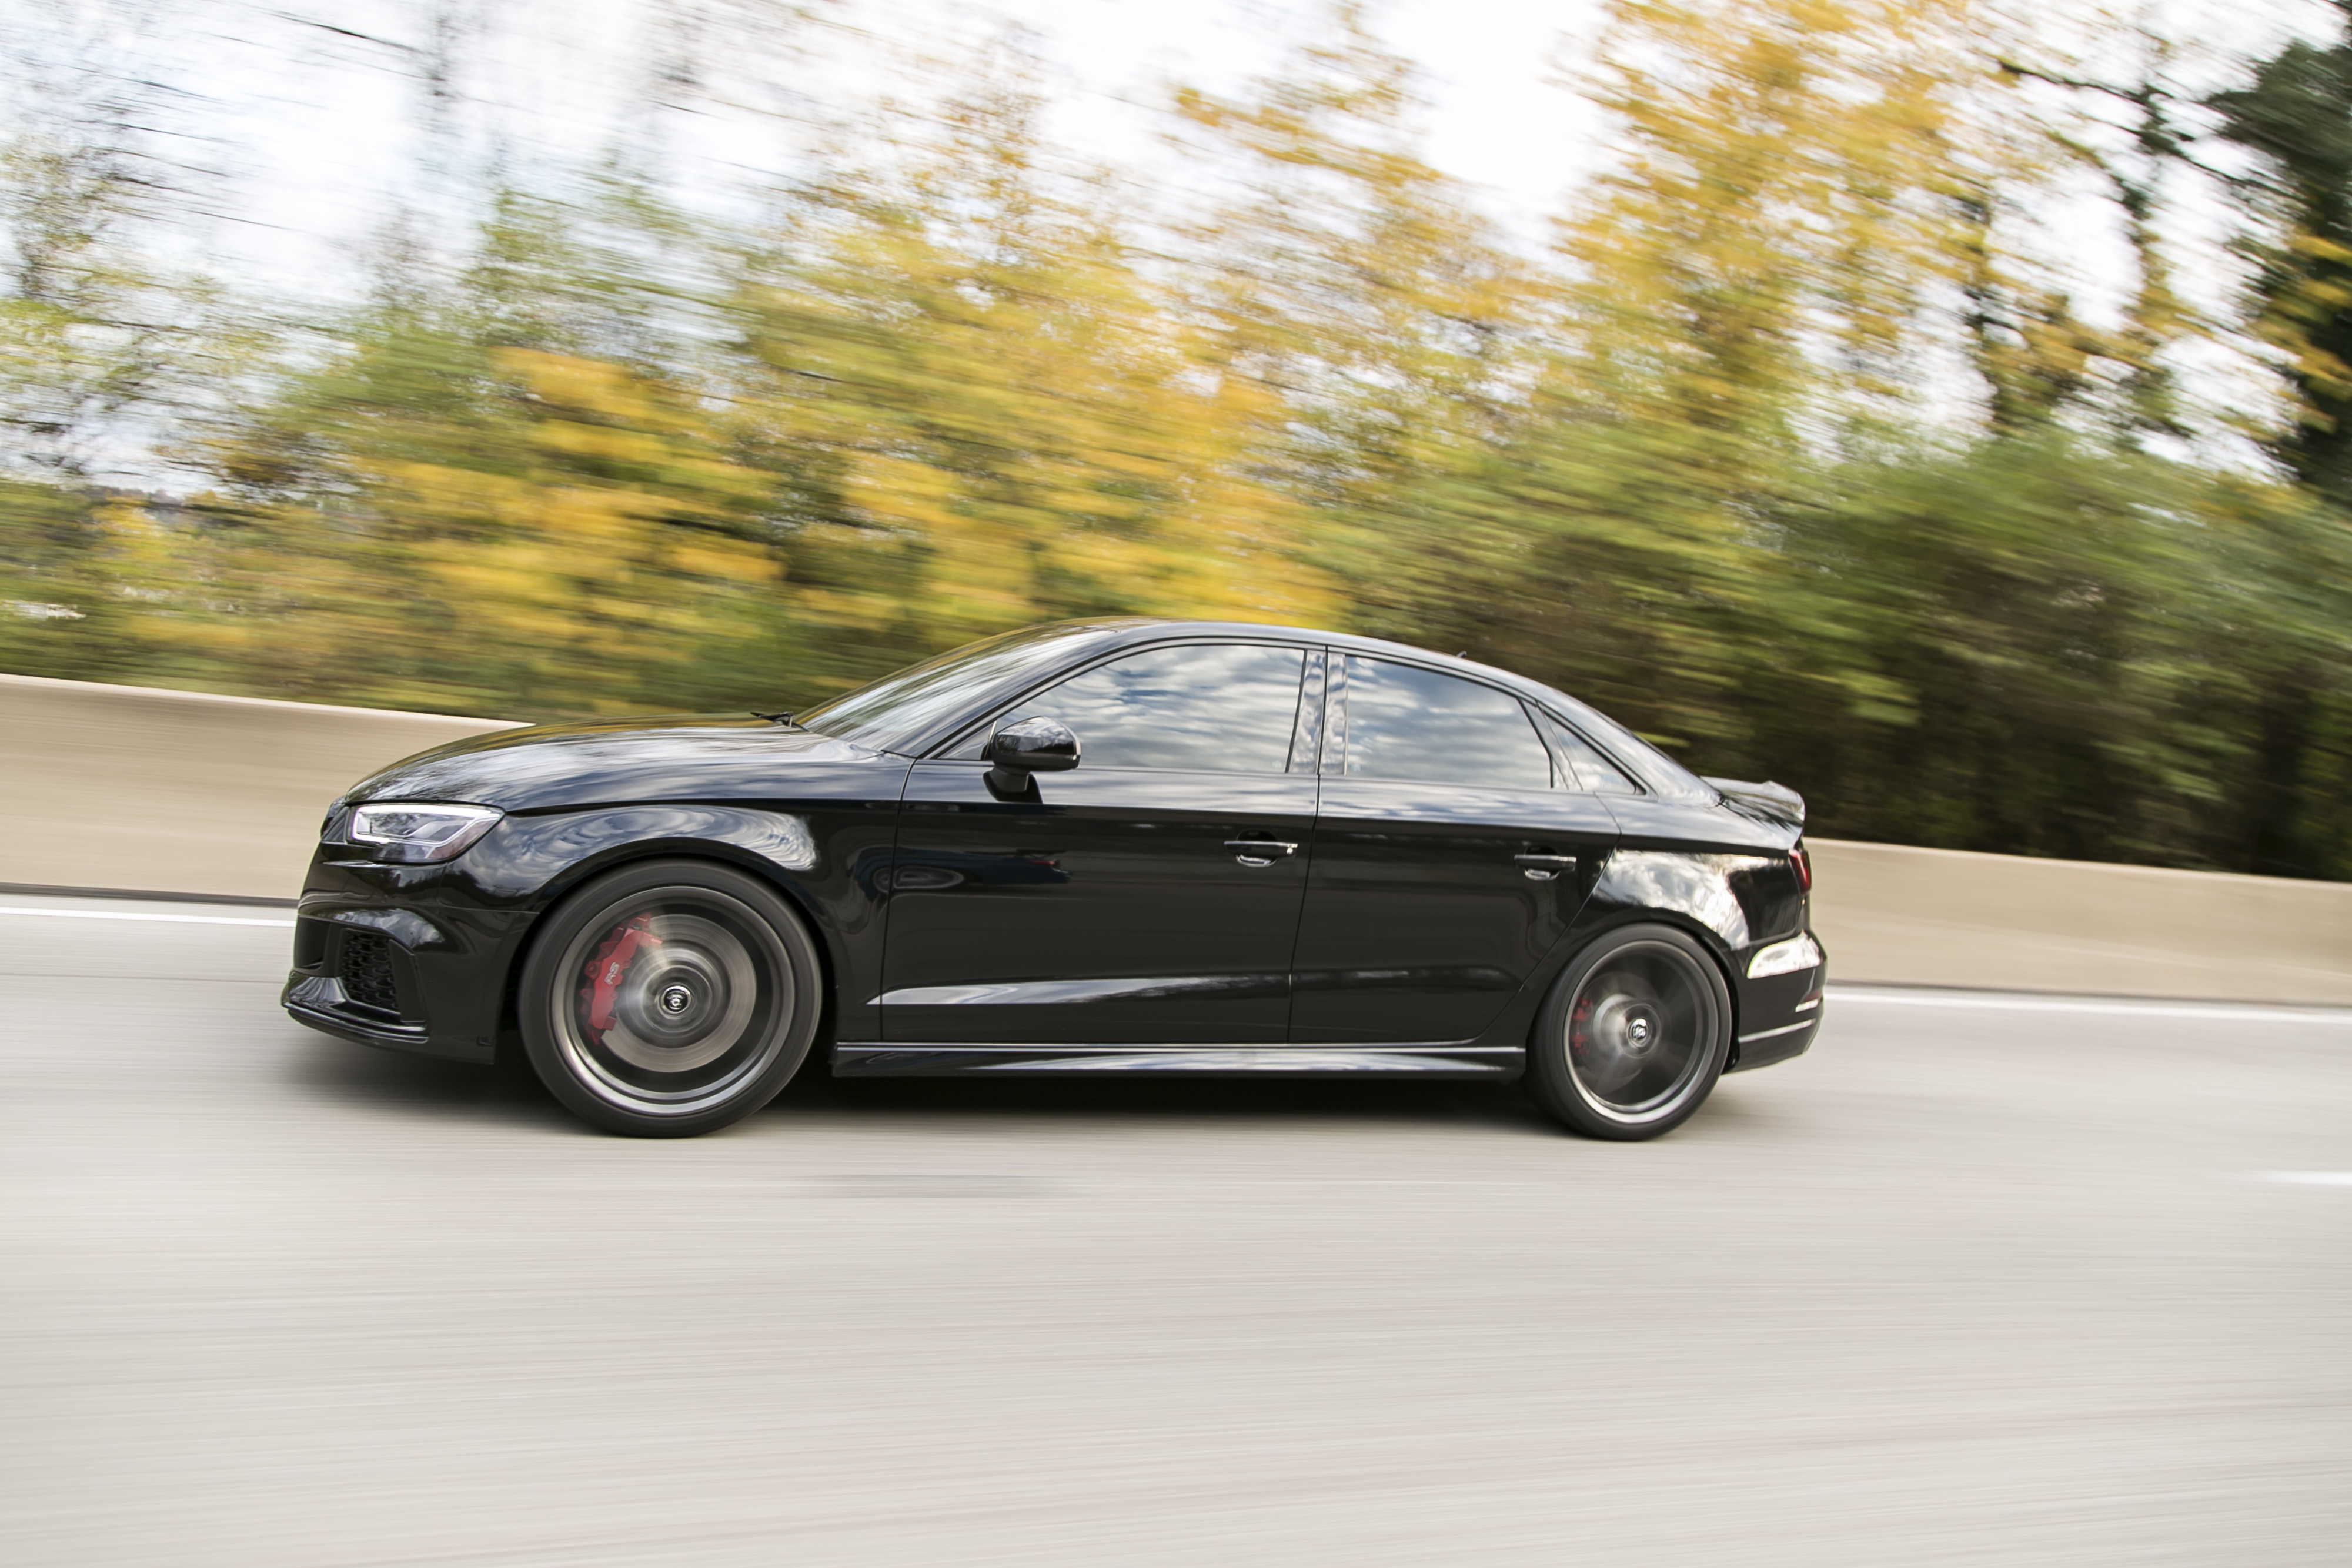
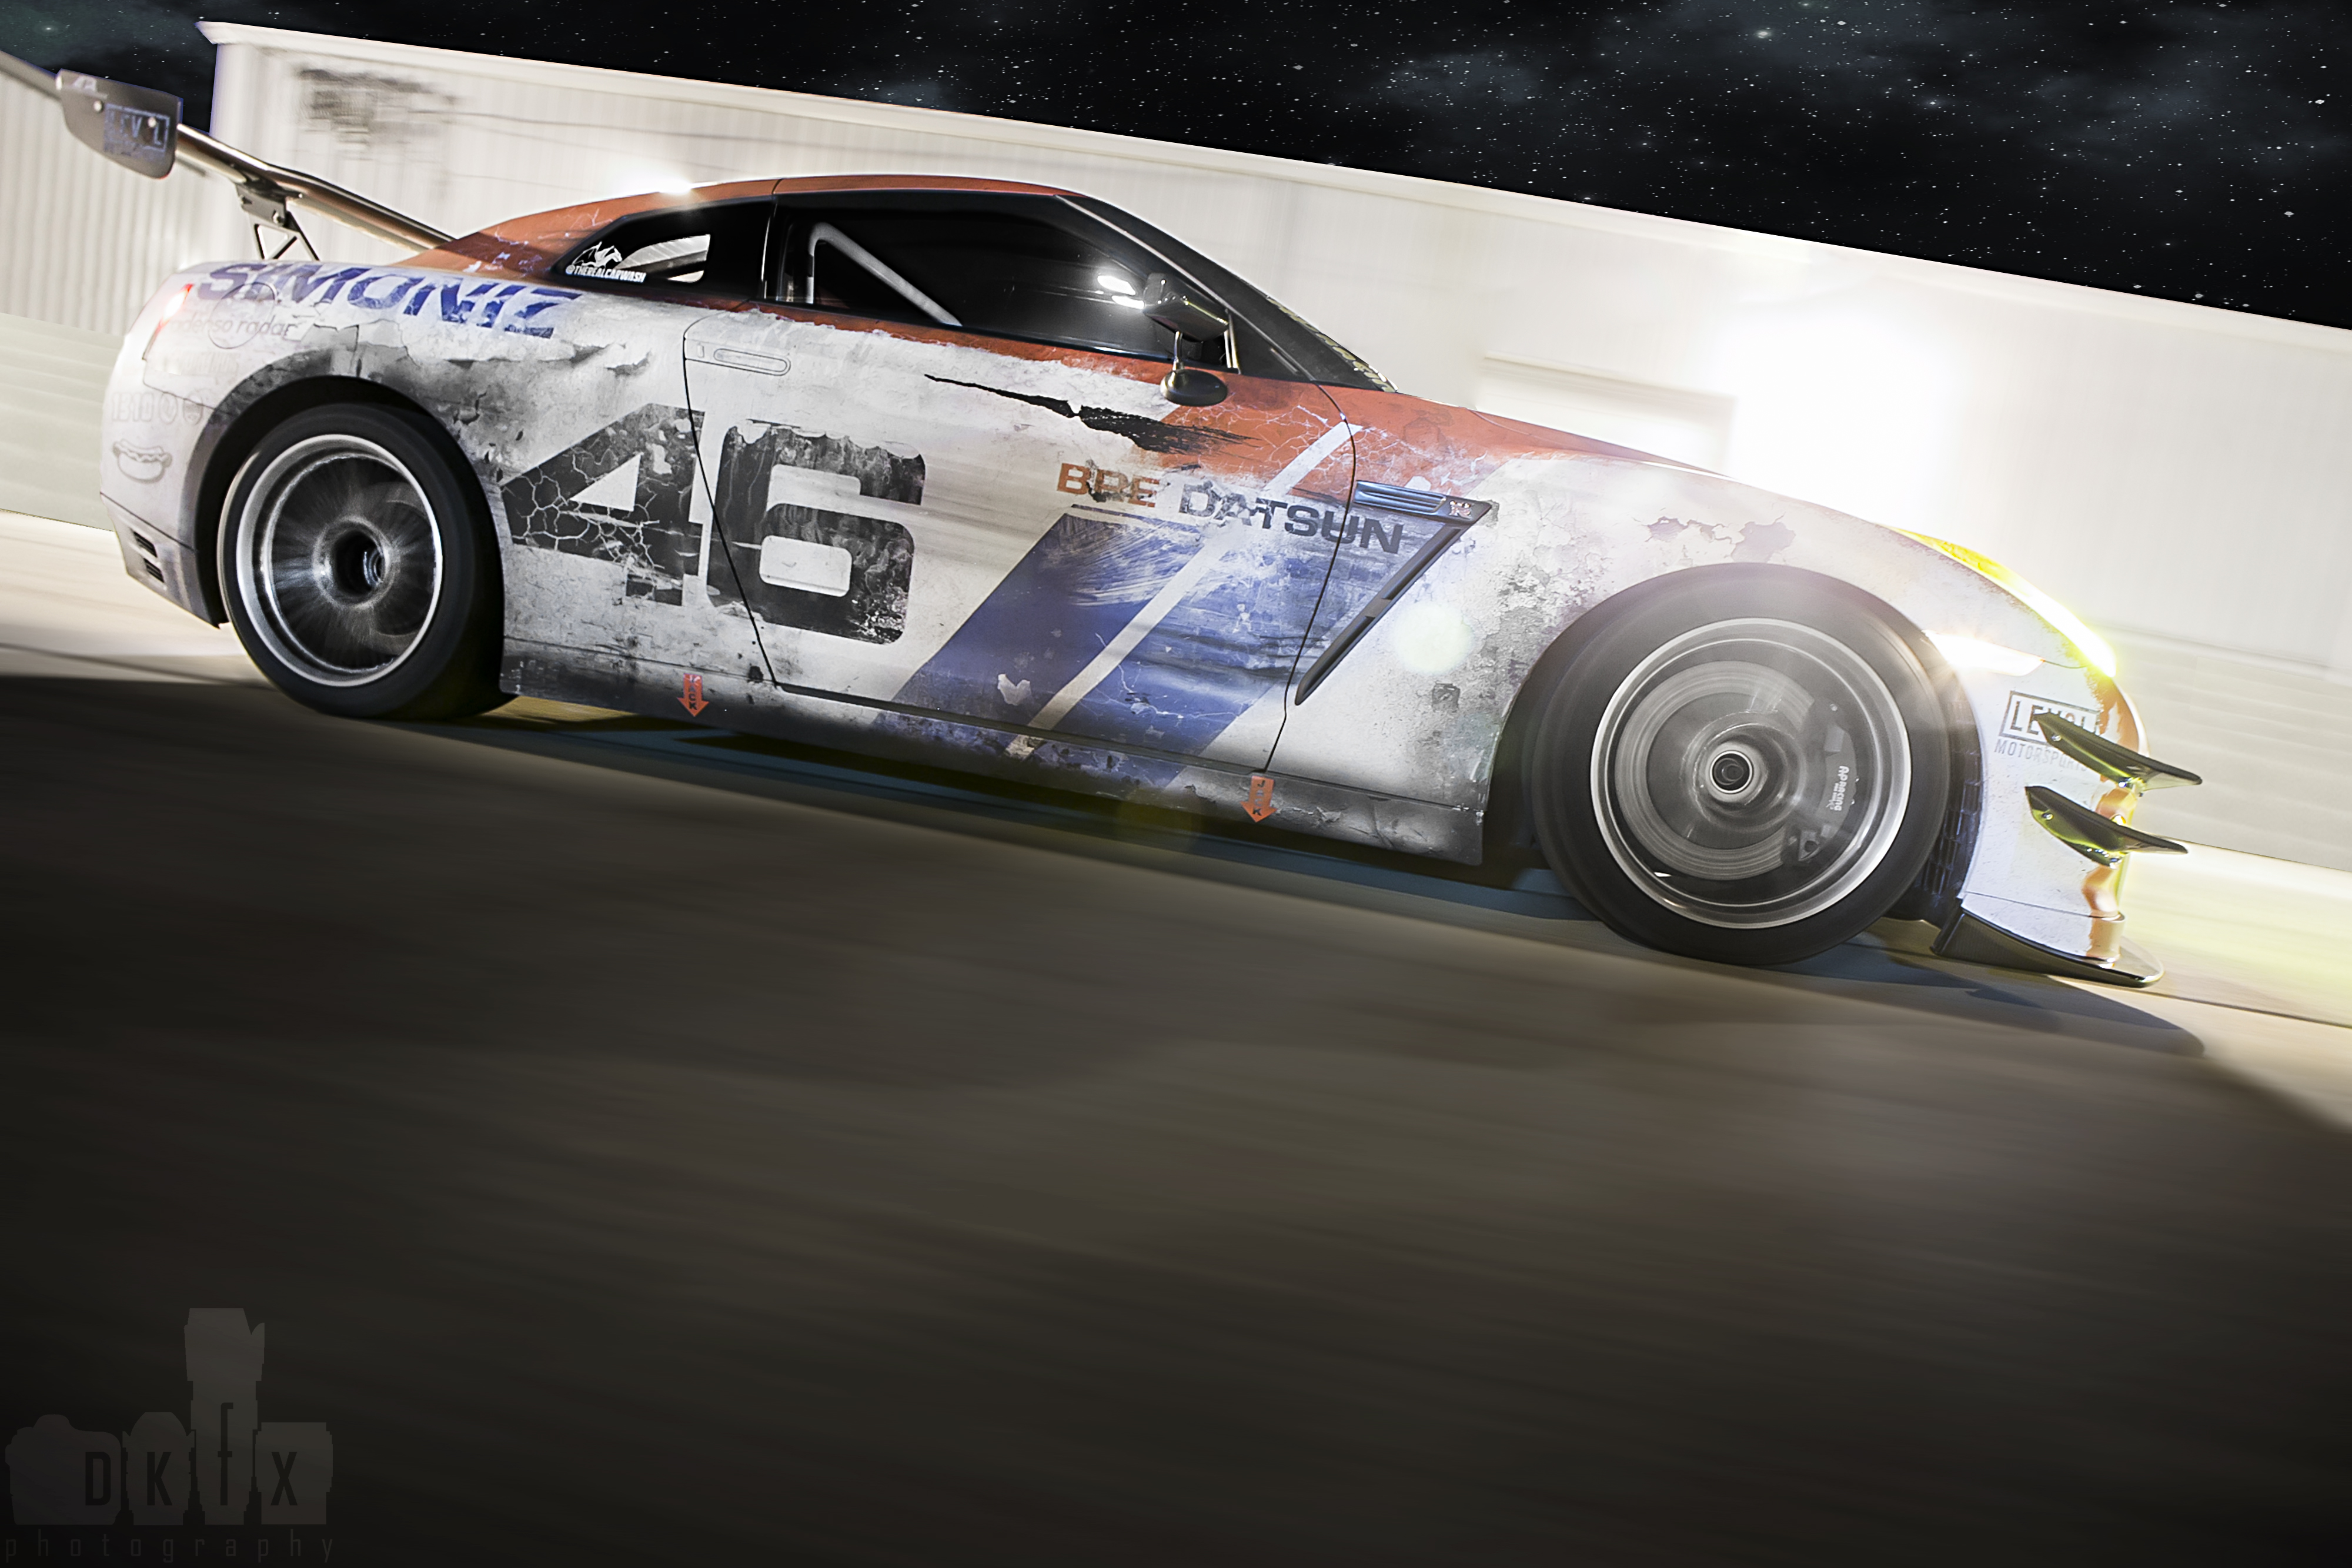
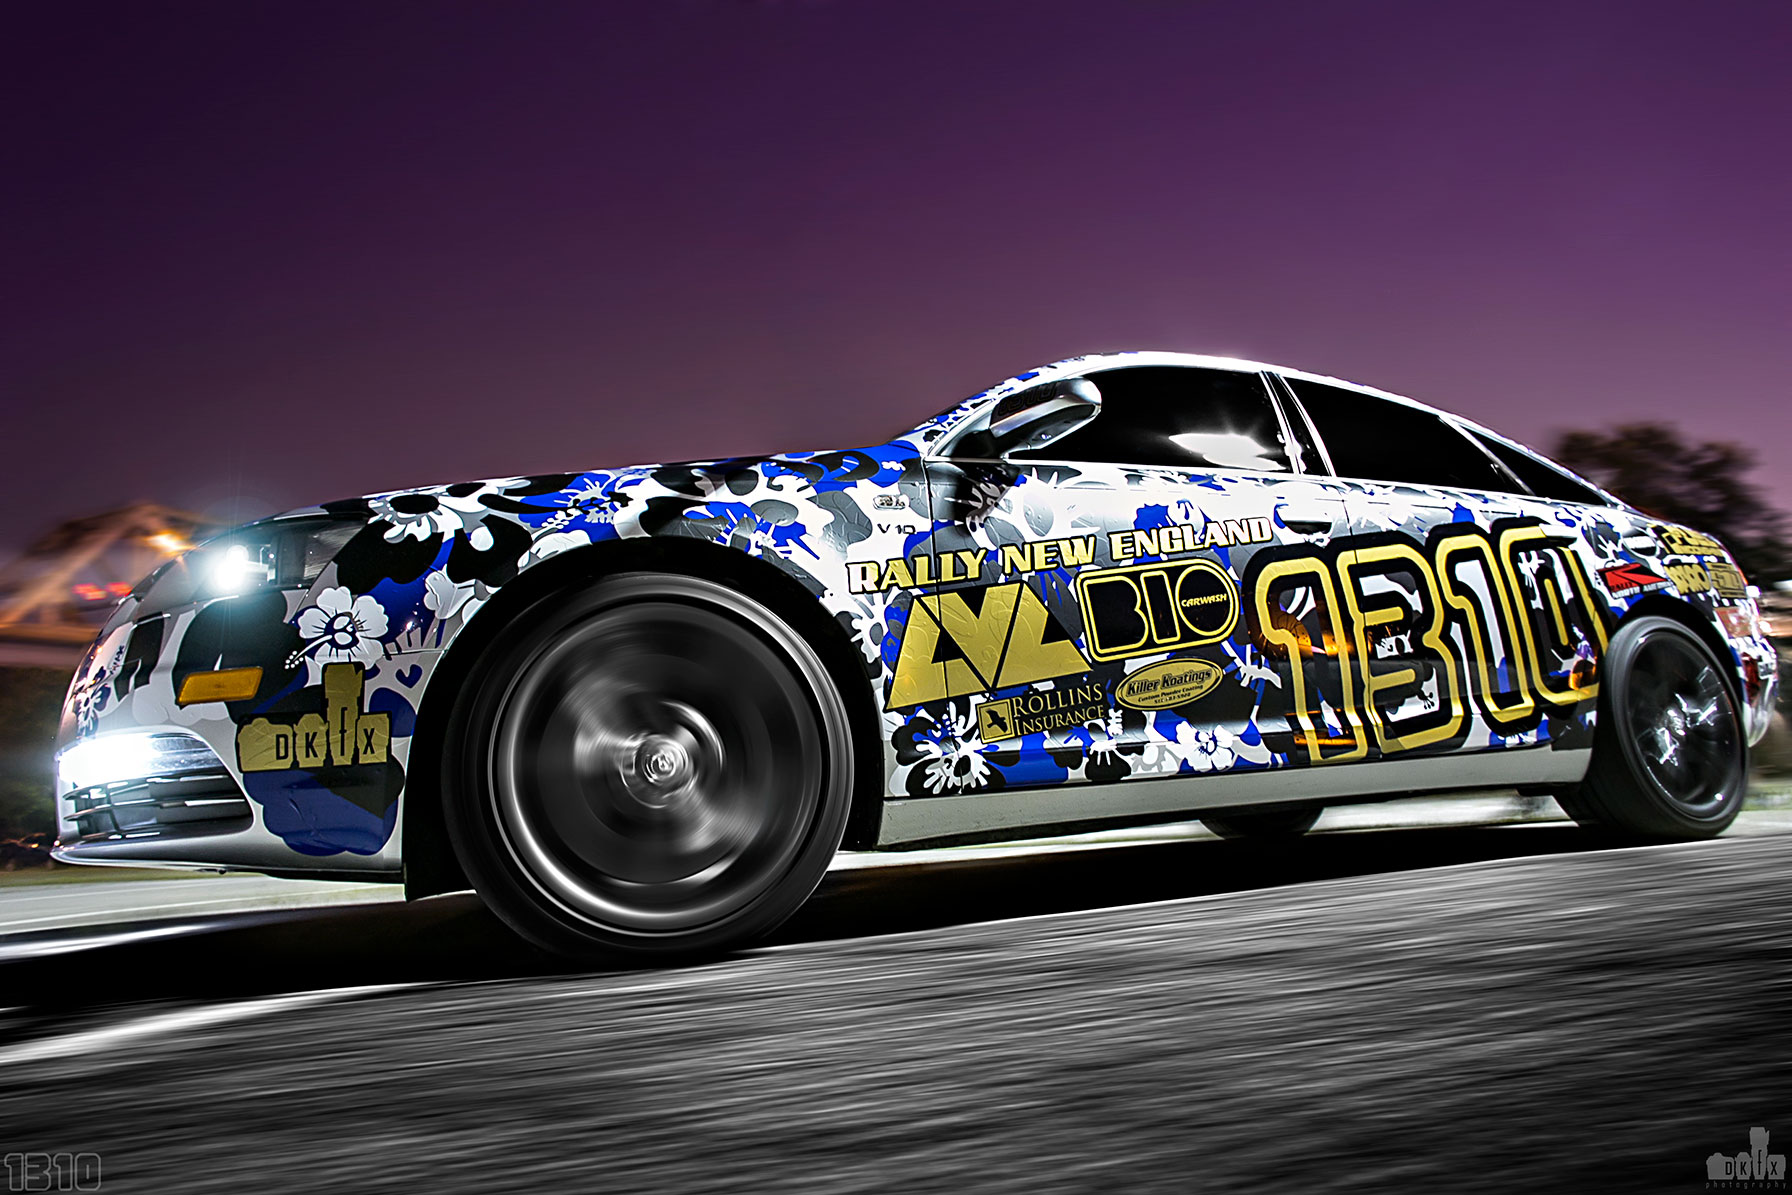
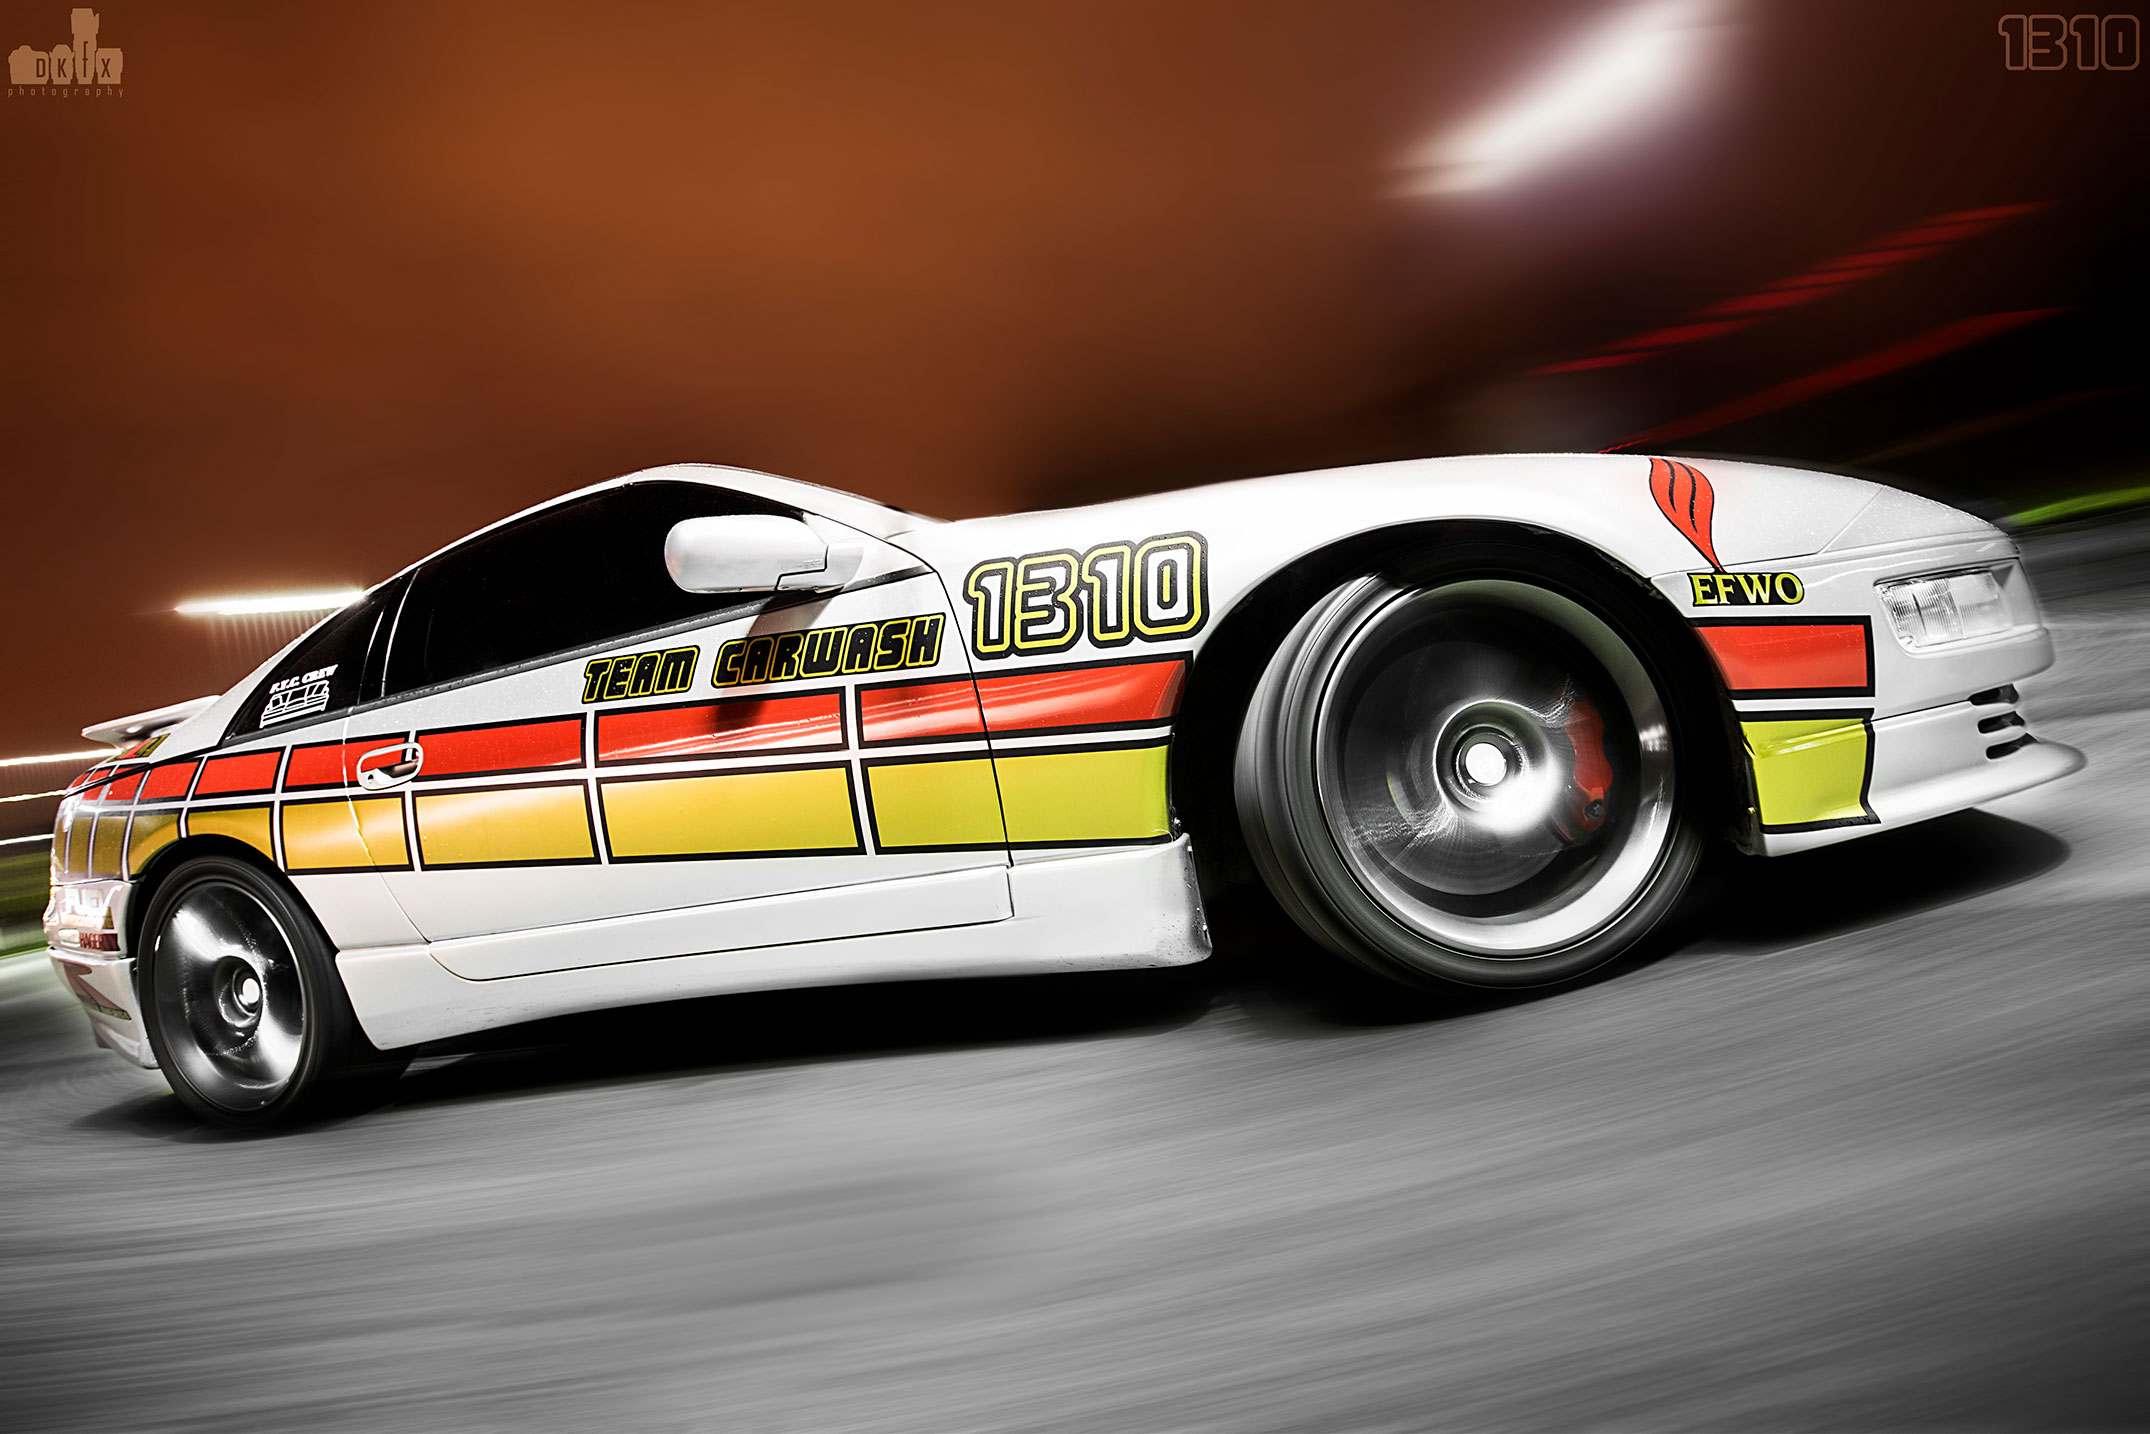
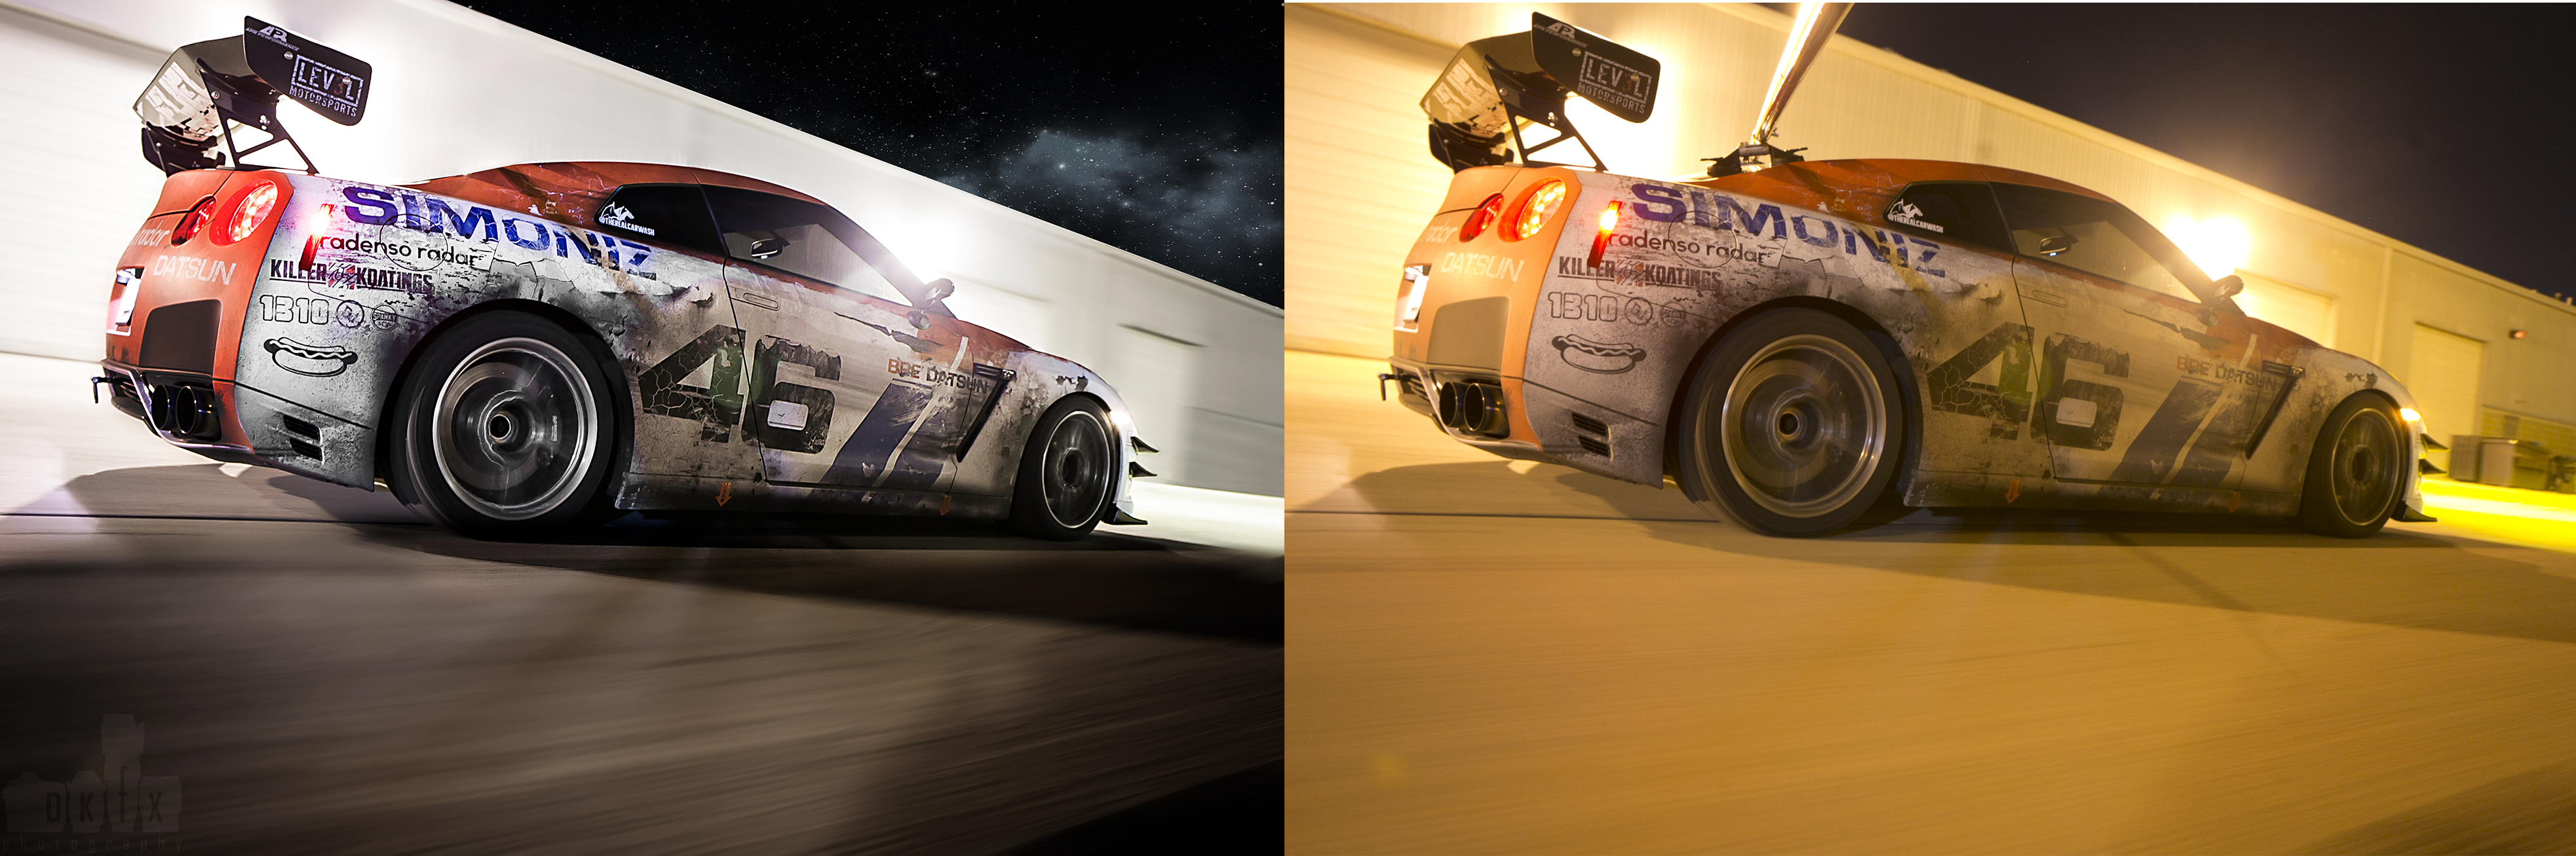
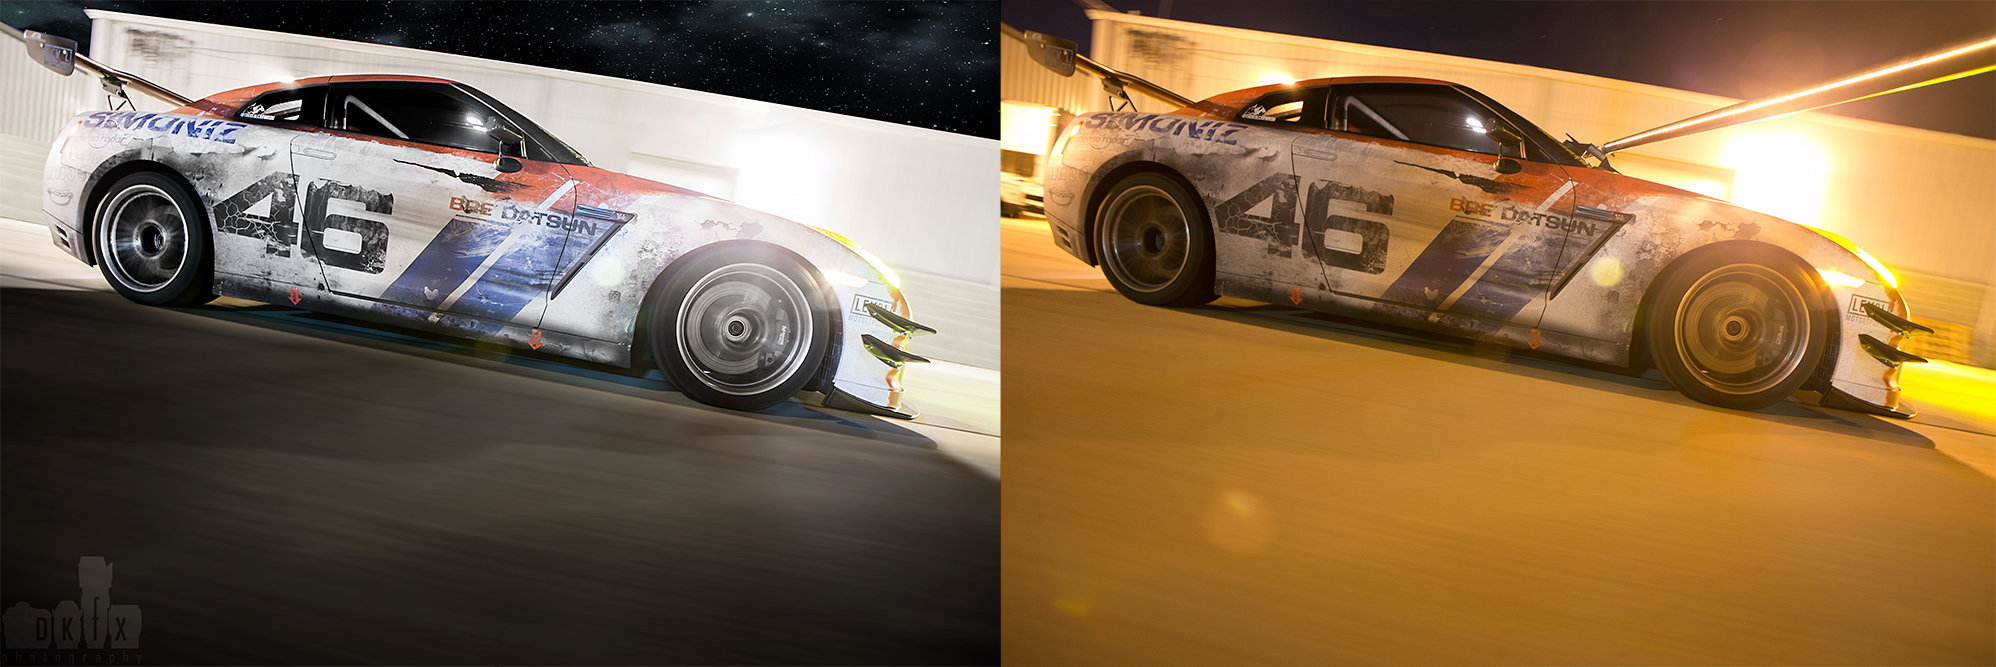
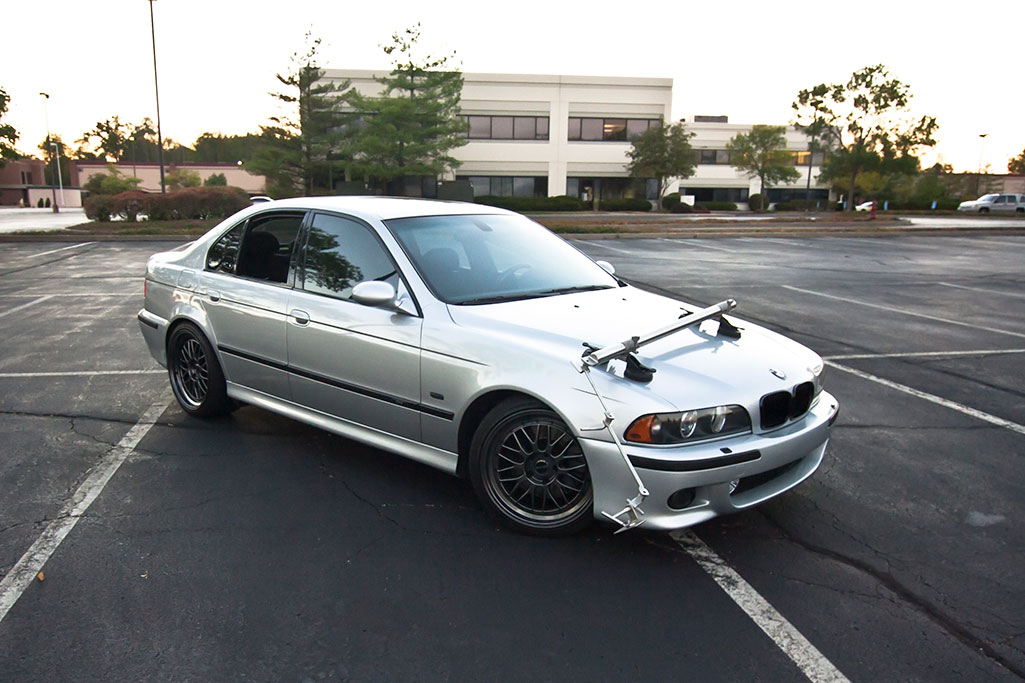
Rig Shots:
Last but not least, is the rig shot. This is by far the most challenging photo (for myself) as it does require some patience, practice, and let’s face it, balls. This technique uses a camera rig which is typically suction cup’d to the car’s paint/sunroof/glass, with a long rod-device that hangs off of the car, where the camera attaches. The camera is setup to take a longer exposure, while the car is pushed. This creates the illusion that the car is driving rapidly, though the ‘rig’ most be photoshopped out in post. It’s quite difficult to nail these shots, and even more difficult to edit the picture to look perfect, but once done, the results are stunning. You must also watch out for aggressive shadows from the rig, camera, or other obstacles in the photo to make it appear real. The car is only traveling a few feet, though if the ground is not perfectly smooth, it can be difficult to get a shot that doesn’t look bumpy. These rigs are not cheap, and I prefer having multiple people on site to help setup the rig, push the car, stop the car, and have an extra set of hands, as attaching this device to a car can be concerning. Here are some rig shots, as well as the before/after/setup photos.


Welp. That’s it. If you’ve made this far, I applaud you. I hope you’ve learned something from this page and hopefully can be more educated when selecting your next automotive photographer and the results you desire. Best of luck, and happy motoring.
-dk
11 Comments
terbinafine mechanism review
terbinafine mechanism review
toradol migraine treatment
toradol migraine treatment
toradol short term administration guide
toradol short term administration guide
ivermectin rosacea clinical insights
ivermectin rosacea clinical insights
ivermectin safety profile data
ivermectin safety profile data
ivermectin mechanism clinical data
ivermectin mechanism clinical data
minoxidil fundamentals
minoxidil fundamentals
minoxidil guidance faq
minoxidil guidance faq
minoxidil foam vs liquid timeline
minoxidil foam vs liquid timeline
minoxidil women’s treatment breakdown
minoxidil women’s treatment breakdown
PDE5 inhibitor online safety
PDE5 inhibitor online safety